In this post, we will see how to implement Gazebo joints control in ROS2. The way this is done has changed a bit from ROS1.
Step 1: Grab a copy of the ROS Project containing the code
Click here to get your own copy of the project (PS: If you don’t have an account on the ROS Development Studio, you would need to create one. Once you create an account or log in, we will copy the project to your workspace).
That done, open the project using the Run button. This might take a few moments, please be patient.
You should now see a notebook with detailed instructions. This post includes a summary of these instructions and some other tips.
Step 2: Start the Simulation and get the robot moving
Start a web shell from the bottom bar of the screen as shown above and run the following command:
ros2 launch box_car_gazebo box_bot_launch.py
Start another tab in the web shell, run the following command:
ros2 run teleop_twist_keyboard teleop_twist_keyboard --ros-args --remap cmd_vel:=/box_bot/cmd_vel
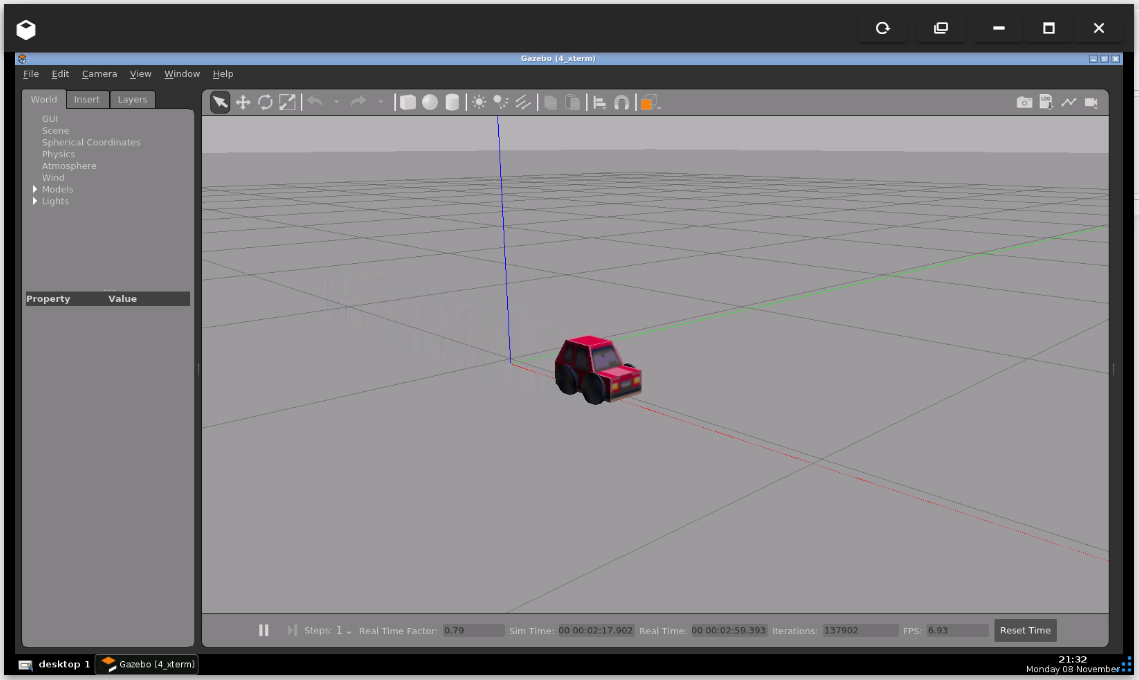
See the robot by clicking on the Gazebo icon on the bottom bar:
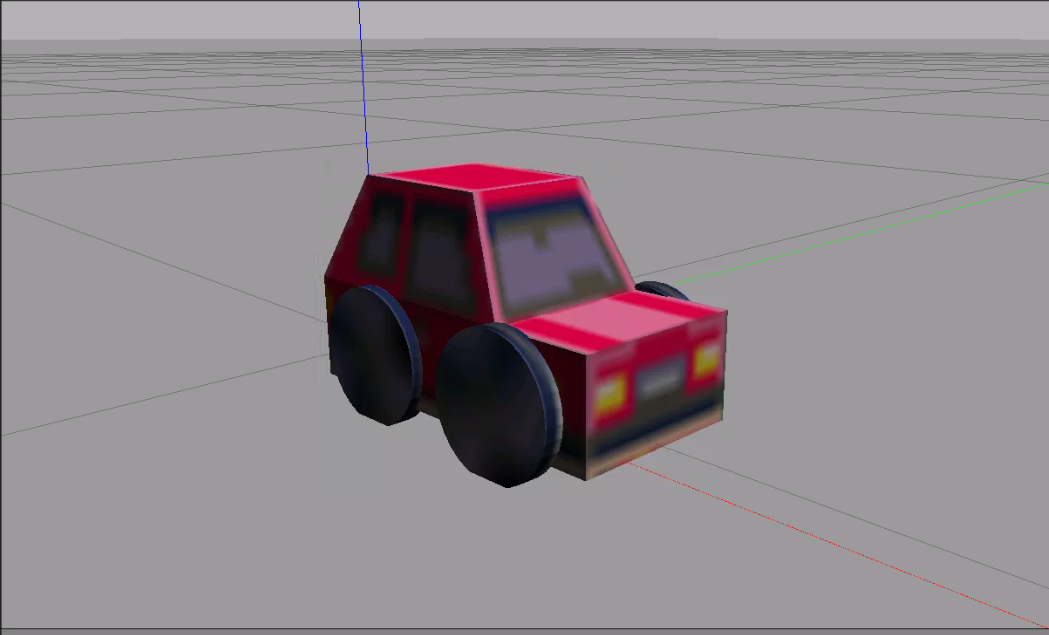
You should now see something like this (if you cannot see it, please ensure the ros2 launch command is still running and restart it if necessary):
Put the Gazebo window and the shell window with the teleop command side by side, focus on the shell and move the robot with the keyboard. You should see the robot run off. PS: use the z key to reduce the speed before moving the robot forward or backward, otherwise it runs off too quickly!
Step 3: Explore the source code using the IDE
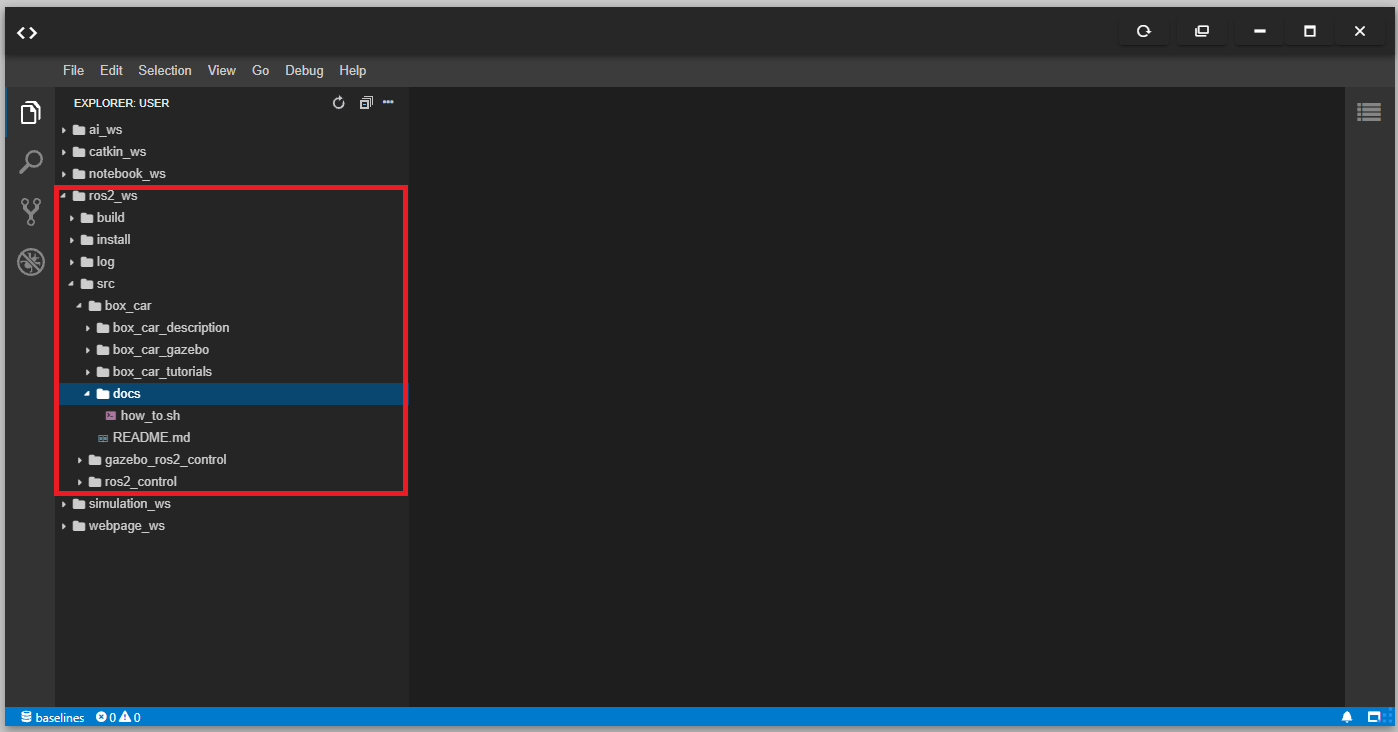
Open the IDE by clicking on the icon as shown above. You should now see something similar to the image below:
All the files used in the simulation are in the ros2_ws/src directory. Explore the files. Double-click to open a file in the editor. You will refer back to some of the files later on.
Step 4: Watch the video to understand how we implemented gazebo joints control in ROS2
Here you go:
Step 5: Consolidate your learning
- Do you understand how to implement gazebo joints control in ROS2 after watching the video? If not, have you gone over the video again?
- If you are familiar with ROS1 control, can you see how it’s different from ROS control?
Related Resources
Feedback
Did you like this post? Do you have any questions about the explanations? Whatever the case, please leave a comment on the comments section below, so we can interact and learn from each other.
If you want to learn about other ROS2 topics, please let us know in the comments area and we will do a video or post about it.






0 Comments