What we are going to learn
- How to create a package in ROS2
- How to write a python launch file
- How to define a static transform
List of resources used in this post
- ROS Development Studio (ROSDS) —▸ http://rosds.online
- Robot Ignite Academy –▸ https://www.robotigniteacademy.com
- Question asked on ROS Answers –▸ https://answers.ros.org/question/372752/static_transform_publisher-in-ros2-launch-file/
Creating a rosject
In order to learn how to use a static transform, we need a ROS2 Python package. We are going to use The Construct (https://www.theconstruct.ai/) for this tutorial, but if you have ROS2 installed on your own computer, you should be able to do ~everything on your own computer, except this creating a rosject part.
Let’s start by opening The Construct (https://www.theconstruct.ai/) and logging in. You can easily create a free account if you still don’t have one.
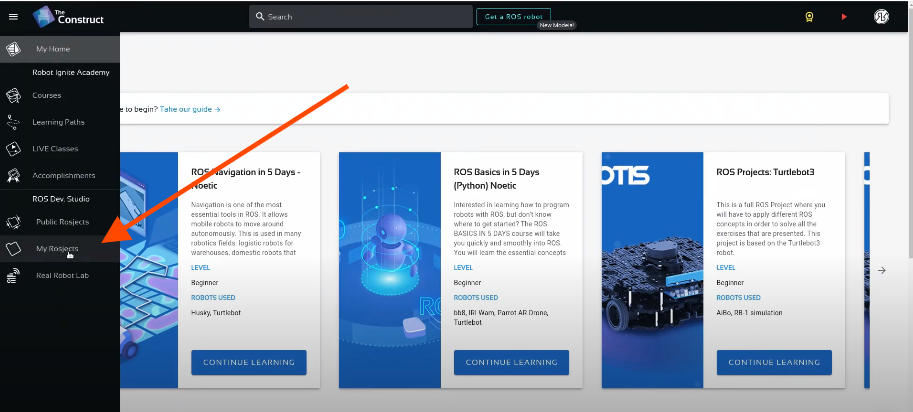
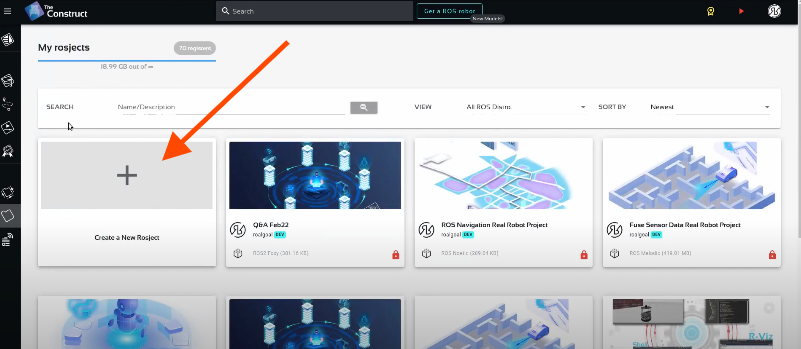
Once inside, let’s create My Rosjects and then, Create a new rosject:
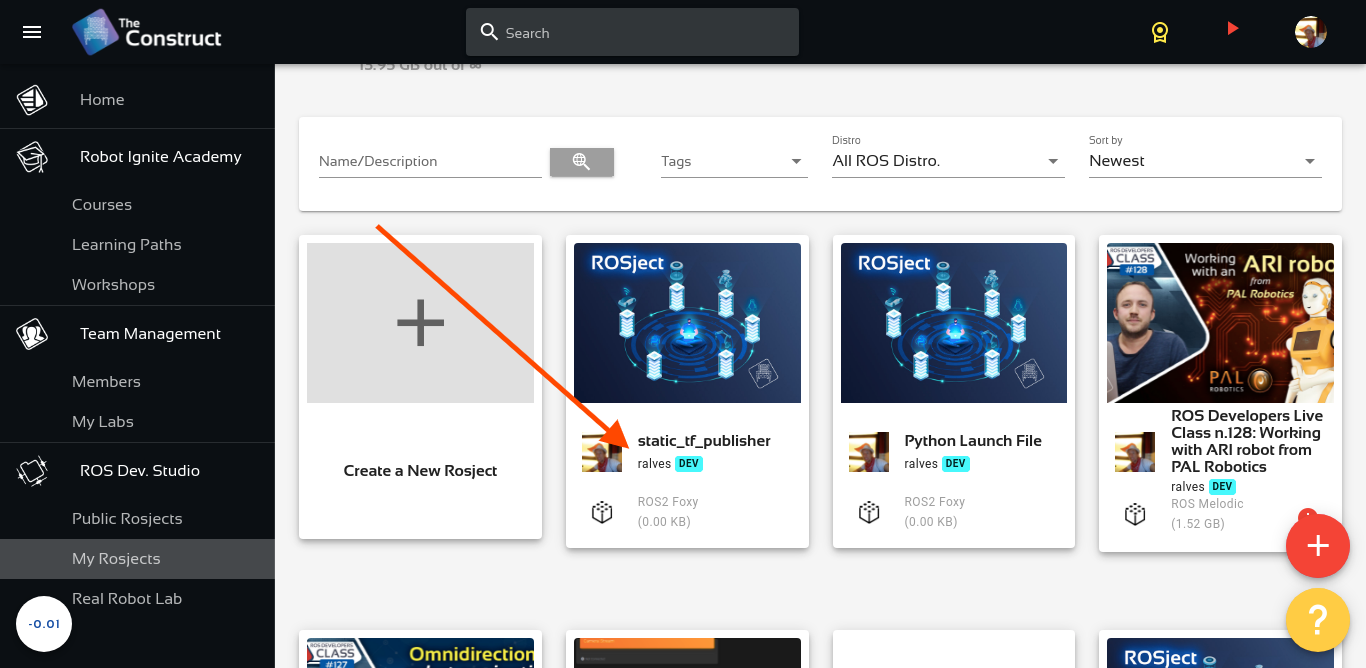
For the rosject, let’s select ROS2 Foxy for the ROS Distro, let’s name the rosject as static_tf_publisher. You can leave the rosject public.
If you mouse over the recently created rosject, you should see a Run button. Just click that button to launch the rosject.
Creating a ROS2 package named static_tf_transform
Once the rosject is open, we can now create a package that will be used to publish the static transform.
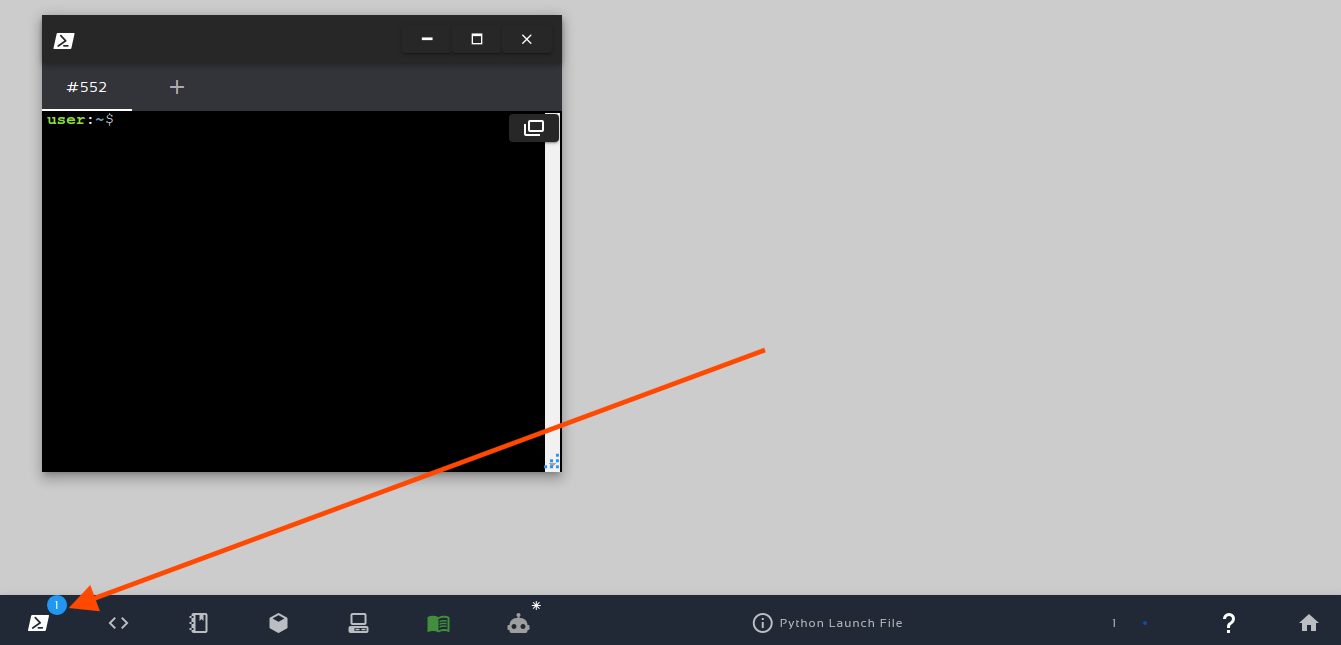
Let’s open a new terminal by clicking on the Open a new shell window button:
Once the terminal is open, we can list the files with the ls command:
user:~$ ls
ai_ws  catkin_ws  notebook_ws  ros2_ws  simulation_ws  webpage_ws
We can see a workspace named ros2_ws. Let’s enter that workspace using cd ros2_ws/:
user:~$ cd ros2_ws/
user:~/ros2_ws$
Let’s now source our workspace with:
source ~/ros2_ws/install/setup.bash
Let’s now enter our src folder:
cd ~/ros2_ws/src/
And create a package named static_tf :
ros2 pkg create --build-type ament_python static_tf
The output should be similar to:
going to create a new package
package name: static_tf
destination directory: /home/user/ros2_ws/src
package format: 3
version: 0.0.0
description: TODO: Package description
maintainer: ['user <user@todo.todo>']
licenses: ['TODO: License declaration']
build type: ament_python
dependencies: []
creating folder ./static_tf
creating ./static_tf/package.xml
creating source folder
creating folder ./static_tf/static_tf
creating ./static_tf/setup.py
creating ./static_tf/setup.cfg
creating folder ./static_tf/resource
creating ./static_tf/resource/static_tf
creating ./static_tf/static_tf/__init__.py
creating folder ./static_tf/test
creating ./static_tf/test/test_copyright.py
creating ./static_tf/test/test_flake8.py
creating ./static_tf/test/test_pep257.py
If you now list your src folder using ls, you should be able to see our package:
user:~/ros2_ws/src$ ls
static_tf
We can now enter into this static_tf package using cd static_tf/ and create a launch folder there, and a file named static_tf_launch.py on that folder:
cd ~/ros2_ws/src/static_tf/

mkdir launch

touch launch/static_tf_launch.py
We can now open that static_tf_launch.py file using the Code Editor, and add the following content to it:
from launch import LaunchDescription
from launch_ros.actions import Node

def generate_launch_description():
    return LaunchDescription([
        Node(
            package="tf2_ros",
            executable="static_transform_publisher",
            output="screen" ,
            arguments=["0", "0", "0", "0", "0", "0", "odom", "laser"]
        )
    ])
Once the static_tf_launch.py file is ok, let’s now open again our setup.py file (~/ros2_ws/src/static_tf/setup.py), and add our static_tf_launch.py file to data_files, so that our launch file will be included in the install folder when we compile our workspace. By doing this we will be able to execute it:
The bit we have to add to data_files is (os.path.join(‘share’, package_name, ‘launch’), glob(‘launch/*.py’)), so that data_files looks like:
data_files=[
        ('share/ament_index/resource_index/packages',
            ['resource/' + package_name]),
        ('share/' + package_name, ['package.xml']),
        (os.path.join('share', package_name, 'launch'), glob('launch/*.py')),
    ],
Just to make sure you have everything correctly imported, the final setup.py file should look like this:
from setuptools import setup
import os
from glob import glob

package_name = 'static_tf'

setup(
    name=package_name,
    version='0.0.0',
    packages=[package_name],
    data_files=[
        ('share/ament_index/resource_index/packages',
            ['resource/' + package_name]),
        ('share/' + package_name, ['package.xml']),
        (os.path.join('share', package_name, 'launch'), glob('launch/*.py')),
    ],
    install_requires=['setuptools'],
    zip_safe=True,
    maintainer='user',
    maintainer_email='user@todo.todo',
    description='TODO: Package description',
    license='TODO: License declaration',
    tests_require=['pytest'],
    entry_points={
        'console_scripts': [
        ],
    },
)
Launching our ROS2 static tf publisher
Awesome. Our files are all in place. Let’s now build our ros2 workspace with:
cd ~/ros2_ws

colcon build
If everything went ok, the compilation should have raised no errors:
Starting >>> static_tf
Finished <<< static_tf [1.03s]

Summary: 1 package finished [1.20s]
Now let’s source our workspace again and run our launch file that runs the static tf publisher.
source ~/ros2_ws/install/setup.bash

ros2 launch static_tf  static_tf_launch.py
After launching the static_tf_launch.py file, the output should be similar to the following:
[INFO] [launch]: All log files can be found below /home/user/.ros/log/2021-11-08-23-10-55-010925-2_xterm-6136
[INFO] [launch]: Default logging verbosity is set to INFO
[INFO] [static_transform_publisher-1]: process started with pid [6138]
[static_transform_publisher-1] [INFO] [1636413056.712927342] [static_transform_publisher_uKqntZ5iDxRToFQR]: Spinning until killed publishing transform from 'odom' to 'laser'
As we can see in the logs, we have the static_transform_publisher publishing a static transform from the odom to the laser frame.
We can now go to a second terminal and check the transforms between the frames with:
ros2 run tf2_ros tf2_echo odom laser
Assuming everything went as expected, the output you should get should be similar to the following:
[INFO] [1636413489.330173729] [tf2_echo]: Waiting for transform odom ->  laser: Invalid frame ID "odom" passed to canTransform argument target_frame - frame does not exist
At time 0.0
- Translation: [0.000, 0.000, 0.000]
- Rotation: in Quaternion [0.000, 0.000, 0.000, 1.000]
At time 0.0
- Translation: [0.000, 0.000, 0.000]
- Rotation: in Quaternion [0.000, 0.000, 0.000, 1.000]
At time 0.0
- Translation: [0.000, 0.000, 0.000]
- Rotation: in Quaternion [0.000, 0.000, 0.000, 1.000]
Congratulations. You now know how to publish a static transform between two frames in ROS2 using Python. In addition to that, you have also learned how to create a python package as well as a launch file along the way. Feel free to terminate the scripts you have executed by pressing CTRL+C in the terminals. You can also for sure spend more time using this great online platform, The Construct.
Youtube video
So this is the post for today. Remember that we have the live version of this post on YouTube. If you liked the content, please consider subscribing to our youtube channel. We are publishing new content ~every day.
Keep pushing your ROS Learning.




0 Comments