In this video you will learn how to publish and subscribe to a topic in ROS2 using the command line.
COMMANDS TO USE:
ros2 topic listros2 msg listros2 msg show std_msgs/Stringros2 topic pub /chatter std_msgs/String "data: Hello ROS Developers"ros2 topic echo /chatter
RELATED ROS2 RESOURCES:
- ROS2 Course for Beginners: Introduce you to the basic concepts that you need to know in order to start working with ROS2.
- ROS Development Studio: Develop your first ROS2 project online (Ready online including Gazebo simulations + ros1_bridge)
The following steps take through the development as shown in the video:
- Open ROS Development Studio and create a new project (use a suitable name for the project).
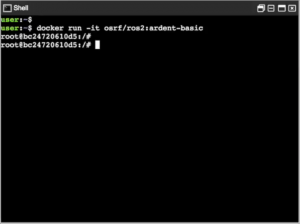
- Activate the docker image for ROS2 by executing the following command in a SHELL
$ docker run -it osrf/ros2:ardent-basic
- The first command to know is
ros2 topic list. This command is same as therostopic listcommand in ros1. - The command for publishing a topic is
ros2 topic pub. This command takes the topic name and message just like therostopic pubcommand in ros1. - In ros2, we can use the command
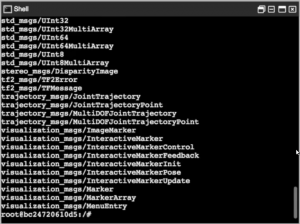
ros2 msg listto see all the supported message types
- Now let’s see the usage with a
Stringtype message. We can see the structure of theStringmessage with the following command
$ ros2 msg show std_msgs/String
The output of this command will give us the information about the content of the message type String. To publish the message we will use the following command
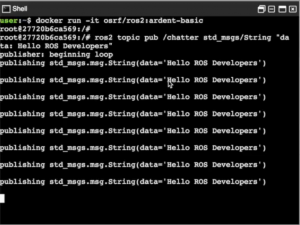
$ ros2 topic pub /chatter std_msgs/String "data: Hello ROS Developers"
- Once we execute the above command, a message will start publishing to the
/chattertopic.
- Next, we can check the published message by using
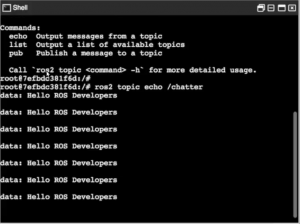
ros2 topic echocommand. This should show us the message on/chattertopic
$ ros2 topic echo /chatter
The output of the above command should be the message that we encoded in the last command.
FEEDBACK:
Did you like this video? Whatever the case, please leave a comment on the comments section below, so we can interact and learn from each other.
If you want to learn about other ROS topics, please let us know on the comments area and we will do a video about it.

![ROS2 Tutorials #2 How to Publish & Subscribe to a ROS2 Topic [UPDATED] ROS2 Tutorials #2 How to Publish & Subscribe to a ROS2 Topic [UPDATED]](https://www.theconstruct.ai/wp-content/uploads/2018/06/ROS2-Tutorials-2-How-to-Publish-Subscribe-to-a-ROS2-Topic-UPDATED-.png)




0 Comments