Parameterの使い方 – Japanese ROS2 Tutorial

Parameterの使い方 – Japanese ROS2 Tutorial

This tutorial is created by Robotics Ambassador Takumi


Robotics Ambassador: theconstruct.ai/robotics-ambassador/

何を学ぶか

このチュートリアルでは公式チュートリアルの内容を参考にROS Paramを動的に書き換える方法を試してみます。

なんで?

ROS 2になって、Parameterの動的な書き換えが可能になりました。
Parameterを初期値やファイルパスの設定とかに使ってる方割と多いと思うのですが、動的にいじれるとサーバの接続先変えたり、テスト中に設定間違えたパラメータ書き直したりできます。
かなり便利で多用しているので、紹介したいと思いました。

環境

ROS2 Humble
rosject link https://app.theconstruct.ai/l/61071157/

作業

パッケージ作成

以下のコマンドでパッケージを作ります。

ros2 pkg create --build-type ament_cmake --license Apache-2.0 cpp_param_exp --dependencies rclcpp

ソースコード記述

srcディレクトリに参考にc++のコードを書きましょう。

#include 

#include "rclcpp/rclcpp.hpp"

class SampleNodeWithParameters : public rclcpp::Node {
public:
  SampleNodeWithParameters() : Node("node_with_parameters") {
    this->declare_parameter("an_int_param", 0);

    param_subscriber_ = std::make_shared(this);

    auto cb = [this](const rclcpp::Parameter &p) {
      RCLCPP_INFO(
          this->get_logger(),
          "cb: Received an update to parameter \"%s\" of type %s: \"%ld\"",
          p.get_name().c_str(), p.get_type_name().c_str(), p.as_int());
    };
    cb_handle_ = param_subscriber_->add_parameter_callback("an_int_param", cb);
  }

private:
  std::shared_ptr param_subscriber_;
  std::shared_ptr cb_handle_;
};

int main(int argc, char **argv) {
  rclcpp::init(argc, argv);
  rclcpp::spin(std::make_shared());
  rclcpp::shutdown();

  return 0;
}

コードの動作としては、an_int_paramパラメータの更新を受け取ったら、そのデータをログに吐くといういたって単純なモノです。
特徴的な所があるとしたら、コールバック関数の定義にラムダ式を使っている所でしょうか。

コンパイル

次はコンパイルします。
package.xmlとCMakeList.txtの記述が必要ですが、特に難しいことはやってないので、詳しくはRosjectを参照してください。
(sourceはしている前提とします。)

cd ~/ros2_ws/
colcon buildじ

実行

以下のコマンドで実行していきます。

[端末A]

cd ~/ros2_ws/
user:~/ros2_ws$ . install/setup.bash
user:~/ros2_ws$ ros2 run cpp_param_exp parameter_event_handlerき

起動できたら、別の[端末B]を開いて以下のコマンドを実行します。”Set parameter successful”と出れば成功です。

cd ~/ros2_ws/
user:~$ ros2 param set /node_with_parameters an_int_param 10
Set parameter successful

端末Aを見ると以下のメッセージが表示され、parameterの更新に成功していることが分かります。

[INFO] [1714224724.898754729] [node_with_parameters]: cb: Received an update to parameter "an_int_param" of type integer: "10"

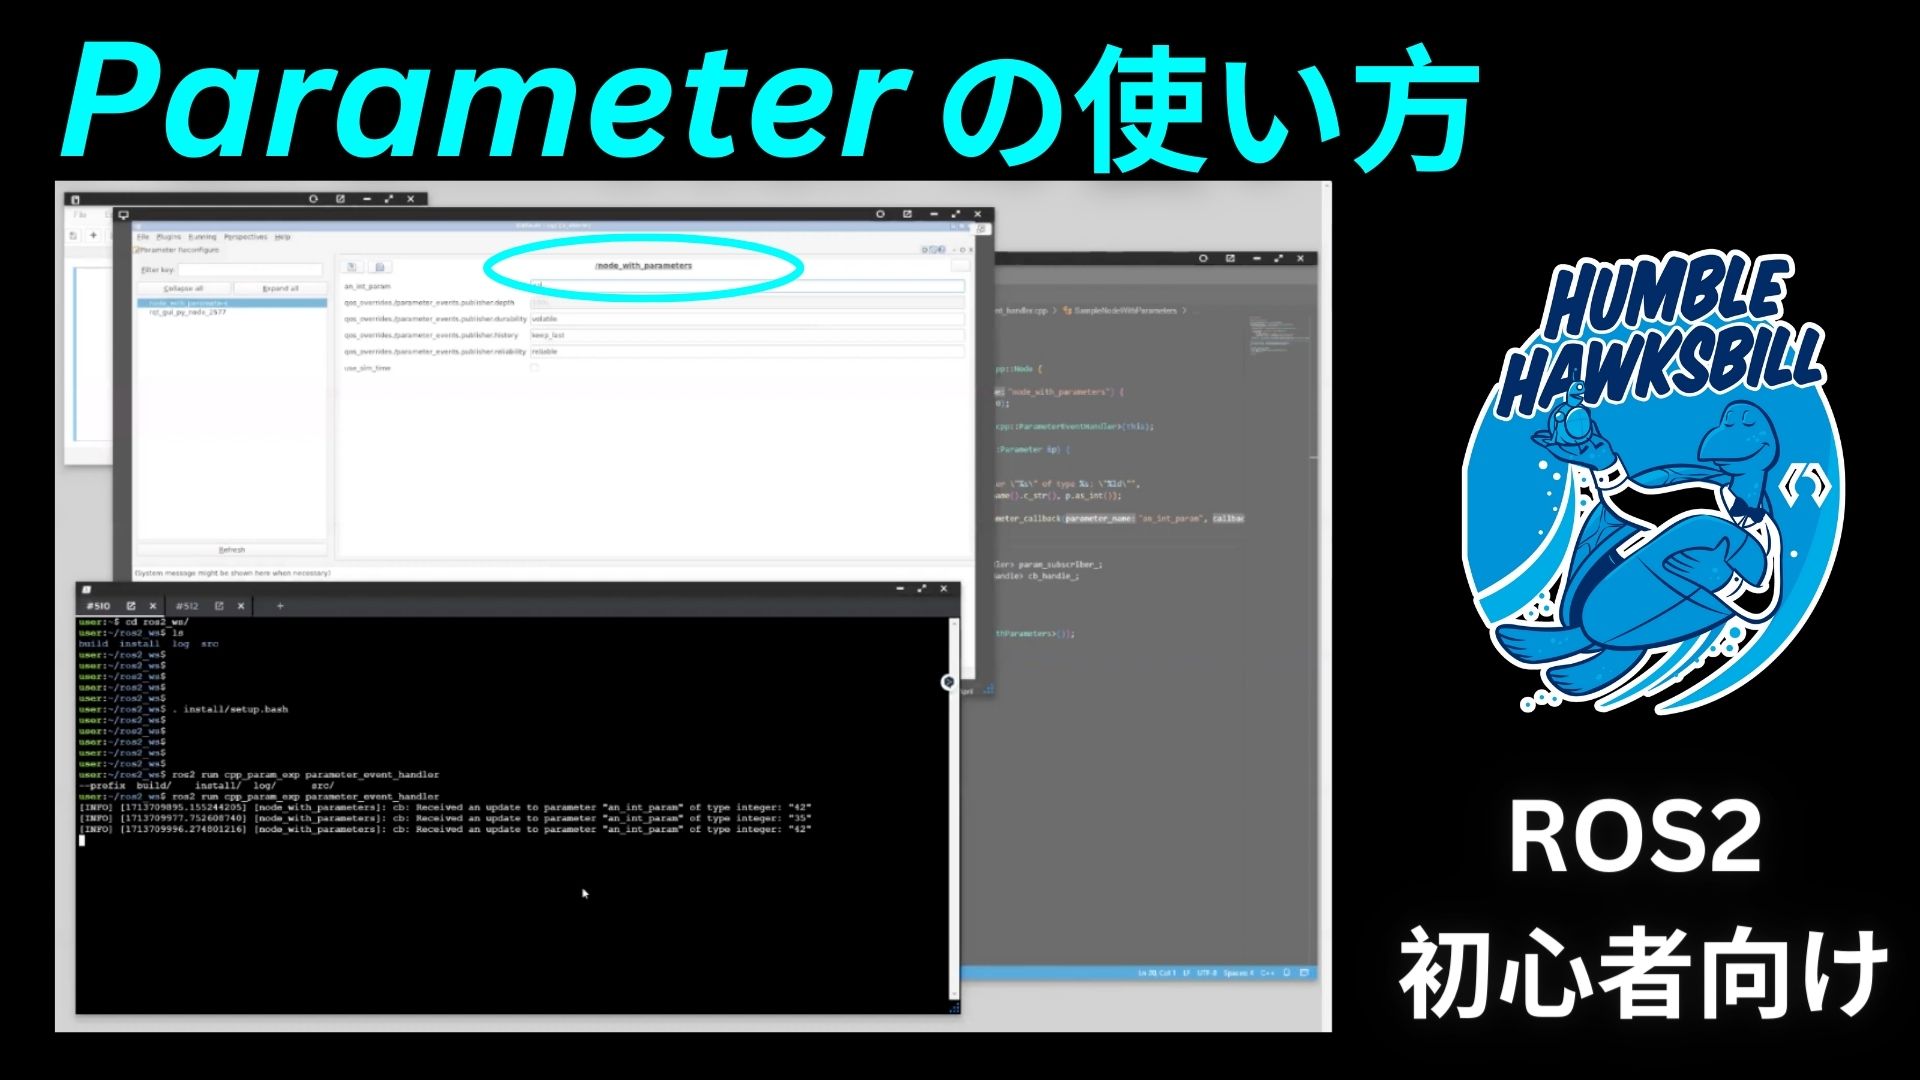
また,rqt_reconfigureを使ってguiでデータ設定をする事も出来ます。試しあれ。
[端末B]

 . install/setup.bash
ros2 run rqt_reconfigure rqt_reconfigure

Video Tutorial

launch をYAMLで記述する – ROS Japanese Tutorial

launch をYAMLで記述する – ROS Japanese Tutorial

This tutorial is created by Robotics Ambassador Takumi

Robotics Ambassador Program https://www.theconstruct.ai/robotics-ambassador/

何を学ぶか

このチュートリアルでは、YAML を使用して起動ファイルを作成および実行する方法を学習します。

環境

ROS2 Humble
rosject link https://app.theconstruct.ai/l/602c1f4b/

パッケージを作る

以下のコマンドでパッケージを作りましょう。

$ ros2 create pkg simple_yaml_launch

CMakeLists.txt と package.xml

CMakeListsを編集して、launchファイルをinstallディレクトリの適切な場所に設置するよう設定します。。

cmake:CMakeLists.txt
cmake_minimum_required(VERSION 3.8)
project(simple_yaml_launch)

if(CMAKE_COMPILER_IS_GNUCXX OR CMAKE_CXX_COMPILER_ID MATCHES "Clang")
add_compile_options(-Wall -Wextra -Wpedantic)
endif()

find_package(ament_cmake_auto REQUIRED)

ament_auto_package(
INSTALL_TO_SHARE launch
)

package.xmlを編集してament_cmake_autoを使う設定をします。

xml:package.xml
<?xml version="1.0"?>
<?xml-model href="http://download.ros.org/schema/package_format3.xsd" schematypens="http://www.w3.org/2001/XMLSchema"?>
<package format="3">
  <name>simple_yaml_launch</name>
  <version>0.0.0</version>
  <description>TODO: Package description</description>
  <maintainer email="user@todo.todo">user</maintainer>
  <license>TODO: License declaration</license>

  <buildtool_depend>ament_cmake_auto</buildtool_depend>

  <test_depend>ament_lint_auto</test_depend>
  <test_depend>ament_lint_common</test_depend>

  <export>
    <build_type>ament_cmake</build_type>
  </export>
</package>

launch ファイルを記述する

lanchファイルを作成しましょう

bash
cd ~/ros2_ws/src/simple_yaml_launch
mkdir launch
touch launch/turtle_sim_run.launch.yaml

作成したYAMLファイルを以下の様に編集します。
基本的にXMLでlaunchを記述する内容をYAMLに対応させていけば記述できます。

yaml:turtle_sim_run.launch.yaml
launch:
- node:
pkg: "turtlesim"
exec: "turtlesim_node"
name: "sim"
namespace: "turtle1"
コンパイルと実行

以下のコマンドでコンパイルを行います。

bash
cd ~/ros2_ws/
colcon build

無事コンパイルできたら、以下のコマンドで実行してみましょう。
turtle_simの画面が表示できたら成功です。

bash
. install/setup.bash
ros2 launch simple_yaml_launch turtle_sim_run.launch.yaml

別のターミナルを開いて以下のコマンドでturtlesimにトピックを送信してみます。
カメが円を描いて動いたら成功です。

bash
ros2 topic pub -r 1 /turtlesim1/turtle1/cmd_vel geometry_msgs/msg/Twist "{linear: {x: 2.0, y: 0.0, z: 0.0}, angular: {x: 0.0, y: 0.0, z: -1.8}}"


Video Tutorial

Pin It on Pinterest