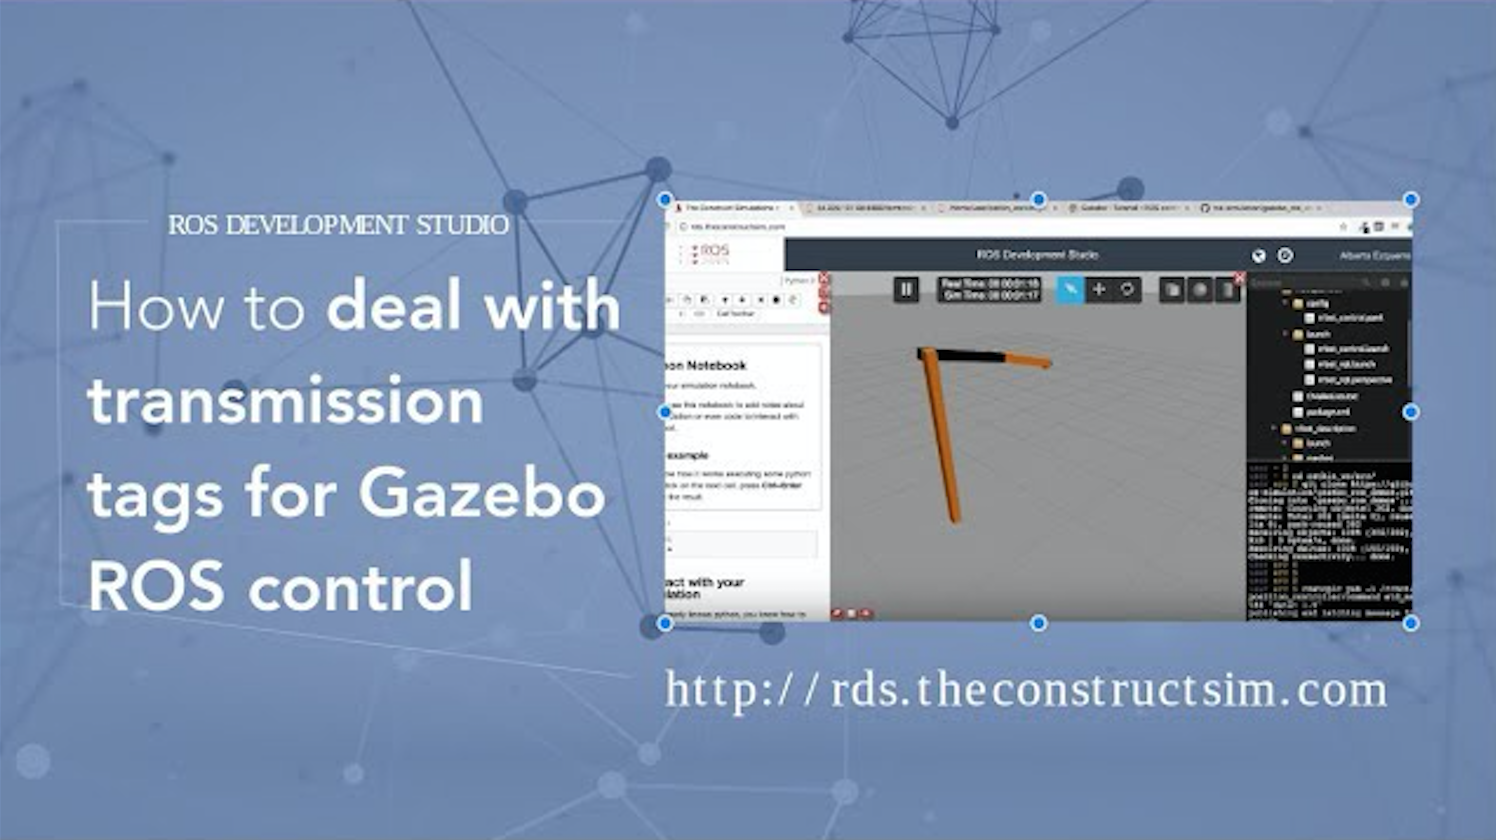
In this video answer, we walk through the basics of a Parrot AR Drone Gazebo simulation. You will learn the topics provided by the simulation and how to use a ROS program to interact, sending commands or reading sensors, with this robot.
[irp posts=”8190″ name=”Performing LSD-SLAM with a ROS based Parrot AR. Drone”]
Let’s get started!
Step1. Create a new project on ROS Development Studio(RDS)
We’ll use ROS Development Studio(RDS) for this tutorial, you can register a free account here.
After logging into RDS, click on create my project. It will move to the public simulation. You can find tons of public simulation here offered by the construct for free and start to work on any of them in just minutes. See how powerful RDS is! For today, we’ll use sjtu_drone_tc project. Please click on it. Click the tools menu, you can find some tools that help you develop in RDS. For example, you have the:
Shell: it is the terminal where you can execute commands in RDS. You can open it as many as you want in RDS!
IDE: It’s the best way to explore the source tree of your project. With a right click, you can add or remove files easily.
Jupyter Notebook: You can take notes for your project here. Since it’s working with python shell, you can directly execute python script here. A default notebook is provided to help you start the simulation.
Graphical tool: You can use all the GUIs supported by ROS here(e.g. RViz, rqt_gui…etc.)
Notice:
We are not automatically running the simulation when you start RDS now. In order to have the same simulation shown in the video. Please go Simulations->Select launch file->main.launch to launch it by yourself. Then you can type the following command in a shell to check if the topics are correctly publishing by the drone.
$ rostopic list
Step2. Get started with the simulation
Let’s get started by following the instruction in the default jupyter notebook. Open it from tools->jupyter notebook->default.ipynb.
We can make the drone take off with the shell command
$ rostopic pub /drone/takeoff std_msgs/Empty "{}"
You should see the drone take off as soon as you send this command.
Notice:
You can use the ROS auto-completion function while you are typing a ROS command by pressing [TAB]. It’s a good idea to do that when the command is too long and hard to type it correctly.
You can also land the drone with the following command
$ rostopic pub /drone/land std_msgs/Empty "{}"
You can also find an instruction in the default.ipynb shows you how to do it with a python script instead of sending commend from shell.
Step3. Program with drones
We have more examples for you! Let’s say, we want to use the position control function provided by the drone. We found there is a topic called /drone/posctrl, but how to use it? By typing
It seems that the topic is using the Bool message, but what is Bool message and how can I use it? You can further investigate it by typing
rosmsg show std_msgs/Bool
and got the output
bool data
The Bool message is very simple. It contains only one attribute called data with the type bool. Let’s try to send a message to this topic! Before we publish to the topic, we set up a monitor first with
rostopic echo /drone/posctrl
Then copy, paste and execute the following code in jupyter notebook.
which means the message is published correctly. We enable the position control function on the drone successfully. Similarly, you can move the drone by publishing Twist message to the /cmd_vel topic. Here is an example script
Now you know how to start programming drones easily with RDS! You can do lots of things in RDS(e.g. using the cameras on the drone to implement computer vision algorithms). If you are interested but have no ideas how to do it, you can check our Programming drones with ROS course on robot ignite academy!
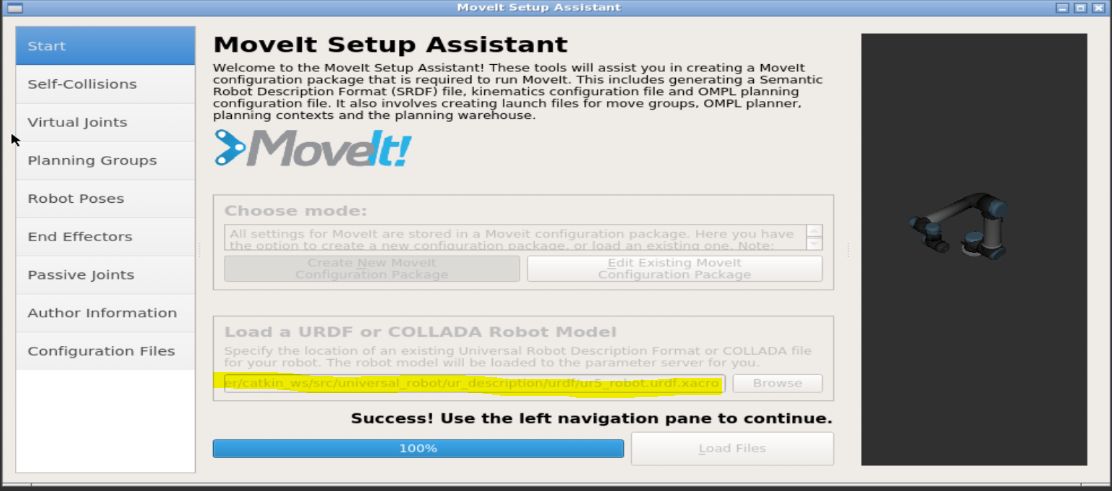
In this ROS video tutorial we will show you a quick example of how to control a Gazebo simulated ur5 robotic arm with MoveIt!.
* Get all the ROS code of the video in this link: http://www.rosject.io/l/c3b7cee/
Step 1. Create a project in ROS Development Studio(ROSDS)
We can do any ROS development we want easily, without setting up environment locally in ROSDS and that’s the reason why we will use ROSDS for this tutorial. If you haven’t had an account yet. You can create one here for free now. After logging in, let’s begin our journey by clicking on the create new project and call it demo.
Step 2. Clone the universal robot repo
Please open a shell in ROSDS(tools->shell) and type the following command to clone the repo from ROS Industrial
NOTICE: We now put every simulation-related content under simulation_ws
cd ~/simulation_ws/src
git clone https://github.com/ros-industrial/universal_robot.git
NOTICE: Then you can launch the simulation from Simulations->Select Launch file->ur5.launch
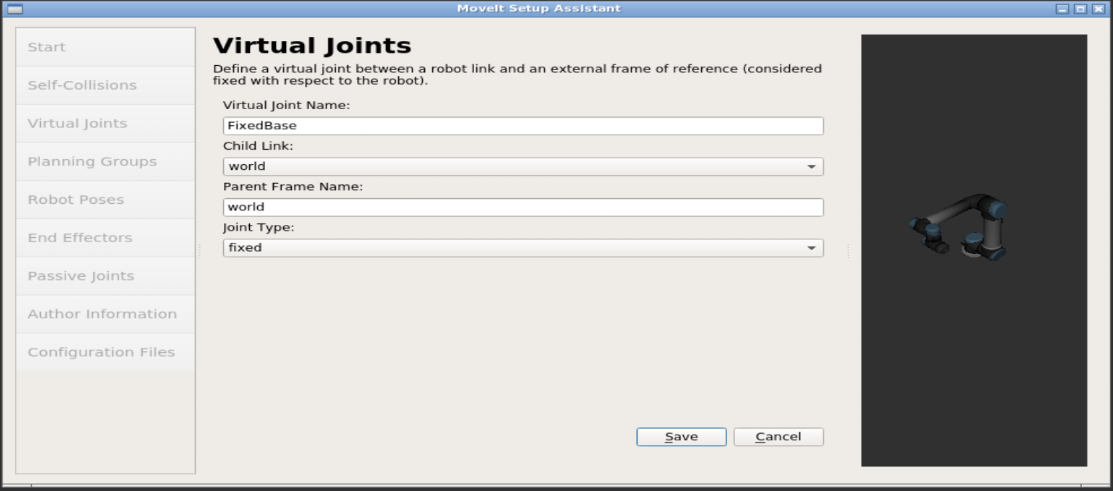
3.Virtual Joints: click add virtual joint then edit it as the following image.
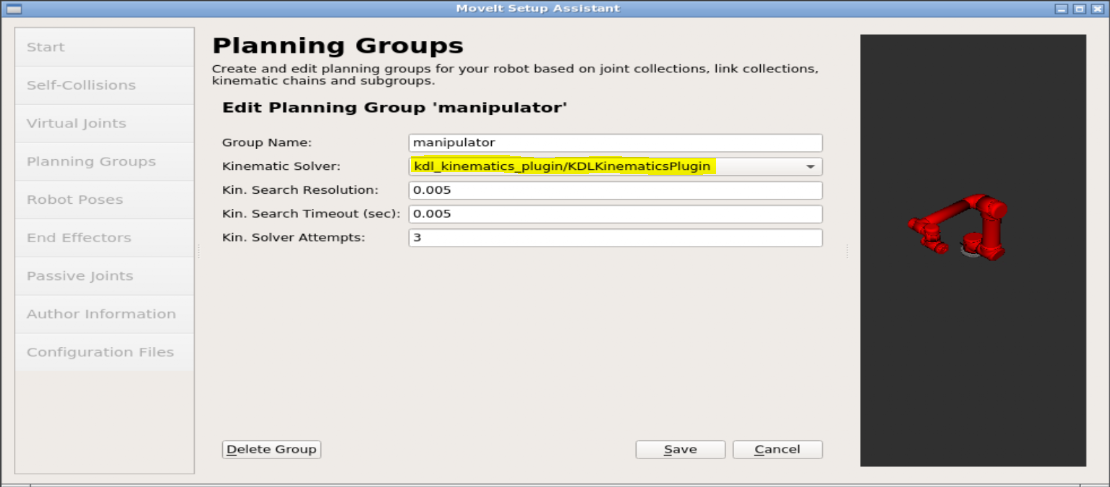
4.Planning Group: click add group then configure it as the following image. click on add kinetic chain and use base_link as Base Link and tool0 as Tip Link
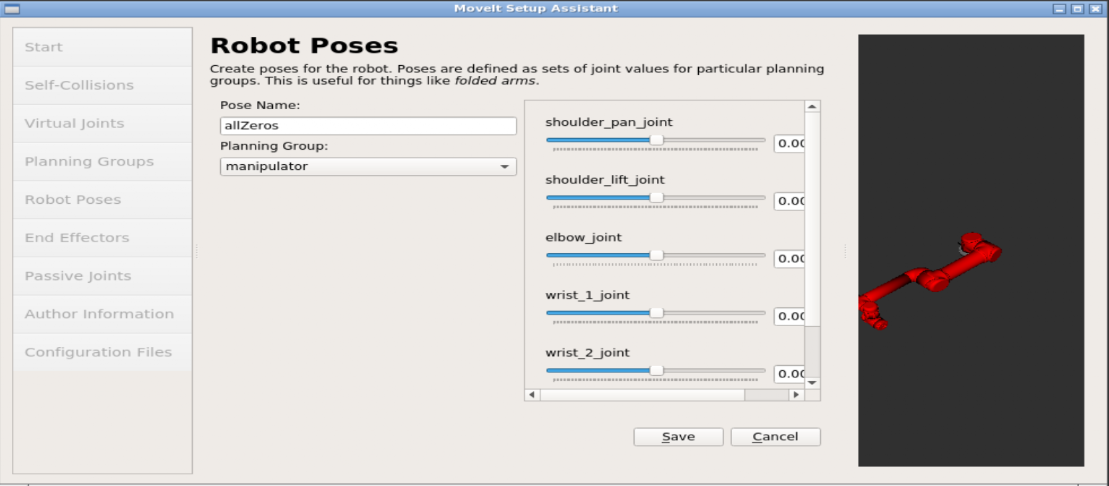
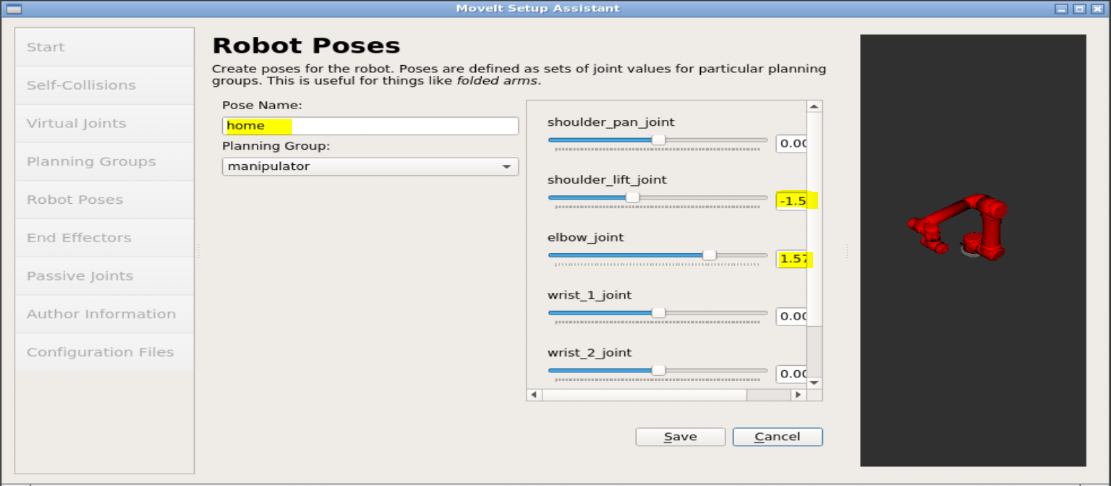
5.Robot Poses: Add the following poses
6.Skip the end effectors and passive joints to the author information
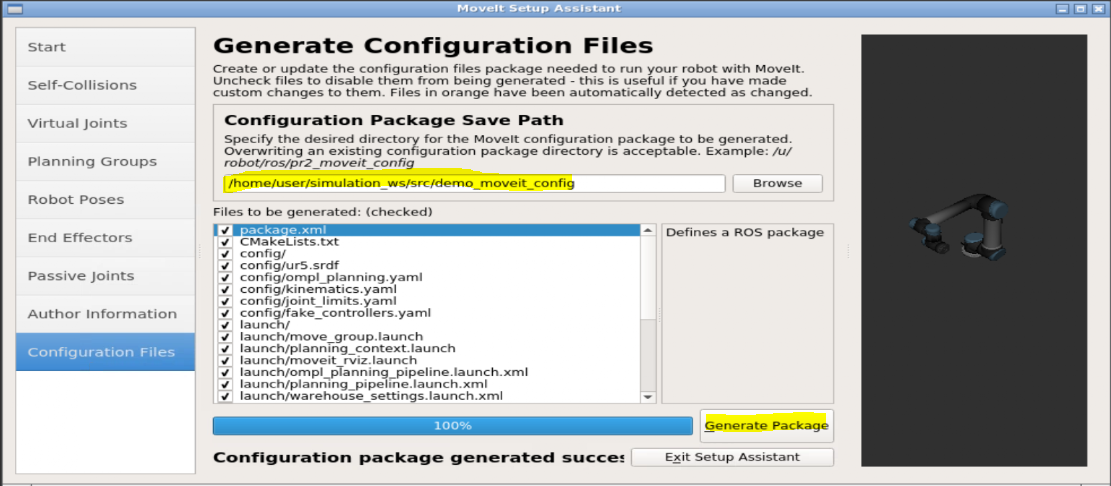
7. Finish and generate config file: select the folder under simulation_ws
Step 4. Configure the controller
Create a file called controller.yaml under /demo_moveit_config/config directory with the following content
When we are developing ROS Programs, it’s common to use “print” or “rospy.loginfo” to print some text on the screen in order to see if our program is working as expected.
The problem is that sometimes the “rospy.loginfo” doesn’t work and we have no idea why it happens.
In this video we show how to make the rospy.loginfo shows the texts on the screen, by answering a real question asked on ROS Answers.
If you want to see the question and get the code used on the video, you can find it on the following link:
If you are interested in any element of the video to be explained in extra videos please leave a comment telling us what you would like to be explained in more detail.
A video describes an already set up online environment where to teach ROS based robots to do things using the Open AI Gym. Everything is already set up and working. You just have to modify the environments to your necessities.
[irp posts=”8239″ name=”Using OpenAI with ROS”]
This video and the adaptation of OpenAI Gym Gazebo for the ROS Development Studio has been done by Vengatesan Govindaraju https://www.linkedin.com/in/vengatesang/
![[ROS Q&A] 003 – How to control a Gazebo simulated robot with MoveIt! ? (UR5)](https://www.theconstruct.ai/wp-content/uploads/2017/08/how-to-control-a-gazebo-simulated-robot-with-movelt.png)