Hello ROS Developers,
This is the 4th of 4 posts of the series Developing web interfaces for ROS Robots.
In this post, we are going to stream the images of the robot’s camera on the webpage.
1 – Loading a new JavaScript library
Before we go to the camera streaming server or the code to open its connection, we need to import the library that is in charge of making everything possible. That is the MJpeg library.
Let’s import it in our <head> section:
    ...

    <script src="https://cdn.jsdelivr.net/npm/eventemitter2@5.0.1/lib/eventemitter2.min.js">
    </script>
    <script type="text/javascript" src="https://static.robotwebtools.org/mjpegcanvasjs/current/mjpegcanvas.min.js">
    </script>

</head>
2 – Adding the camera viewer element to the page
Now for the webpage, we need a new element there which will define where the camera images are going to be shown:
Let’s use the div row we have created for the buttons (in the previous post) to embed the camera. It must be replaced by the following code:
        <div class="row">
            <div class="col-md-6 row">
                <div class="col-md-12 text-center">
                    <h5>Commands</h5>
                </div>

                <!-- 1st row -->
                <div class="col-md-12 text-center">
                    <button @click="forward" :disabled="loading || !connected" class="btn btn-primary">Go straight</button>
                    <br><br>
                </div>

                <!-- 2nd row -->
                <div class="col-md-4 text-center">
                    <button @click="turnLeft" :disabled="loading || !connected" class="btn btn-primary">Turn left</button>
                </div>
                <div class="col-md-4 text-center">
                    <br>
                    <button @click="stop" :disabled="loading || !connected" class="btn btn-danger">Stop</button>
                    <br>
                    <br>
                </div>
                <div class="col-md-4 text-center">
                    <button @click="turnRight" :disabled="loading || !connected" class="btn btn-primary">Turn right</button>
                </div>

                <!-- 3rd row -->
                <div class="col-md-12 text-center">
                    <button @click="backward" :disabled="loading || !connected" class="btn btn-primary">Go straight</button>
                </div>
            </div>

            <div class="col-md-6">
                <div id="mjpeg"></div>
            </div>
        </div>
Yes, the camera code is only the final part:
    ...
    <div class="col-md-6">
        <div id="mjpeg"></div>
    </div>
</div>
3 – Webserver for image streaming
The same way we need start rosbridge server, we need to start a specific ros process to stream the images:
rosrun web_video_server web_video_server _port:=11315
We are specifying the port at the end because of ROSDS, it provides us a specific address to this port. If you are working local, you can access it at locahost:<port>. The port number is shown in the terminal you run it.
4 – Adjusting JavaScript code
In our main.js file, let’s add the camera connector. It’s basically a way to make the pre-defined element (in our HTML) to receive the images.
- Create a new method:
        setCamera: function() {
            console.log('set camera method')
            this.cameraViewer = new MJPEGCANVAS.Viewer({
                divID: 'mjpeg',
                host: '54.167.21.209',
                width: 640,
                height: 480,
                topic: '/camera/rgb/image_raw',
                port: 11315,
            })
        },
Notice that you have to change the attributes host, topic and port accordling to your configuration.
The attributes width and height are going to be applied to the size of the element.
- Call the method whenever the rosbridge server is connected (inside the callback)
            this.ros.on('connection', () => {
                this.logs.unshift((new Date()).toTimeString() + ' - Connected!')
                this.connected = true
                this.loading = false
                this.setCamera()
            })
Pay attention to the IP we are using in the code! You must have a different IP than the one used in this post. If you are using ROSDS, get yout public IP executing the following command:
public_ip
If you are on your local computer, it must be:
localhost
5 – Testing the webpage
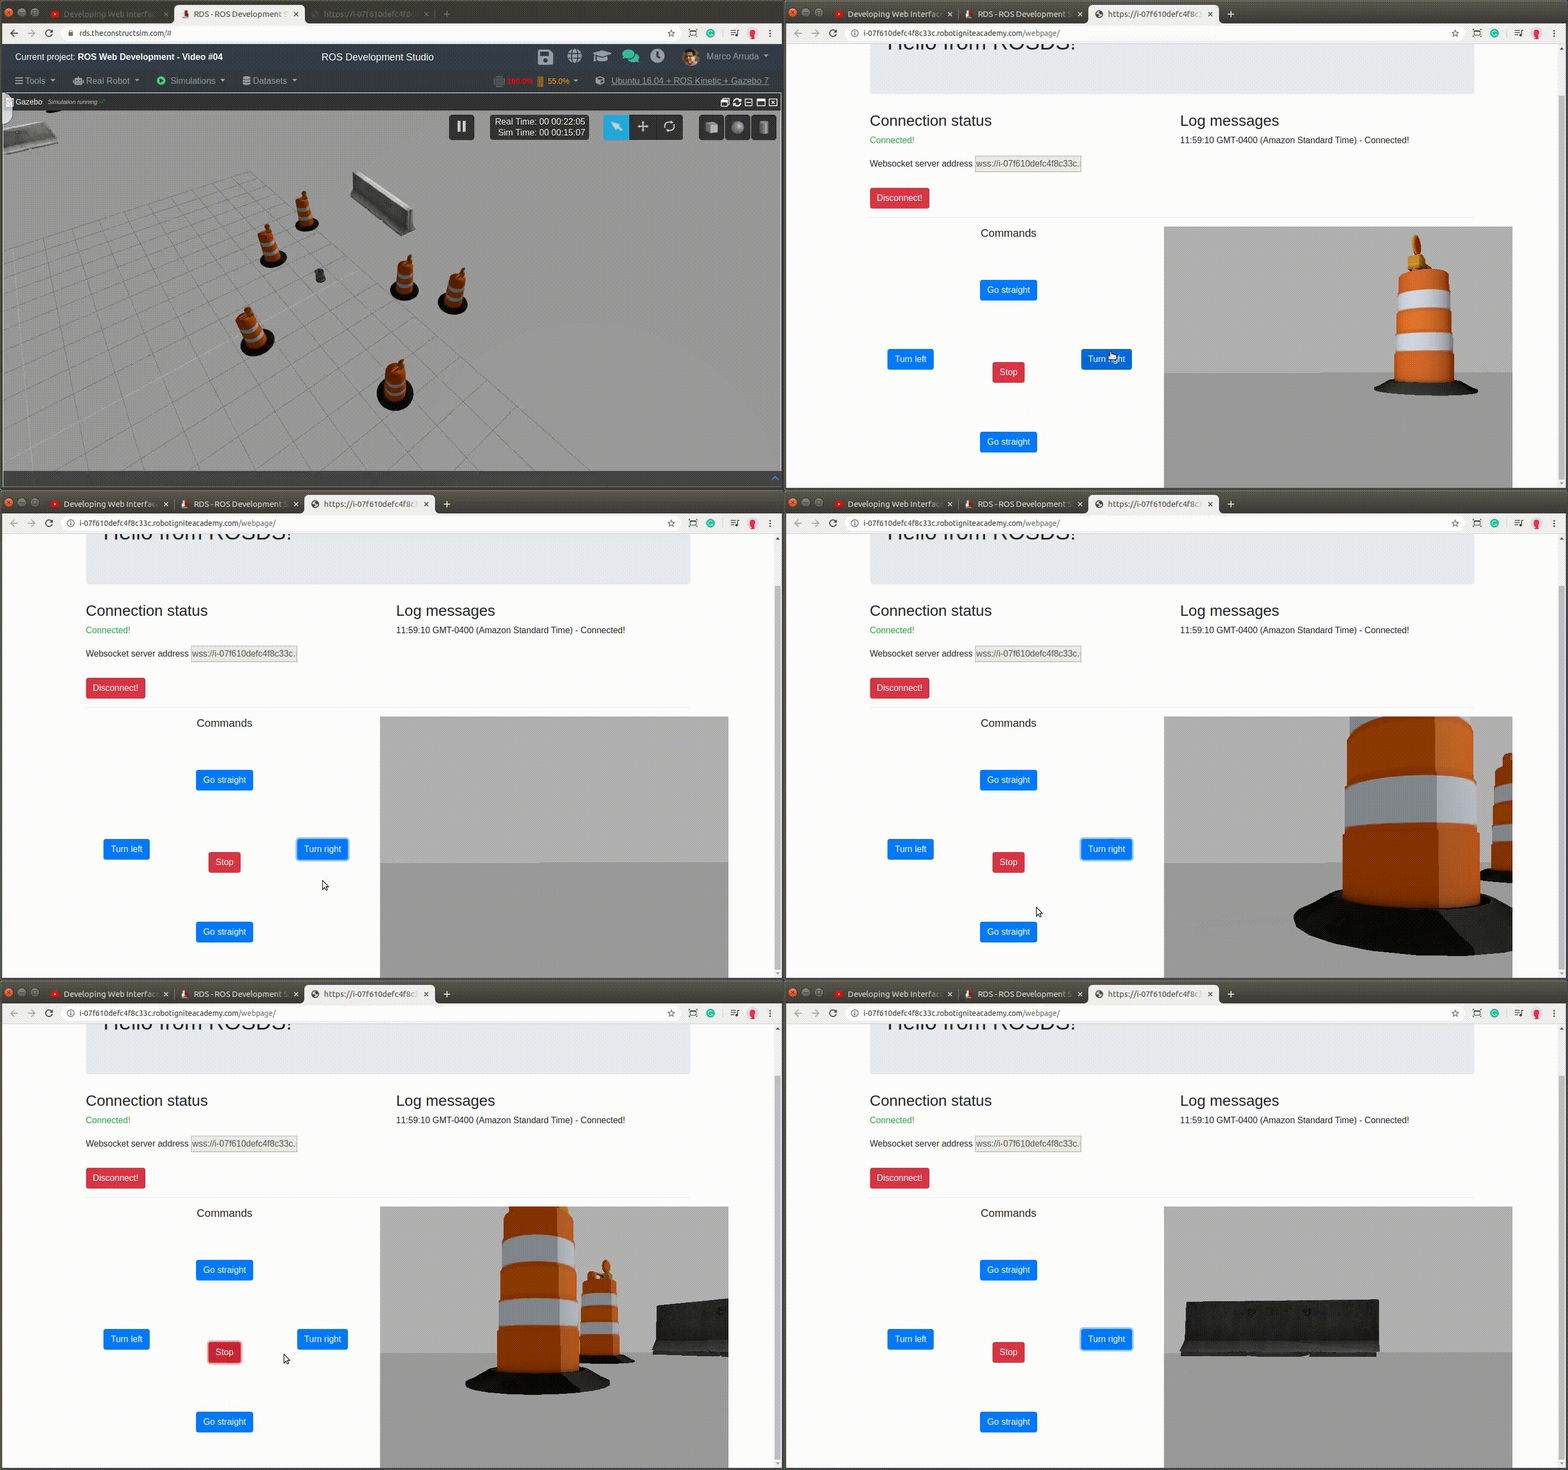
At this point you must have something similar to the image below:
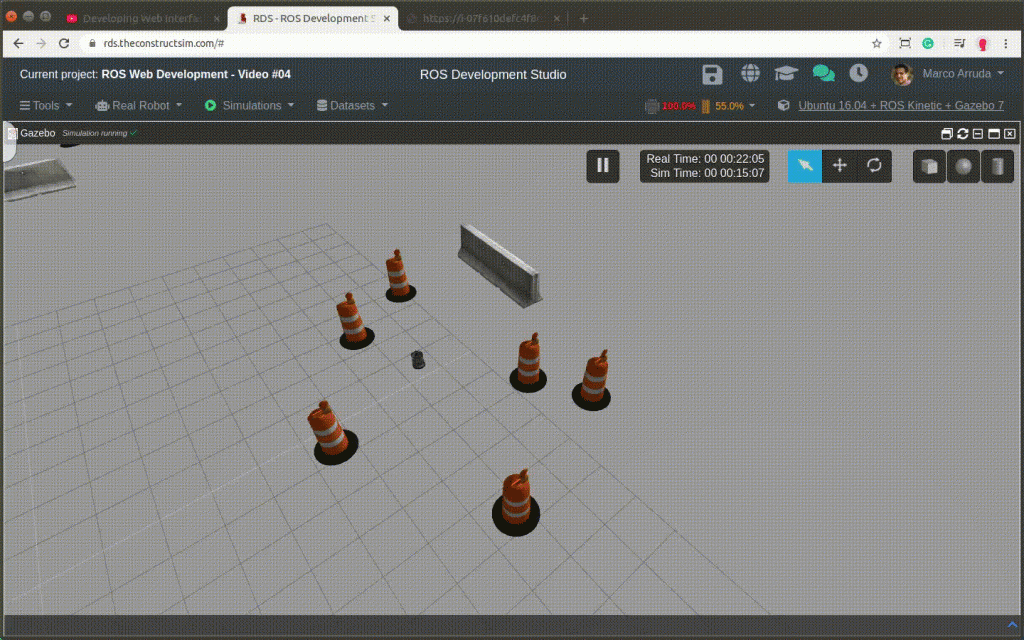
We have used a different world this time to have some obstacles that we can identify in the camera. You can switch between many other simulations to see different results on the camera!
ROSJect created along with the post:


0 Comments