XACROs
In this tutorial, we are going to explore the macros for URDF files, using XACRO files. At the end of this tutorial, we will have the same model organized in different files, in an organized way.
STEP 1
With the first part done we have a simple robot description working. Now.. Let’s organize the different parts of the robot in many files. We are going to do that using XACRO.
We started already creating a .xacro file, but we haven’t used the functions XACRO provides. This is what we are going to achieve to the end of this post.
First step: we are not going to only READ the robot description file, instead we’ll CONVERT the .xacro file into a .urdf using python command
in our launch file. Beginning from ~/simulation_ws/src/m2wr_description/rviz.launch, we have to replace line number 4:
<param name="robot_description" command="cat '$(find m2wr_description)/urdf/m2wr.xacro'"/>
to
<param name="robot_description" command="$(find xacro)/xacro.py '$(find m2wr_description)/urdf/m2wr.xacro'"/>
You can launch RViz and load the model as usual. The only difference is in the backgrounds, we are rendering URDF model from xacro commands.
Do the same for ~/simulation_ws/src/m2wr_description/spawn.launch, line number 4.
So.. what now? I have URDF being rendered by xacro commands. Let’s split our robot model into different files!
STEP 2
I’ll start creating a new file called ~/simulation_ws/src/m2wr_description/urdf/materials.xacro. Let’s cut and paste the following code from m2wr.xacro to materials.xacro
From m2wr.xacro, cut it:
<material name="black">
    <color rgba="0.0 0.0 0.0 1.0"/>
  </material>
  <material name="blue">
    <color rgba="0.203125 0.23828125 0.28515625 1.0"/>
  </material>
  <material name="green">
    <color rgba="0.0 0.8 0.0 1.0"/>
  </material>
  <material name="grey">
    <color rgba="0.2 0.2 0.2 1.0"/>
  </material>
  <material name="orange">
    <color rgba="1.0 0.423529411765 0.0392156862745 1.0"/>
  </material>
  <material name="brown">
    <color rgba="0.870588235294 0.811764705882 0.764705882353 1.0"/>
  </material>
  <material name="red">
    <color rgba="0.80078125 0.12890625 0.1328125 1.0"/>
  </material>
  <material name="white">
    <color rgba="1.0 1.0 1.0 1.0"/>
  </material>
And create a new file materials.xacro, beginning with XML definition of file and a <robot> tag:
<?xml version="1.0" ?>
<robot>
  <material name="black">
    <color rgba="0.0 0.0 0.0 1.0"/>
  </material>
  <material name="blue">
    <color rgba="0.203125 0.23828125 0.28515625 1.0"/>
  </material>
  <material name="green">
    <color rgba="0.0 0.8 0.0 1.0"/>
  </material>
  <material name="grey">
    <color rgba="0.2 0.2 0.2 1.0"/>
  </material>
  <material name="orange">
    <color rgba="1.0 0.423529411765 0.0392156862745 1.0"/>
  </material>
  <material name="brown">
    <color rgba="0.870588235294 0.811764705882 0.764705882353 1.0"/>
  </material>
  <material name="red">
    <color rgba="0.80078125 0.12890625 0.1328125 1.0"/>
  </material>
  <material name="white">
    <color rgba="1.0 1.0 1.0 1.0"/>
  </material>
</robot>
Great!
STEP 3
Let’s create one more file to handle gazebo stuff. It’s gonna be called: m2wr.gazebo and contains all gazebo properties we current have just below the include of materials.xacro. Our file ~/simulation_ws/src/m2wr_description/urdf/m2wr.gazebo is gonna be like:
<?xml version="1.0" ?>
<robot>
  <gazebo reference="link_chassis">
    <material>Gazebo/Orange</material>
  </gazebo>
  <gazebo reference="link_left_wheel">
    <material>Gazebo/Blue</material>
  </gazebo>
  <gazebo reference="link_right_wheel">
    <material>Gazebo/Blue</material>
  </gazebo>

  <gazebo>
    <plugin filename="libgazebo_ros_diff_drive.so" name="differential_drive_controller">
      <legacyMode>false</legacyMode>
      <alwaysOn>true</alwaysOn>
      <updateRate>20</updateRate>
      <leftJoint>joint_left_wheel</leftJoint>
      <rightJoint>joint_right_wheel</rightJoint>
      <wheelSeparation>0.2</wheelSeparation>
      <wheelDiameter>0.2</wheelDiameter>
      <torque>0.1</torque>
      <commandTopic>cmd_vel</commandTopic>
      <odometryTopic>odom</odometryTopic>
      <odometryFrame>odom</odometryFrame>
      <robotBaseFrame>link_chassis</robotBaseFrame>
    </plugin>
  </gazebo>
</robot>
STEP 4
Great! Let’s create one more file, in order to simplify the way we are defining the wheels of our robot!
Create a new file ~/simulation_ws/src/m2wr_description/urdf/macros.xacro. And fasten your seat belt because this part will contain some tricks and formulas to make things more dynamic!
Why is that? The robots has 2 wheels, the description of both of them are the same, except for their names and direction. We are going to create a MACRO that fills these properties (for joints and links) according to arguments we are going to pass from m2wr.xacro to macros.xacro.
Our macros.xacro will be like:
<?xml version="1.0"?>
<robot>
    <macro name="link_wheel" params="name">
        <link name="${name}">
            <inertial>
              <mass value="0.2"/>
              <origin rpy="0 1.5707 1.5707" xyz="0 0 0"/>
              <inertia ixx="0.000526666666667" ixy="0" ixz="0" iyy="0.000526666666667" iyz="0" izz="0.001"/>
            </inertial>
            <collision name="link_right_wheel_collision">
              <origin rpy="0 1.5707 1.5707" xyz="0 0 0"/>
              <geometry>
                <cylinder length="0.04" radius="0.1"/>
              </geometry>
            </collision>
            <visual name="${name}_visual">
              <origin rpy="0 1.5707 1.5707" xyz="0 0 0"/>
              <geometry>
                <cylinder length="0.04" radius="0.1"/>
              </geometry>
            </visual>
        </link>
    </macro>

    <macro name="joint_wheel" params="name child origin_xyz">
      <joint name="${name}" type="continuous">
        <origin rpy="0 0 0" xyz="${origin_xyz}"/>
        <child link="${child}"/>
        <parent link="link_chassis"/>
        <axis rpy="0 0 0" xyz="0 1 0"/>
        <limit effort="10000" velocity="1000"/>
        <joint_properties damping="1.0" friction="1.0"/>
      </joint>
    </macro>
</robot>
STEP 5
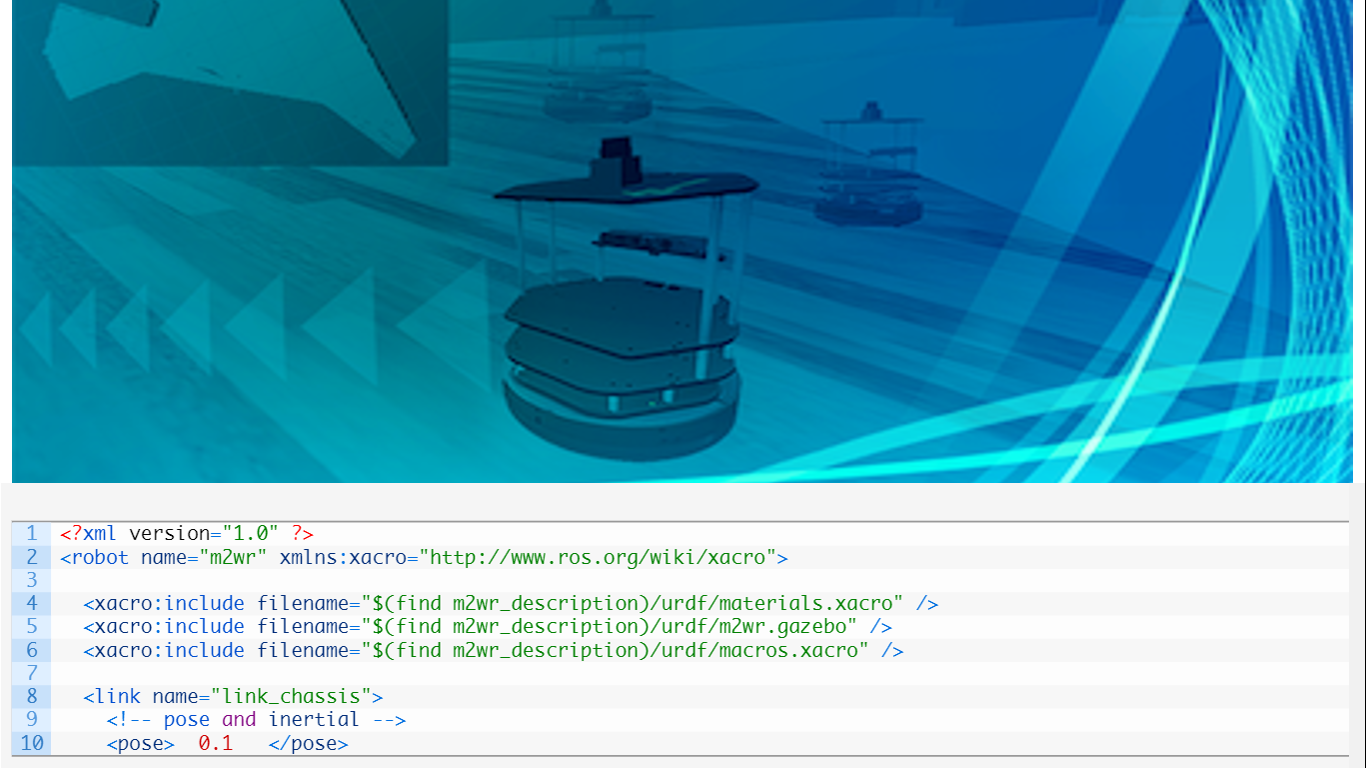
Finally, our main file m2wr.xacro will be summarized to this:
<?xml version="1.0" ?>
<robot name="m2wr" xmlns:xacro="http://www.ros.org/wiki/xacro">

  <xacro:include filename="$(find m2wr_description)/urdf/materials.xacro" />
  <xacro:include filename="$(find m2wr_description)/urdf/m2wr.gazebo" />
  <xacro:include filename="$(find m2wr_description)/urdf/macros.xacro" />

  <link name="link_chassis">
    <!-- pose and inertial -->
    <pose>0 0 0.1 0 0 0</pose>
    <inertial>
      <mass value="5"/>
      <origin rpy="0 0 0" xyz="0 0 0.1"/>
      <inertia ixx="0.0395416666667" ixy="0" ixz="0" iyy="0.106208333333" iyz="0" izz="0.106208333333"/>
    </inertial>
    <!-- body -->
    <collision name="collision_chassis">
      <geometry>
        <box size="0.5 0.3 0.07"/>
      </geometry>
    </collision>
    <visual>
      <origin rpy="0 0 0" xyz="0 0 0"/>
      <geometry>
        <box size="0.5 0.3 0.07"/>
      </geometry>
      <material name="blue"/>
    </visual>
    <!-- caster front -->
    <collision name="caster_front_collision">
      <origin rpy=" 0 0 0" xyz="0.35 0 -0.05"/>
      <geometry>
        <sphere radius="0.05"/>
      </geometry>
      <surface>
        <friction>
          <ode>
            <mu>0</mu>
            <mu2>0</mu2>
            <slip1>1.0</slip1>
            <slip2>1.0</slip2>
          </ode>
        </friction>
      </surface>
    </collision>
    <visual name="caster_front_visual">
      <origin rpy=" 0 0 0" xyz="0.2 0 -0.05"/>
      <geometry>
        <sphere radius="0.05"/>
      </geometry>
    </visual>
  </link>

  <xacro:link_wheel name="link_right_wheel" />
  <xacro:joint_wheel name="joint_right_wheel" child="link_right_wheel" origin_xyz="-0.05 0.15 0" />

  <xacro:link_wheel name="link_left_wheel" />
  <xacro:joint_wheel name="joint_left_wheel" child="link_left_wheel" origin_xyz="-0.05 -0.15 0" />
</robot>
We didn’t create a macro for the link link_chassis because we would have the almost the same amount of code, after all we have a single piece using that description. Of course, you can put it into a different file, in order to have your main description file having only includes of different pieces.
At this point, you must be able to launch an empty simulation and spawn the robot. The same applies to visualize the robot in RViz. We don’t have anything different in the results, but a much better to maintain code!
If you didn’t reach this point, you can copy the original project using this link: http://www.rosject.io/l/90f1026/
In this next tutorial, we’re going to insert a laser scan sensor to the robot.
[irp posts=”13043″ name=”Exploring ROS with a 2 Wheeled Robot #3 : URDF of a Laser Scan”]
Don’t forget! If you like this kind of post, participate! Comment or share it! Let us know your opinion!
Cheers!


0 Comments