Navigation is one of the challenging tasks in robotics. It’s not a simple task. To reach a goal or follow a trajectory, the robot must know the environment using and localize itself through sensors and a map.
But when we have a robot that has this information already, it’s possible to start navigating, defining points to follow in order to reach a goal. That’s the point we are starting from in this post. Using a very popular ground robot, Turtlebot 2, we are going to perform a navigation task, or part of it.
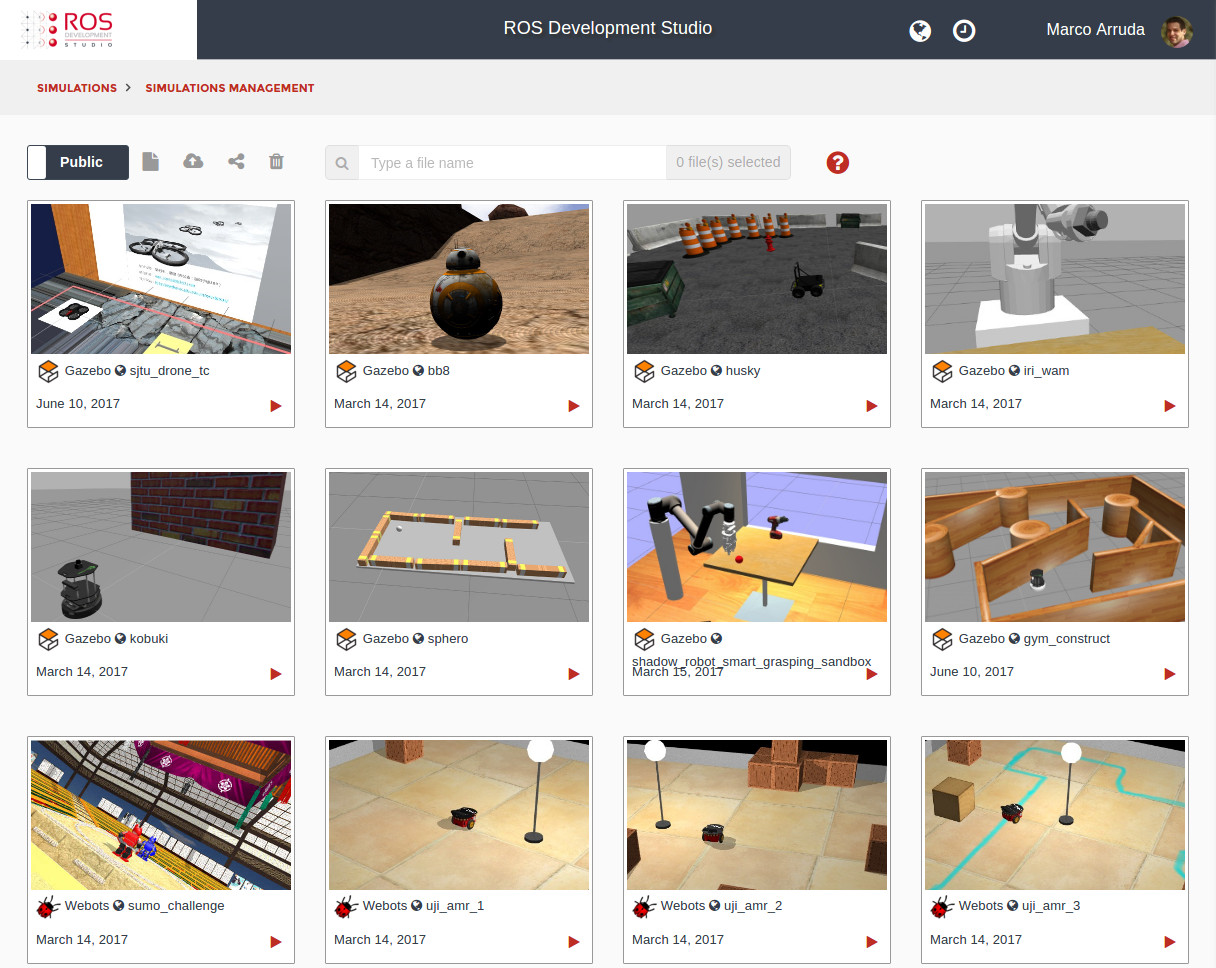
In order to program the robot, RDS (ROS Development Studio) is going to be used. Before starting, make sure you are logged in using your credentials and able to see the public simulation list (as below) and run the Kobuki gazebo simulation.
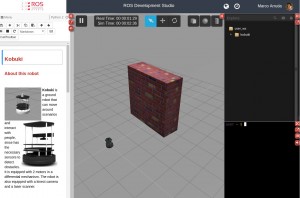
At this point, you should have the simulation running (image below). On the left side of the screen, you have a Jupyter Notebook with the basics and some instructions about the robot. On the center, the simulation. On the right, an IDE and a terminal. It’s possible to set each one in full screen mode or reorganize the screen, as you wish. Feel free to explore it!
So, you have already noticed the simulation is running, the robot is ready and you might have send some velocity commands already. Now let’s start showing our Action Server that sends the velocity commands in order to the robot achieve a goal. First thing, clone this repository [https://marcoarruda@bitbucket.org/TheConstruct/theconstruct_navigation.git] to your workspace (yes, your cloud workspace, using RDS!). Done? Let’s explore it for a while. Open the file src/theconstruct_navigation/go_to_point2d/src/go_to_point2d_server.cpp. You must have something like this:
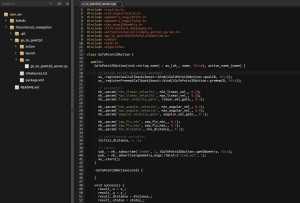
So, let’s start from the main function of the file. You can see there we are creating a node (ROS::init()) and a GoToPoint2DAction object. That’s the name of the class created at the beginning of the file. Once this variable is created, all methods and behaviors of the class will be working.
Now, taking a look inside the class we can see that there are some methods and attributes. The attributes are used only inside the class. The interface between the object and our ROS node are the methods, which are public.
When the object is instantiated, it registers some mandatory callbacks for the ActionLib library (goalCB, the one who receives the goal or points that we want to send the robot and preembCB, that allows us to interrupt the task). It’s also getting some parameters from the launch file. And finally, creating a publisher for the velocity topic and subscribing the odometry topic, which is used to localize the robot.
Let’s compile it! Using the terminal, enter into the directory catkin_ws (cd catkin_ws) and compile the workspace (catkin_make). It may take some minutes, because we are generating the message files. The action message is defined at the folder theconstruct_navigation/action/GoToPoint2D.action. You can explore there and see what it expects and delivers.
Finally, let’s run the action server. Use the launch file to set the parameters:
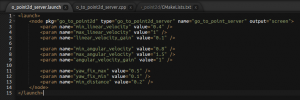
roslaunch go_to_point2d go_to_point2d_server.launch. Did the robot move? No? Great! The server is waiting for the messages, so it must not send any command until we create an action client and send the requests. First, let’s take a look in the launch file:
Notice that we have some parameters to define the limits of the robot operation. The first 3 sets the maximum and minimum linear velocity and a gain that is used to set the robot speed in a straight line, since it depends on the distance between the robot and the goal point.
The next 3 parameters set the same as the previous parameters, but for the angular velocity.
Finally the last 3 parameters are used to establish a tolerance for the robot. Well, the robot’s odometry and yaw measurement are not perfect, so we need to consider we’ll have some errors. The error cannot be too small, otherwise the robot will never get to its goal. If the error is too big, the robot will stop very far from the goal (it depends on the robot perception).
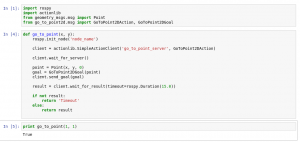
Now that we have the basic idea of how this package works, let’s use it! In order to create an action client and send a goal to the server, we are going to use the jupyter notebook and create a node in python. You can use the following code and see the robot going to the points:
Restart the notebook kernel before running it, because we have compiled a new package. Execute the cells, one by one, in the order and you’ll see the robot going to the point!
If you have any doubts about how to do it, please leave a comment. You can also check this video, where all the steps described in this post are done:
[ROS Q&A] How to test ROS algorithms using ROS Development Studio
Related ROS Answers Forum question: actionlib status update problem



0 Comments