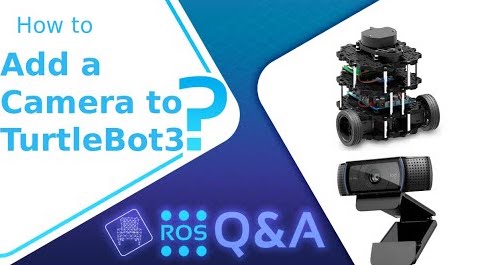
What we are going to learn
- How to install the ROS driver cv_camera
- How to add Camera link to TurtleBot3 transform frame tree
List of resources used in this post
- ROS Development Studio (ROSDS) —▸ http://rosds.online
- This post answers the following question: https://answers.ros.org/question/329102/which-camera-for-turtle3-burger-and-how-to-plug-it/
- cv_camera package: https://wiki.ros.org/cv_camera
- Turtlebo3 e-manual: https://emanual.robotis.com/docs/en/platform/turtlebot3/overview/
- Turtlebot3 repository: https://github.com/ROBOTIS-GIT/turtlebot3
- ROS2 Tutorials –▸
- ROS2 Basics in 5 Days (C++): https://app.theconstructsim.com/#/Course/61
- ROS2 Basics in 5 Days (Python): ROS2 Basics for Python
Installing ROS OpenCV camera driver
In order to install the cv_camera driver, the first thing you have to do is to connect to your real robot.
If you are reading this tutorial, then we assume you already know how to connect to your own robot using SSH.
After you have connected, you can install the cv_camera package either by directly compiling the https://github.com/OTL/cv_camera package or by using apt-get, which is what we are going to do.
Important things about the cv_camera package:
- It publishes the images on the ~image_raw topic (sensor_msgs/Image)
- It uses camera as the default value of the ~frame_id parameter.
Ok, let’s finally install the cv_camera package. The commands would be the following:
sudo apt update

sudo apt install ros-[YOUR-ROS-DISTRO]-cv-camera
Remember to replace [YOUR-ROS-DISTRO] with your ROS Distro, like melodic, or noetic, for example.
Once you have this installed in your TurtleBot3, you can plug it in a USB port and test it running this node:
source /opt/ros/[YOUR-ROS-DISTRO]/setup.bash

rosrun cv_camera cv_camera_node
If it works, then create a launch file for the node and also a static transform publisher from base_link to camera_link, indicating the approximate distance to where you end up placing your camera. The file would look something like this:
<launch>
  <node pkg="cv_camera" type="cv_camera_node" name="cv_camera" output="screen"/>
  <node pkg="tf" type="static_transform_publisher" name="camera_frames_pub" args="0.05 0.0 0.1 0 0 0 /base_link /camera 35"/>
</launch>
After launching the launch file we just created, using roslaunch your_package_name_here your_launch_file.launch, you should be able to list the topics by using rostopic list. Among other topics, the output of rostopic list should show the following topic:
/cv_camera
If you now open RViz, you should be able to see the camera.
If you want a step-by-step walk-through of the instructions above, you can check out this video below.
Youtube video
So this is the post for today. Remember that we have the live version of this post on YouTube. If you liked the content, please consider subscribing to our youtube channel. We are publishing new content ~every day.
Keep pushing your ROS Learning.
Related Courses & Training
If you want to learn more about ROS and ROS2, we recommend the following courses:


0 Comments