How can you test the ROS programs you are developing for a robot? If you are building a program for a robot, you have to make sure that it works properly, and for that, you need some tests.
If you think that you should test your programs directly on the robot, think again. Testing on the real robot is the last of the steps you will need to do in a testing procedure.
Why shouldn’t you test on the real robot first?:
- Because you can break the robot or harm somebody. When you start testing your code, many things could be wrong in your program, which can make the robot go crazy and crash into something. We are not talking about mobile apps here!! We are talking about physical stuff that can be broken or harm somebody.
- Because testing on the robot takes a lot more time than testing on your local machine. To test on a real robot, usually you will need to have a physical setup that you need to rebuild every time you test (because by doing the test, the physical robot or things in the environment will change position and need to be reset).
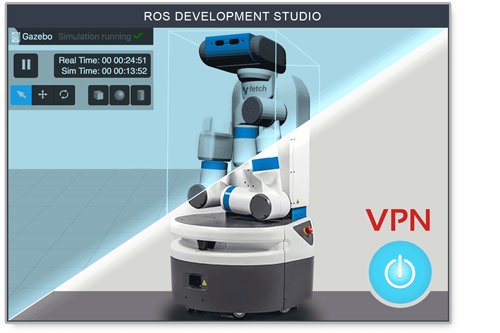
Testing with the real robot is mandatory for the creation of a program for a robot (at least at present). However, it is the last of the steps in the testing procedure.
The proper procedure for developing for robots works as follows:
- You create the ROS program on your computer.
- You test in some way on your computer that the program works.
- Based on the test results, you modify the program until the local testing works properly.
- Once you are sure that your program works correctly on your computer, then you test it on the real robot.
- You will see that on the real robot, the results differ from your local tests. Then, you need to modify the code again, as well as the local tests, in order to reflect the points that were not working on the robot
- Repeat the whole testing cycle until it works on your local machine first, and then on the real robot.
IMPORTANT: If you want to develop fast and with as little hassle as possible, you should never go and try your code on the robot until it works properly in the local test environment. If the code doesn’t work in your local tests, it is never going to work on the real robot!
Then the question is, how do you test your programs on your local machine?
Well, you have several options for how to test your ROS programs without having to use a robot.
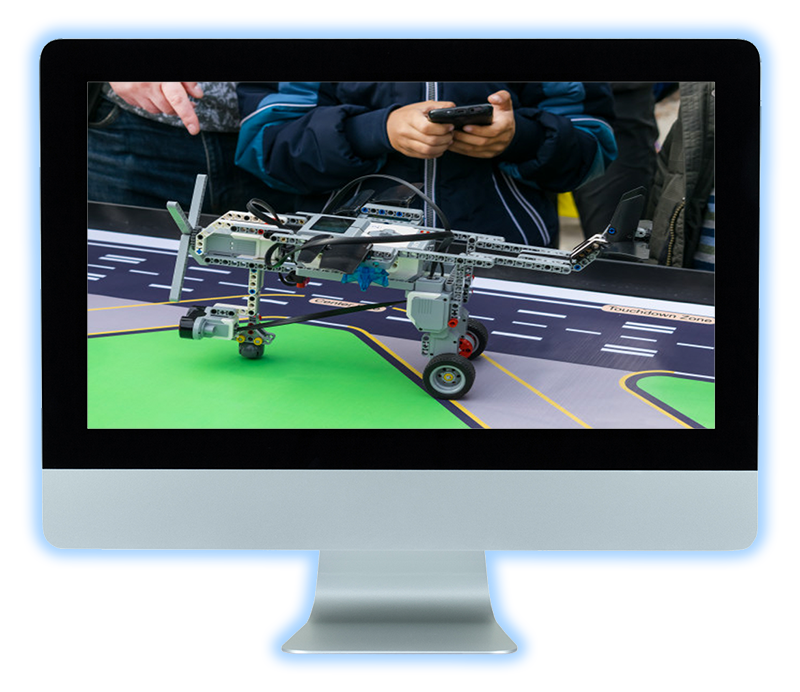
LEVELS OF TESTING
(This section’s information was extracted from ROS wiki)
Level 1. Library unit test (unittest, gtest): A library unit test should test your code sans ROS (if you are having a hard time testing sans ROS, you probably need to refactor your library). Make sure that your underlying functions are separated out and well tested with both common, edge, and error inputs. Make sure that the pre- and post- conditions of your methods are well tested. Also, make sure that the behavior of your code under these various conditions is well documented.
Level 2. ROS node unit test (rostest + unittest/gtest): Node unit tests start up your node and test its external API, i.e. published topics, subscribed topics, and services.
Level 3. ROS nodes integration/regression test (rostest + unittest/gtest): Integration tests start up multiple nodes and test that they all work together as expected.
Level 4. Functional testing: At this level, you should test the full robot application as a whole. Check that the robot is able to navigate, to grasp, to recognize people, etc… You will need to devise some tests that allow you to check that your code is still working on those functionalities. Usually, the tests are done using simulations or bag files.
CREATING TESTS FOR LEVELS 1,2, AND 3
In order to create tests for those levels, you will need to use the following libraries and packages:
- Specifically for Level 1 tests:
gtest: Also known as Google Test, it is used to build unit tests in C++. You can get the full documentation about usinggtestwith ROS at this link.unittest: The framework provided for doing unit tests in Python. You can get a full documentation about usingunittestwith ROS at this link.
- Additionally, for Level 2 and 3 tests:
rostest: It is a package provided by ROS that allows the creation of nodes with specific configurations to test that your whole ROS program is working properly inside the ROS framework by executing unit tests from within. That is why, for the creation of tests for those two levels, we need to combine code>rostest with either code>gtest (C++ case) orunittest(Python case). You can get a full documentation about using code>rostest at this link.
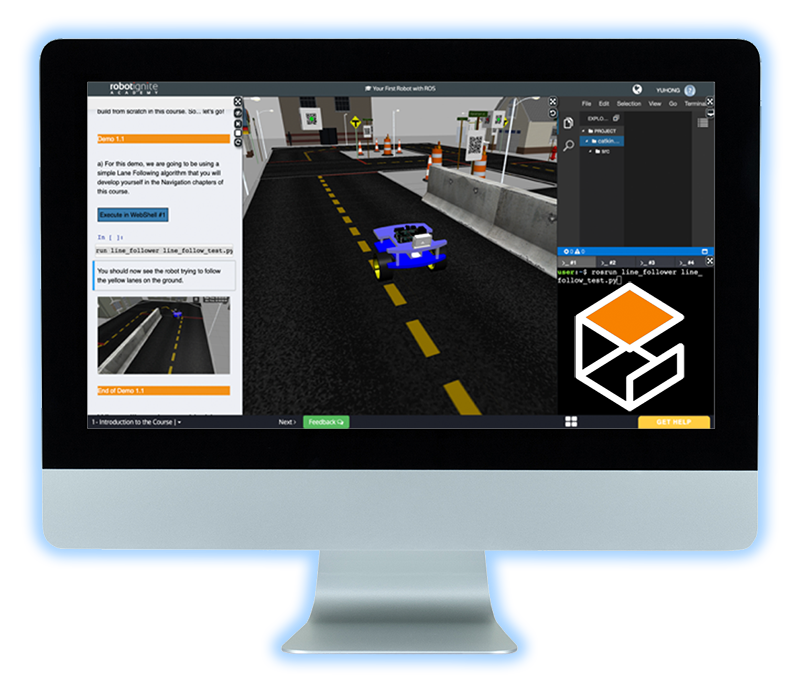
CREATING TESTS FOR LEVEL 4
Level 4 tests are the ones that allow us to test if the program is actually doing what it is supposed to do. For testing that, we have three different options, from furthest to closest to reality.
Using mocks for testing
If you are a developer, you already know what mocks are. You can create your own mocks that emulate the connection to the different parts of the ROS API of your robot. On this page, you will find information about how to use mocks in ROS.
Working with mocks in ROS is not an easy option since it requires a lot of preparation work. Also, it is of very limited usefulness since it can only produce what you have put on it previously. Using mocks is an option that I don’t really recommend for developing. Use it only if you cannot use any of the other options below or if you are creating unit tests for your code. In my personal experience, I have never used them, having always used one of the next two options.
Anyway, if you want to use mocks for your testing, then I recommend that you use the Google Test environment: https://github.com/google/googletest.
Using ROS bags for testing
ROS provides a way to record in a log file the full ROS API of a robot while it is running in a real-life situation, and then run it back later on another computer. This log file is called a ROS bag. When you run a ROS bag on another computer, the computer will be showing your programs the same ROS API that it had when it was recorded.
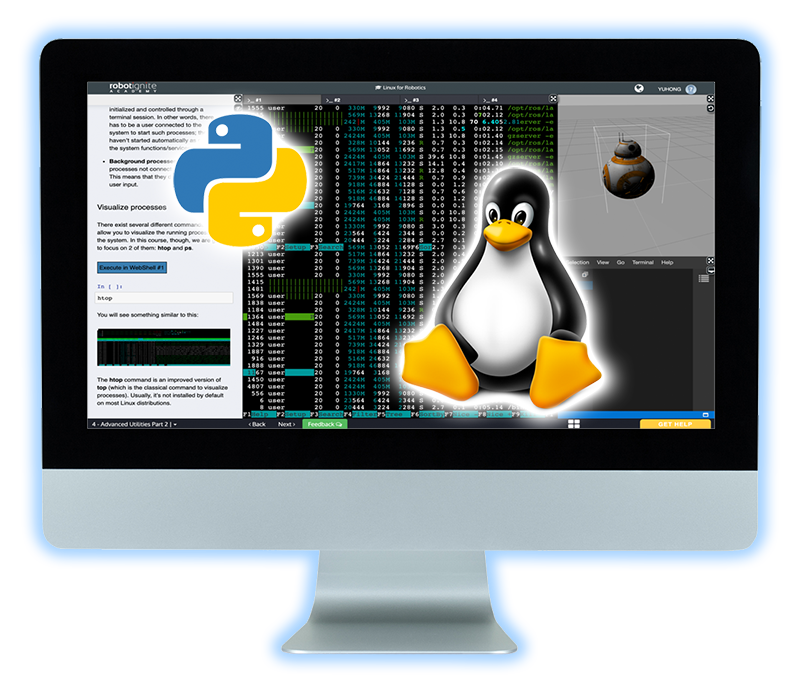
You can learn how to use ROS bags here: record and replay of ROS bags (http://wiki.ros.org/rosbag).
ROS bags are a limited system in the sense that you can only use them when you want to create an algorithm that does something from sensor data. This means that you cannot generate commands to the robot because it is only a reproduction of data, so you can get the same data as the robot got when recorded, but you cannot decide new actions for the robot.
Using simulations for testing
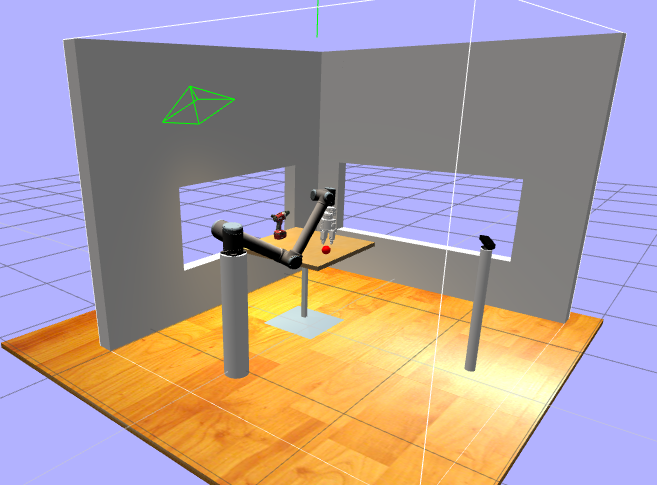
So, if you want to go pro without having to use a real robot, you should use simulations of robots. Simulations are the next step in software development. This is like having the real robot on your side, but without having to care for the electronics, hardware, and physical space. Roboticists consider simulations to be the ugly brother of robotics. Roboticists usually hate to use a simulation because it is not the real robot. Roboticists like contact with the real thing. But fortunately, we are talking with the opposite kind of people here, those who want to keep their hands off the hardware. For them, simulations are key.
Let me tell you one thing: even if roboticists do not admit it, robot simulations are the key to intelligent robots. More on that in future posts, but remember, you read it here first! (https://www.theconstruct.ai/simulations-key-intelligent-robots/)
In the case of simulations, you have a simulation of a robot running on your computer that can run and act like the real robot. Once the simulation is running, your computer will present to your programs the same ROS API that you would have had if you were in the computer of the real robot. That is exactly the same as in the case of the ROS bags, with the advantage that now you can actually send commands to the robot and the simulated robot will reply accordingly to your commands. That is awesome!
To use robot simulations, ROS provides the Gazebo simulator (http://gazebosim.org/) already installed. You only need to have the simulation of the robot you want to program for running. Usually, the company creators of the robot already provide the simulation of their robot, which you can download and run on the Gazebo simulator.
Installing simulations and making them run could be a little more of a hassle. In case you want to avoid all that work, I recommend you use our ROS Development Studio, which contains the simulations ready to be launched with a single click, as well as having ROS, IDE, and other useful tools.
DEBUGGING
You will also need to debug the code. Most of the IDEs we have presented provide integrated debugging tools on them. However, you can also use all the standard debugging tools used for typical C++ code, including but not limited to:
- GDB (http://sourceware.org/gdb/)
- Oprofile (http://oprofile.sourceforge.net/news/)
- Valgrind (http://valgrind.org/)
If you are a ROS beginner, check out the course ROS BASICS IN 5 DAYS to learn how to debug ROS programs, and you will learn the following by using robot simulations:
- Introduction to the main Debugging Tools: Logs, RQT, ROSBag…
- How to plot your Topic data
- 3D Visualization of Complex data (RViz)




Thanks for this very useful tutorial!
Some of the links provided does not work for me. E.g. “You can get a full documentation about using code>rostest at this link.”