This tutorial is created by Robotics Ambassador – Tung
Robotics Ambassador: theconstruct.ai/robotics-ambassador/
Xin chào các bạn!
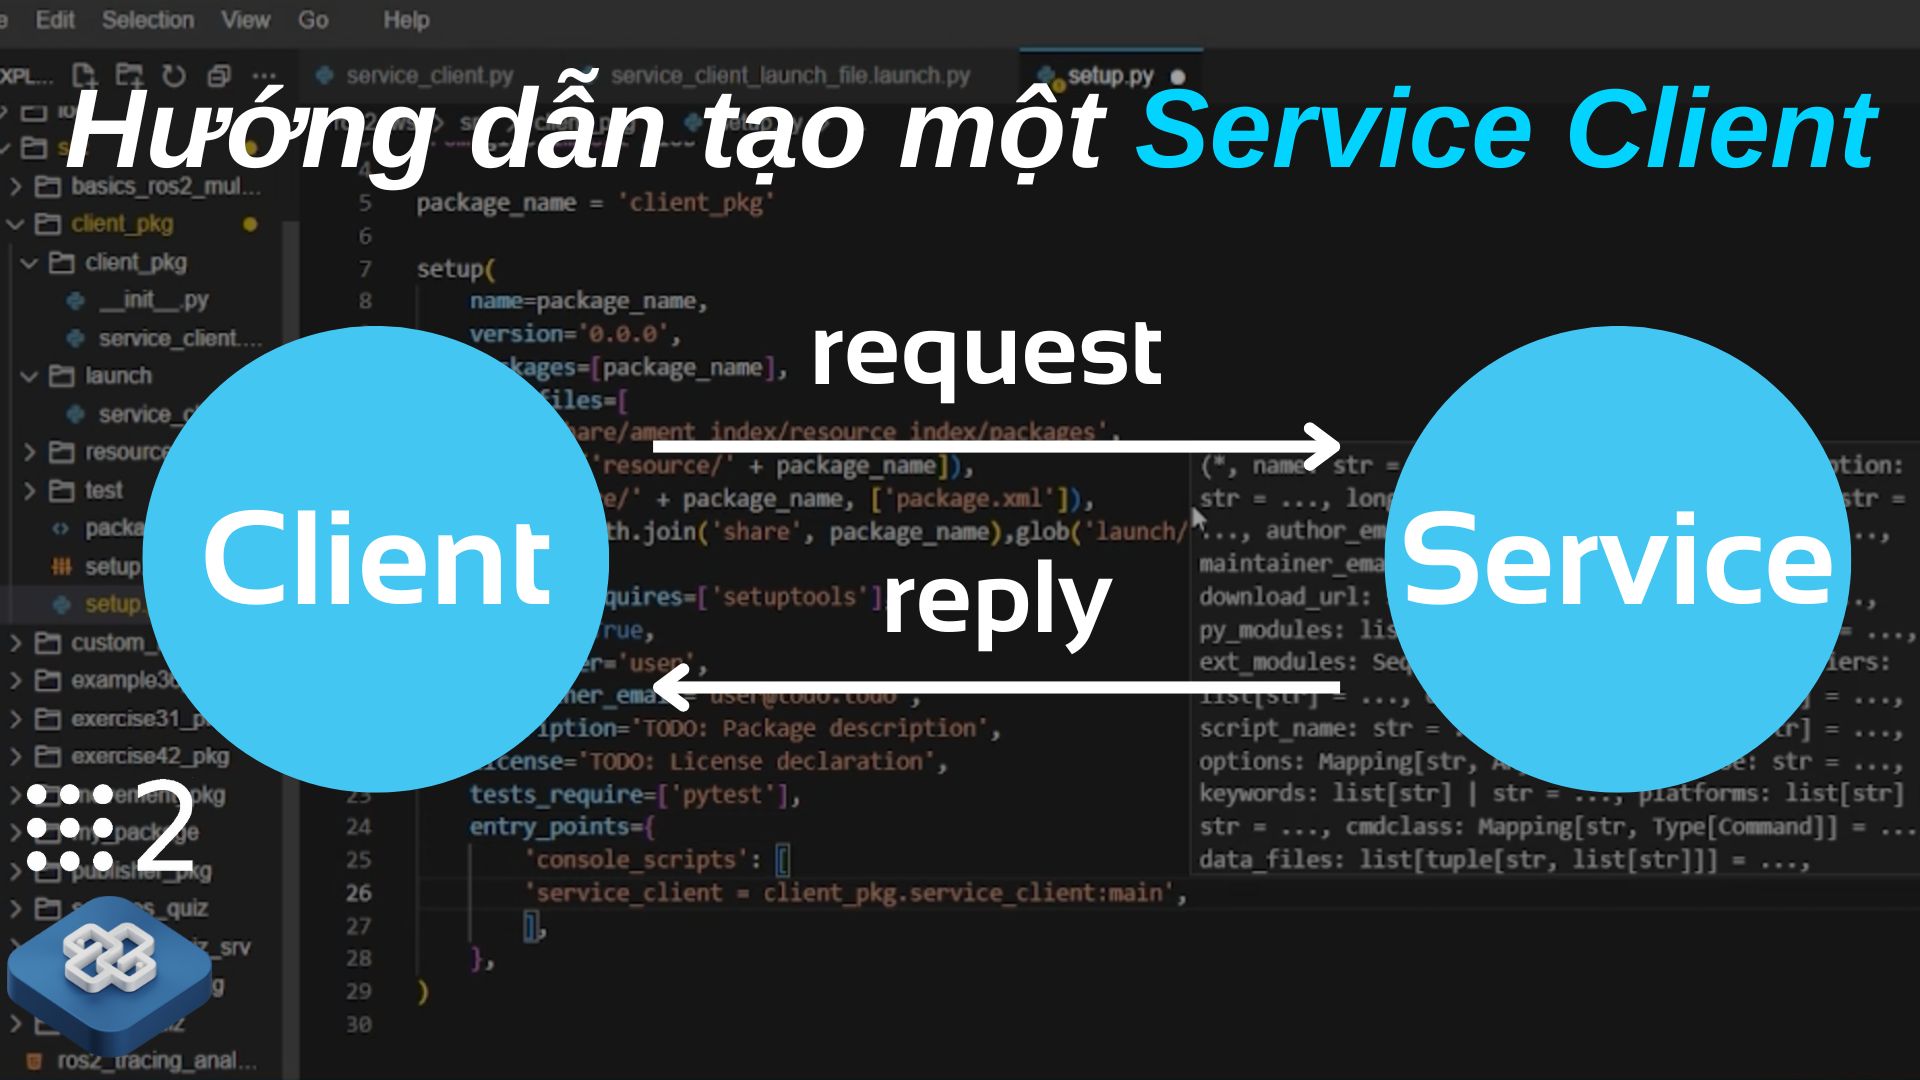
Hôm nay mình sẽ hướng dẫn các bạn cách tạo một Khách hàng Dịch vụ (Service Client) trong ROS2 sử dụng nền tảng của The Construct.
Nguồn tham khảo
- Nền tảng học ROS trực tuyến The Construct
- Khóa học ROS2 cơ bản (Python) ROS2 Basics in 5 Days
Trước khi đi vào nội dung chính, nếu bạn nào chưa biết Service trong ROS2 là gì thì mình khuyên các bạn nên ghé qua video mình hướng dẫn các câu lệnh cơ bản với Dịch vụ trong ROS2 trước ở link này nhé:
1. Tạo một package
Đầu tiên, chúng ta sẽ tạo một package chứa code của Client cần tạo.
Tạo một package mới tên là client_pkg trong thư mục ~/ros2_ws/src bằng các lệnh sau:
cd ~/ros2_ws/src
ros2 pkg create client_pkg --build-type ament_python --dependencies rclpy std_srvs
Chúng ta sẽ cần package std_srvs để giao tiếp với các Dịch vụ /moving và /stop như trong video trước mình đã hướng dẫn.
2. Tạo một tệp chứa nội dung code của Client
Tiếp theo, trong thư mục client_pkg của package vừa tạo, ta sẽ tạo một tệp mới tên là service_client.py chứa phần code chính của Service Client mà chúng ta muốn tạo. Các bạn hãy copy nội dung phần code sau vào trong file service_client.py vừa tạo:
# import the empty module from std_servs Service interface
from std_srvs.srv import Empty
# import the ROS2 Python client libraries
import rclpy
from rclpy.node import Node

class ClientAsync(Node):

    def __init__(self):
        # Here you have the class constructor

        # call the class constructor to initialize the node as service_client
        super().__init__('service_client')
        # create the Service Client object
        # defines the name and type of the Service Server you will work with.
        self.client = self.create_client(Empty, 'moving')
        # checks once per second if a Service matching the type and name of the Client is available.
        while not self.client.wait_for_service(timeout_sec=1.0):
            # if it is not available, a message is displayed
            self.get_logger().info('service not available, waiting again...')

        # create an Empty request
        self.req = Empty.Request()


    def send_request(self):

        # send the request
        self.future = self.client.call_async(self.req)

def main(args=None):
    # initialize the ROS communication
    rclpy.init(args=args)
    # declare the node constructor
    client = ClientAsync()
    # run the send_request() method
    client.send_request()

    while rclpy.ok():
        # pause the program execution, waits for a request to kill the node (ctrl+c)
        rclpy.spin_once(client)
        if client.future.done():
            try:
                # checks the future for a response from the Service
                # while the system is running.
                # If the Service has sent a response, the result will be written
                # to a log message.
                response = client.future.result()
            except Exception as e:
                # Display the message on the console
                client.get_logger().info(
                    'Service call failed %r' % (e,))
            else:
                # Display the message on the console
                client.get_logger().info(
                    'the robot is moving' )
            break

    client.destroy_node()
    # shutdown the ROS communication
    rclpy.shutdown()

if __name__ == '__main__':
    main()
Mình sẽ giải thích qua đoạn code này nhé. Phần code trong file này cũng đi theo cấu trúc chung của một node trong ROS2. Ở trong hàm main(), sau khi khởi tạo ROS2, chương trình sẽ khai báo object ClientAsync() mà chúng ta đã định nghĩa ở phần trên. Trong phần constructor của class ClientAsync(), lệnh để tạo Client là:
self.client = self.create_client(Empty, 'moving')
Lệnh này sẽ tạo một Client sử dụng kiểu dữ liệu Empty và kết nối tới một Service tên là /moving.
Tiếp theo, vòng lặp while được sử dụng để đảm bảo rằng Service Server (/moving ) đang hoạt động.
while not self.client.wait_for_service(timeout_sec=1.0):
Quay trở lại với hàm main(). Sau khi khởi tạo xong, yêu cầu sẽ được gửi tới server bằng hàmsend_request(). Hàm này rất quan trọng và có nội dung là:
self.future = self.client.call_async(self.req)
Câu lệnh này sẽ gửi một yêu cầu không đồng bộ (asynchronous request) tới Service Server bằng hàm call_async(). Sau đó, lưu phản hồi từ Server về biến self.future. Biến này cũng rất quan trọng. Sau khi tạo yêu cầu, Server sẽ ngay lập tức trả về future cho biết việc gọi và phản hồi được thực hiện (nhưng nó không chứa nội dung của phản hồi).
Cuối cùng, trong hàm main() là vòng lặp while:
while rclpy.ok():
        # pause the program execution, waits for a request to kill the node (ctrl+c)
        rclpy.spin_once(client)
        if client.future.done():
            try:
                # checks the future for a response from the Service
                # while the system is running.
                # If the Service has sent a response, the result will be written
                # to a log message.
                response = client.future.result()
            except Exception as e:
                # Display the message on the console
                client.get_logger().info(
                    'Service call failed %r' % (e,))
            else:
                # Display the message on the console
                client.get_logger().info(
                    'the robot is moving' )
            break
Khi chương trình đang chạy (rclpy.ok()), nó sẽ liên tục kiểm tra xem phản hồi từ dịch vụ đã hoàn thành hay chưa:
if client.future.done():
Nếu nó đã hoàn thành thì chương trình sẽ nhận được giá trị của phản hồi từ Server:
response = client.future.result()
Trong trường hợp này, vì chúng ta đang làm việc với một phản hồi kiểu Empty nên chúng ta sẽ không làm gì cả.
Trong khi đợi phản hồi hoàn thành của Dịch vụ, chương trình sẽ in ra các thông tin vào nhật ký node bằng lệnh:
client.get_logger().info('the robot is moving' )
Và cuối cùng phải kể đến dòng lệnh sau:
rclpy.spin_once(client)
Dòng lệnh này tương tự như lệnh rclpy.spin() nhưng chỉ quay vòng node đó một lần.
3. Tạo một tệp launch
Tiếp theo, chúng ta sẽ tạo một file launch để khởi tạo client này.
Tạo một file launch tên là service_client_launch_file.launch.py bằng các lệnh sau:
cd ~/ros2_ws/src/client_pkg
mkdir launch
cd launch
touch service_client_launch_file.launch.py
chmod +x service_client_launch_file.launch.py
Mở file launch vừa tạo và thêm những dòng sau vào:
from launch import LaunchDescription
from launch_ros.actions import Node

def generate_launch_description():
    return LaunchDescription([
        Node(
            package='client_pkg',
            executable='service_client',
            output='screen'),
    ])
4. Sửa tệp setup.py
Sau khi tạo xong file launch, chúng ta sẽ thêm một số dòng code vào file setup.py để cài đặt tệp launch mà chúng ta vừa mới tạo và thêm entry points vào executable cho script service_client.py
from setuptools import setup
import os
from glob import glob

package_name = 'client_pkg'

setup(
    name=package_name,
    version='0.0.0',
    packages=[package_name],
    data_files=[
        ('share/ament_index/resource_index/packages',
            ['resource/' + package_name]),
        ('share/' + package_name, ['package.xml']),
        (os.path.join('share', package_name), glob('launch/*.launch.py'))
    ],
    install_requires=['setuptools'],
    zip_safe=True,
    maintainer='user',
    maintainer_email='user@todo.todo',
    description='TODO: Package description',
    license='TODO: License declaration',
    tests_require=['pytest'],
    entry_points={
        'console_scripts': [
        'service_client = client_pkg.service_client:main',
        ],
    },
)
5. Biên dịch gói vừa tạo
Sau khi code xong, chúng ta sẽ đến với bước biên dịch chương trình. Ta thực hiện các lệnh sau:
cd ~/ros2_ws
colcon build --packages-select client_pkg
source ~/ros2_ws/install/setup.bash
6. Cuối cùng khởi động node Service Server trên Terminal
Node Client vừa tạo được khởi động bằng lệnh sau:
ros2 launch client_pkg service_client_launch_file.launch.py
Sau khi dòng code này chạy, chúng ta sẽ thấy robot bắt đầu di chuyển ngẫu nhiên. Điều này chứng tỏ Service Server /moving đã nhận được yêu cầu từ Client và thực hiện yêu cầu đó.
Chúc các bạn thực hành thành công.
Video Tutorial


0 Comments