Updated 07 August 2023
What we are going to learn
- How to build a robot in a matter of minutes
- How to see the robot in RViz
- How to move the parts of the robot using Joint State Publisher
List of resources used in this post
- Use the rosject: https://app.theconstructsim.com/l/bc1c398/
- The Construct: https://app.theconstructsim.com/
- My Robot Manipulator repository: https://bitbucket.org/theconstructcore/my-robotic-manipulator
- ROS Courses:
- URDF for Robot modeling: https://app.theconstructsim.com/Course/13
- ROS2 Courses:
- URDF for Robot Modeling in ROS2 : https://app.theconstructsim.com/courses/83
- ROS2 Basics in 5 Days Humble (Python): https://app.theconstructsim.com/Course/132
- ROS2 Basics in 5 Days Humble (C++): https://app.theconstructsim.com/Course/133
Overview
Based on the YouTube video series, we’ll learn in this post the steps to achieve the final result of the series!
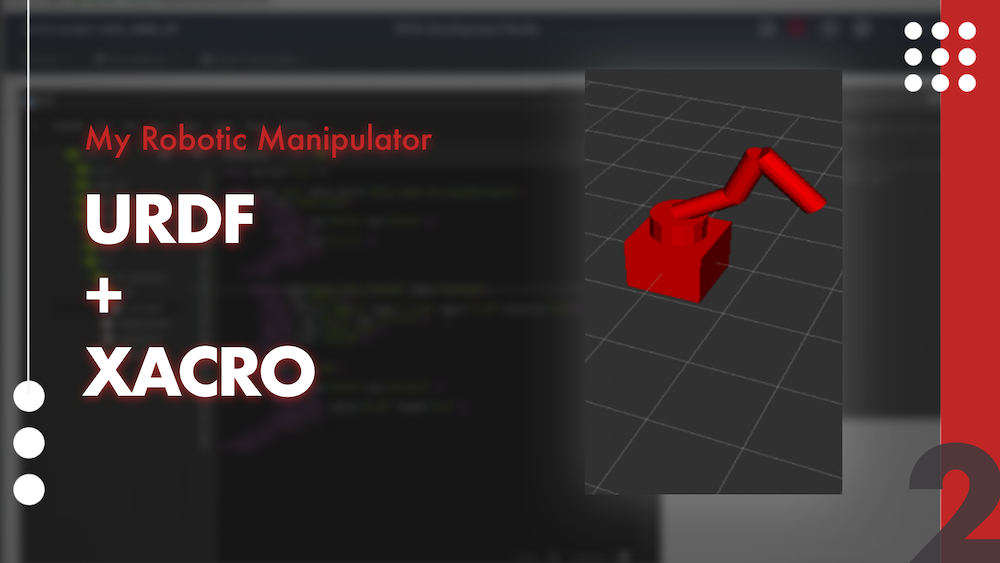
In this post number #2, I’m gonna show how to use XACROs in order to simplify a URDF file. Up to the end of the post, we’ll have the complete model of the robot, which includes 6 links in total, and visualize it in RViz!
This post is basically a continuation of what we saw in Post 1: https://www.theconstruct.ai/ros-projects-robotic-manipulator-part-1-basic-urdf-rviz/
ROS Inside!
Before anything else, if you want to use the logo above on your own robot or computer, feel free to download it and attach it to your robot. It is really free. Find it in the link below:
Opening the rosject
In order to follow this tutorial, we need to have ROS installed in our system, and ideally a ROS Workspace (it can be named simulation_ws). To make your life easier, we have already prepared a rosject with a simulation for that: https://app.theconstructsim.com/l/bc1c398/.
You can download the rosject on your own computer if you want to work locally, but just by copying the rosject (clicking the link), you will have a setup already prepared for you.
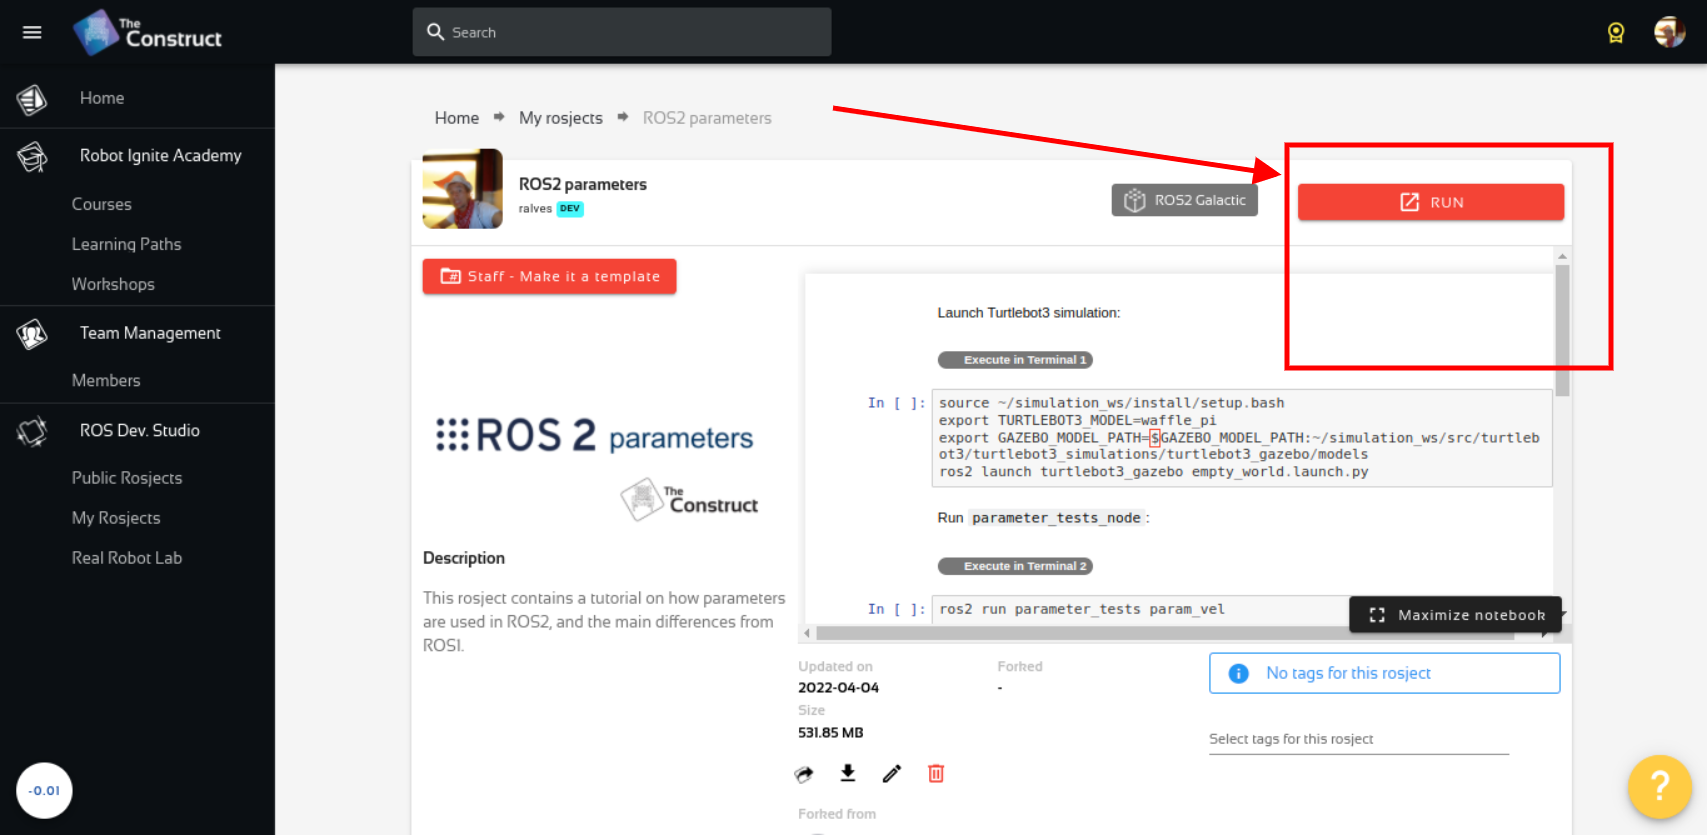
After the rosject has been successfully copied to your own area, you should see a Run button. Just click that button to launch the rosject (below you have a rosject example).
After pressing the Run button, you should have the rosject loaded. Now, let’s head to the next section to get some real practice.
Open a terminal
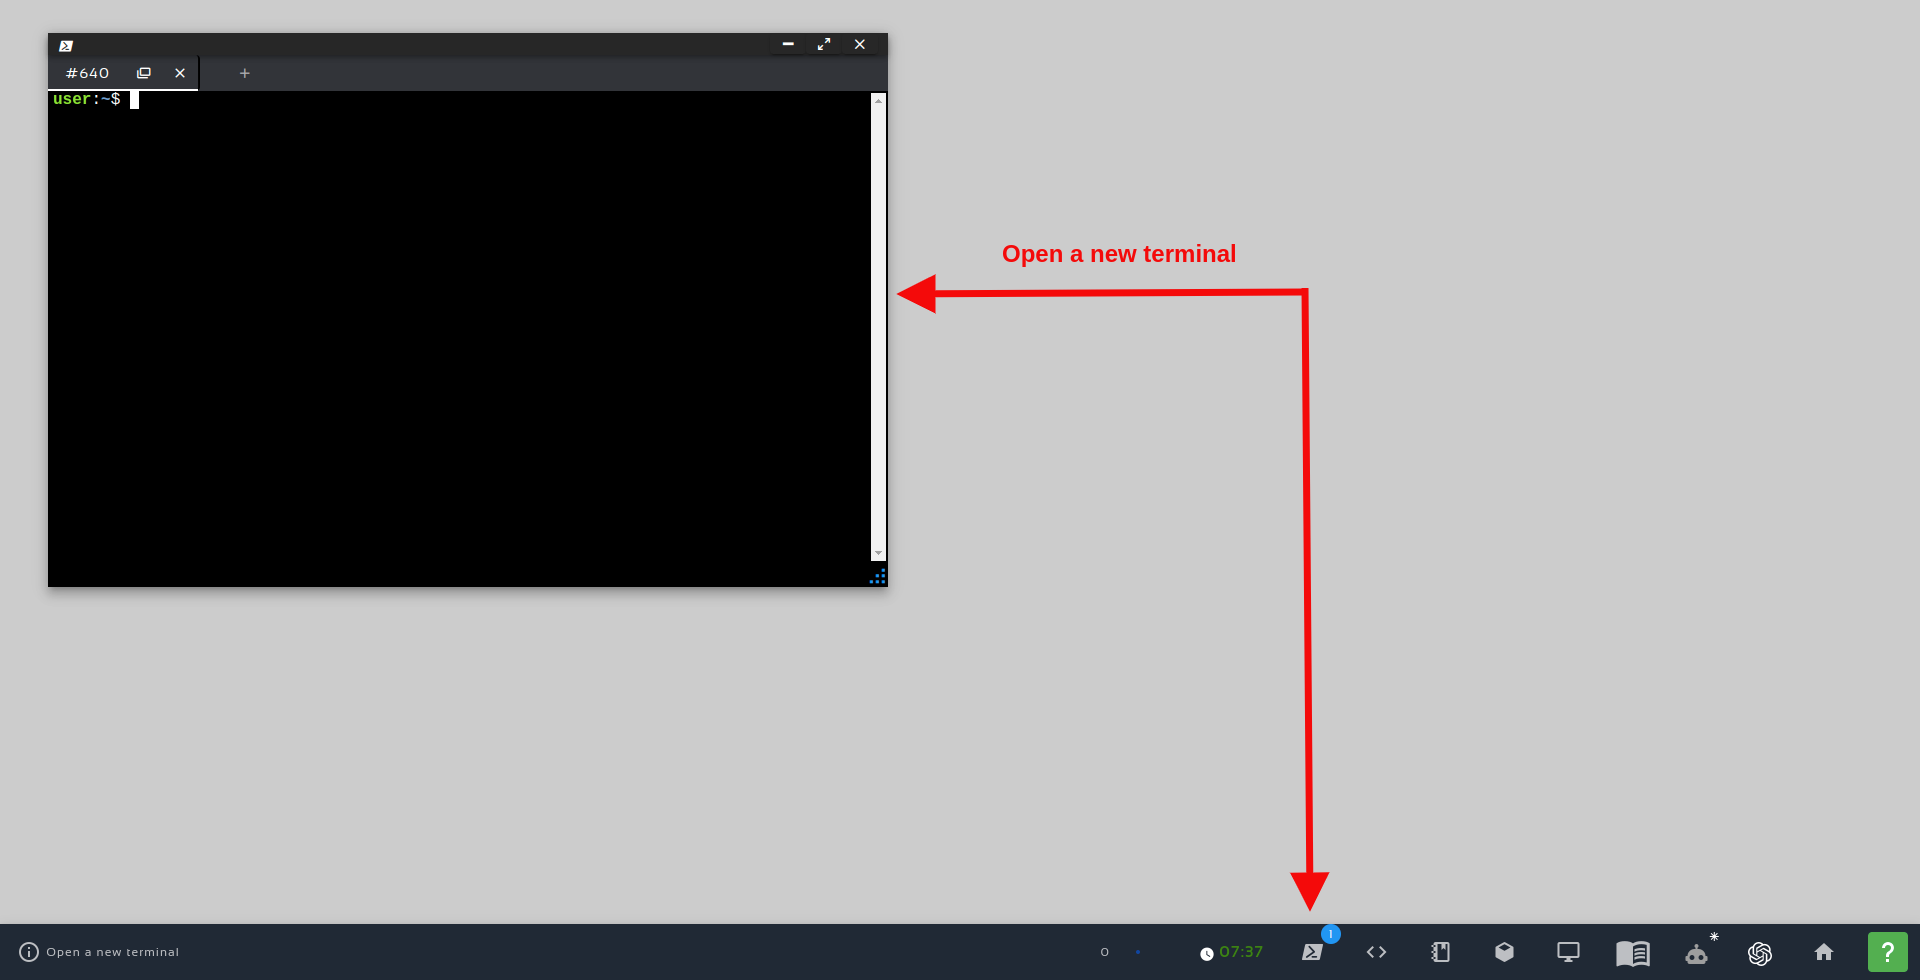
In order to create files, and launch ROS nodes, we need a terminal. Let’s open a terminal by clicking the Open a new terminal button.
Next step – Create some MACROs to help
Having opened the first terminal, let’s now proceed with the other parts of this tutorial
We have already created some links and a joint in the previous post. Now we need to create more of them, but let’s try to make it simpler, making our XACRO file cleaner.
Let’s create a new file, ~/simulation_ws/src/mrm_description/urdf/links_joints.xacro running the following commands in this first terminal :
touch ~/simulation_ws/src/mrm_description/urdf/links_joints.xacro
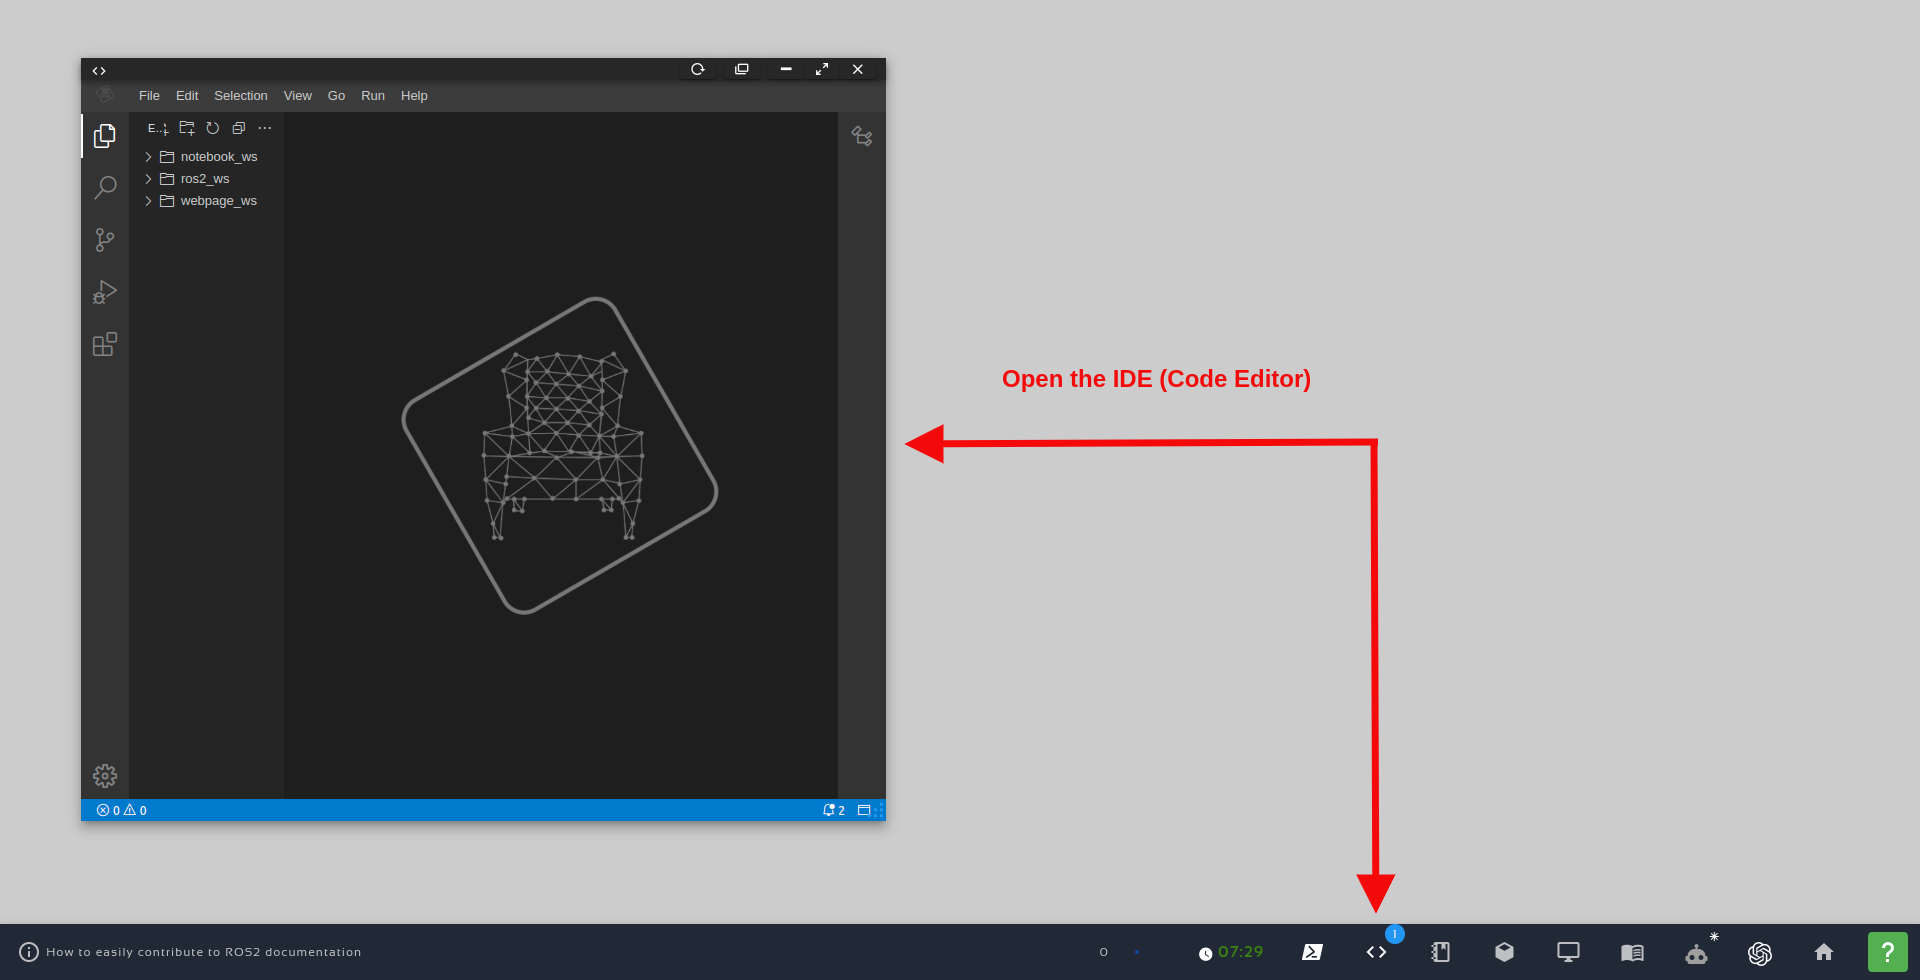
In this file, we are gonna create XML MACROs. They will help us create links and joints. Please open that file in the Code Editor, also known as IDE (Integraded Development Environment).
In order to open the IDE, just click the Code Editor button, as we can see in the image below:
<?xml version="1.0" ?>
<robot xmlns:xacro="http://www.ros.org/wiki/xacro">

    <xacro:macro name="m_joint" params="name type axis_xyz origin_rpy origin_xyz parent child">
        <joint name="${name}" type="${type}">
            <axis xyz="${axis_xyz}" />
            <limit effort="1000.0" lower="-3.14" upper="3.14" velocity="0.5" />
            <origin rpy="${origin_rpy}" xyz="${origin_xyz}" />
            <parent link="${parent}" />
            <child link="${child}" />
        </joint>
    </xacro:macro>

    <xacro:macro name="m_link_cylinder" params="name origin_xyz origin_rpy radius length">
        <link name="${name}">
            <visual>
                <origin rpy="${origin_rpy}" xyz="${origin_xyz}" />
                <geometry>
                    <cylinder radius="${radius}" length="${length}" />
                </geometry>
            </visual>
        </link>
    </xacro:macro>

    <xacro:macro name="m_link_box" params="name origin_xyz origin_rpy size">
        <link name="${name}">
            <visual>
                <origin rpy="${origin_rpy}" xyz="${origin_xyz}" />
                <geometry>
                    <box size="${size}" />
                </geometry>
            </visual>
        </link>
    </xacro:macro>
</robot>
Let’s understand what we have in this xacro file.
We have created 3 MACROs – each one with a name defined in the name attribute of the xacro:macro tags. The following attribute is used for defining the parameters we want to make available in a MACRO.
These parameters are used in the following format: ${param_name}
Let’s check how to use them in the next section.
Using our XML MACROs
In our main file, ~/simulation_ws/src/mrm_description/urdf/mrm.xacro, we have to include this new XACRO file. Let’s override its content with the following one!
<?xml version="1.0" ?>
<robot name="mrm" xmlns:xacro="http://www.ros.org/wiki/xacro">

    <!-- BGN - Include -->
    <xacro:include filename="$(find mrm_description)/urdf/links_joints.xacro" />
    <!-- END - Include -->

    <!-- BGN - Robot description -->
    <m_link_box name="base_link" origin_rpy="0 0 0" origin_xyz="0 0 0" size="1 1 1" />
    <m_joint name="base_link_01" type="revolute" axis_xyz="0 0 1" origin_rpy="0 0 0" origin_xyz="0 0 0.5" parent="base_link" child="link_01" />
    <m_link_cylinder name="link_01" origin_rpy="0 0 0" origin_xyz="0 0 0.2" length="0.4" radius="0.35" />
    <!-- END - Robot description -->

</robot>
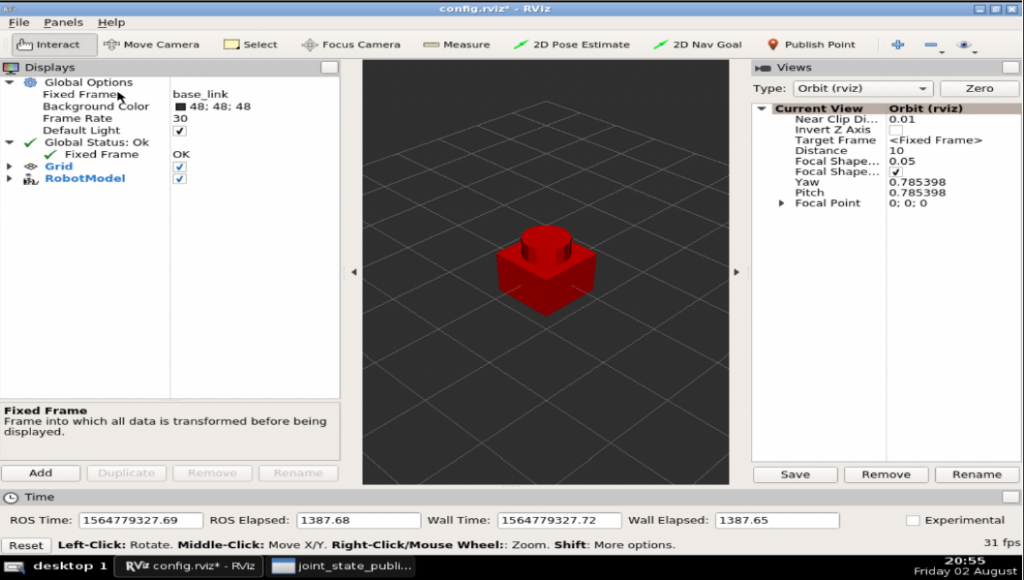
After these changes, we are now using the MACROs we have just defined, yet we must have the very same model that we had before. Let’s check it on RViz:
roslaunch mrm_description rviz.launch
The RViz window should be similar to the one in the previous post, when we did not use our own macros:
In order to get used to working with MACRO files, let’s create another one. This new file will only define the name of the links and joints we are goingto have!
Let us create a new file ~/simulation_ws/src/mrm_description/urdf/robot_parameters.xacro:
touch ~/simulation_ws/src/mrm_description/urdf/robot_parameters.xacro
Now, open that file using the Code Editor, and paste the following content to it:
<?xml version="1.0" ?>
<robot xmlns:xacro="http://www.ros.org/wiki/xacro">

    <xacro:property name="link_00_name" value="base_link" />
    <xacro:property name="link_01_name" value="link_01" />
    <xacro:property name="link_02_name" value="link_02" />
    <xacro:property name="link_03_name" value="link_03" />
    <xacro:property name="link_04_name" value="link_04" />
    <xacro:property name="link_05_name" value="link_05" />

</robot>
Let's also include it in the main file mrm.xacro (just appending a new include to the INCLUDE section):
<!-- BGN - Include -->
<xacro:include filename="$(find mrm_description)/urdf/links_joints.xacro" />
<xacro:include filename="$(find mrm_description)/urdf/robot_parameters.xacro" />
<!-- END - Include -->
Finally, replace the names in the links and joints with the values we imported from the parameters file. You must have the description part similar the one below:
 <!-- BGN - Robot description -->
 <m_link_box name="${link_00_name}" origin_rpy="0 0 0" origin_xyz="0 0 0" size="1 1 1" />
 <m_joint name="${link_00_name}__${link_01_name}"
        type="revolute"
        axis_xyz="0 0 1"
        origin_rpy="0 0 0"
        origin_xyz="0 0 0.5"
        parent="${link_00_name}"
        child="${link_01_name}" />

 <m_link_cylinder name="${link_01_name}"
       origin_rpy="0 0 0"
       origin_xyz="0 0 0.2"
       length="0.4"
       radius="0.35"
  />
<!-- END - Robot description -->
With these changes, in addition to using the parameters to fill the name of the links, we also use them to compose the joint name!
Final changes on the xacro file – Finishing the robot
Let’s now create the rest of the robot! Having already defined the MACROs and link names, we now only need to reuse them by passing some arguments!
Let’s check the final content of the mrm.xacro file:
<?xml version="1.0" ?>
<robot name="mrm" xmlns:xacro="http://www.ros.org/wiki/xacro">

<!-- BGN - Include -->
<xacro:include filename="$(find mrm_description)/urdf/robot_parameters.xacro" />
<xacro:include filename="$(find mrm_description)/urdf/links_joints.xacro" />
<!-- END - Include -->

 <!-- BGN - Robot description -->
<m_link_box name="${link_00_name}" origin_rpy="0 0 0" origin_xyz="0 0 0" size="1 1 1" />
<m_joint name="${link_00_name}__${link_01_name}"
    type="revolute"
    axis_xyz="0 0 1"
    origin_rpy="0 0 0"
    origin_xyz="0 0 0.5"
    parent="${link_00_name}"
    child="${link_01_name}" />

<m_link_cylinder
    name="${link_01_name}"
    origin_rpy="0 0 0"
    origin_xyz="0 0 0.2"
    length="0.4"
    radius="0.35" />

 <m_joint name="${link_01_name}__${link_02_name}"
    type="revolute"
    axis_xyz="0 1 0"
    origin_rpy="0 0 0"
    origin_xyz="0 0 0.4"
    parent="${link_01_name}"
    child="${link_02_name}" />

 <m_link_cylinder name="${link_02_name}"
    origin_rpy="0 0 0"
    origin_xyz="0 0 0.4"
    radius="0.15"
    length="0.8" />

 <m_joint name="${link_02_name}__${link_03_name}"
    type="revolute" axis_xyz="0 1 0"
    origin_rpy="0 0 0" origin_xyz="0 0 0.8"
    parent="${link_02_name}"
    child="${link_03_name}" />

 <m_link_cylinder name="${link_03_name}"
    origin_rpy="0 0 0" origin_xyz="0 0 0.4"
    radius="0.15"
    length="0.8" />

 <m_joint name="${link_03_name}__${link_04_name}"
    type="revolute" axis_xyz="0 1 0"
    origin_rpy="0 0 0"
    origin_xyz="0 0 0.8"
    parent="${link_03_name}"
    child="${link_04_name}" />

 <m_link_cylinder
    name="${link_04_name}"
    origin_rpy="0 0 0"
    origin_xyz="0 0 0.4"
    radius="0.15"
    length="0.8" />

 <m_joint name="${link_04_name}__${link_05_name}"
    type="revolute"
    axis_xyz="0 0 1"
    origin_rpy="0 0 0"
    origin_xyz="0 0 0.8"
    parent="${link_04_name}"
    child="${link_05_name}" />

 <m_link_cylinder
    name="${link_05_name}"
    origin_rpy="0 0 0"
    origin_xyz="0 0 0.125"
    radius="0.15"
    length="0.25" />

<!-- END - Robot description -->


  <gazebo>
    <plugin name="gazebo_ros_control" filename="libgazebo_ros_control.so">
    </plugin>
  </gazebo>
</robot>
If you want, you can explore and play with the parameters (radius and length, for example) in order to customize your own model.
Checking the robot in RViz
Alright! Having everything in place, the time now has come for seeing the robot in RViz.
Our rviz.launch may be using joint_state_publisher, but we need joint_state_publisher_gui. To solve this, let’s open that launch/rviz.launch file using the Code Editor, and replace its content with the following one:
<launch>

<param name="robot_description" command="$(find xacro)/xacro --inorder '$(find mrm_description)/urdf/mrm.xacro'"/>

<!-- Combine joint values -->
<node name="robot_state_publisher" pkg="robot_state_publisher" type="state_publisher"/>

<!-- Show in Rviz -->
<node name="rviz" pkg="rviz" type="rviz" args="-d $(find mrm_description)/launch/config.rviz" />


<!-- send joint values -->
<node name="joint_state_publisher_gui" pkg="joint_state_publisher_gui" type="joint_state_publisher_gui">
    <param name="use_gui" value="True"/>
</node>

</launch>
Now, in the first terminal, let’s launch RViz again. Remember to kill any running process that you may have in the first terminal by pressing CTRL+C first.
roslaunch mrm_description rviz.launch
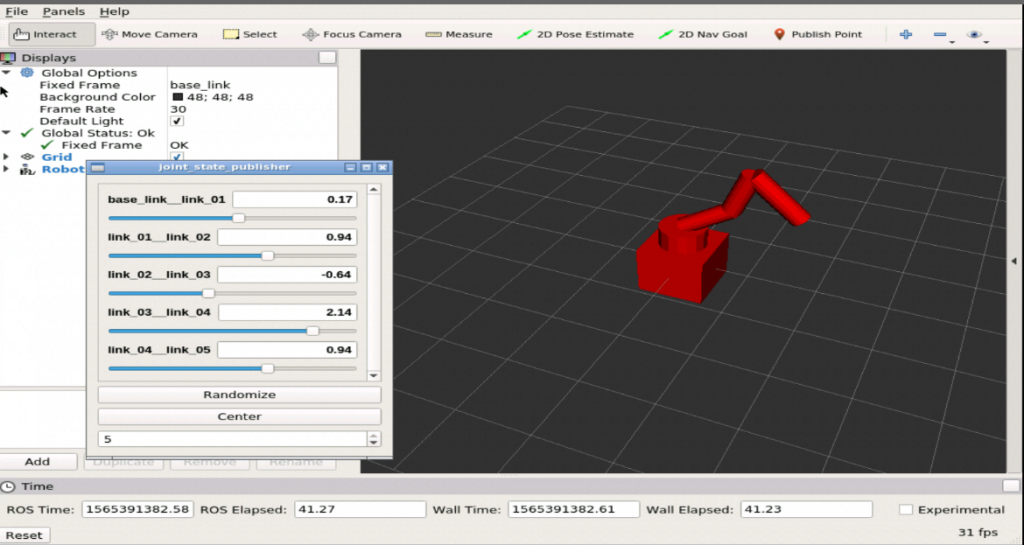
If everything went ok, you should have something similar to the following robot in RViz, after moving the joints using the Joint State Publisher :
Congratulations. We have finished the basics of a robot model using Xacro files.
In the next post, we’ll create the inertia of the robot. A very important step to have it working in Gazebo!
If you lost any part of the tutorial, you can get a copy of the ROSject, just click on this link: https://app.theconstructsim.com/l/bc1c398/
We hope this post was really helpful to you. If you want a live version of this post with more details, please check the video in the next section. Although the video was recorded in a previous version of The Construct platform, it still adds a lot of value:
Youtube video
So this is the post for today. Remember that we have the live version of this post on YouTube. If you liked the content, please consider subscribing to our youtube channel. We are publishing new content ~every day.
Keep pushing your ROS Learning.
Related Courses & Training
- ROS Courses:
- URDF for Robot modeling (ROS 1): https://app.theconstructsim.com/Course/13
- ROS2 Courses:
- URDF for Robot Modeling in ROS2 : https://app.theconstructsim.com/courses/83
-
- ROS2 Basics in 5 Days Humble (Python): https://app.theconstructsim.com/Course/132
- ROS2 Basics in 5 Days Humble (C++): https://app.theconstructsim.com/Course/133
- Open-RMF / Fleet Management Training: https://www.theconstruct.ai/robot-fleet-management-ros2-open-rmf-training/




0 Comments