My Robotic Manipulator – Introduction
Hey ROS developers! In this post, we start working on our own robotic manipulator. Based on the YouTube video series, we’ll show in this format the steps to achieve the final result of the series!
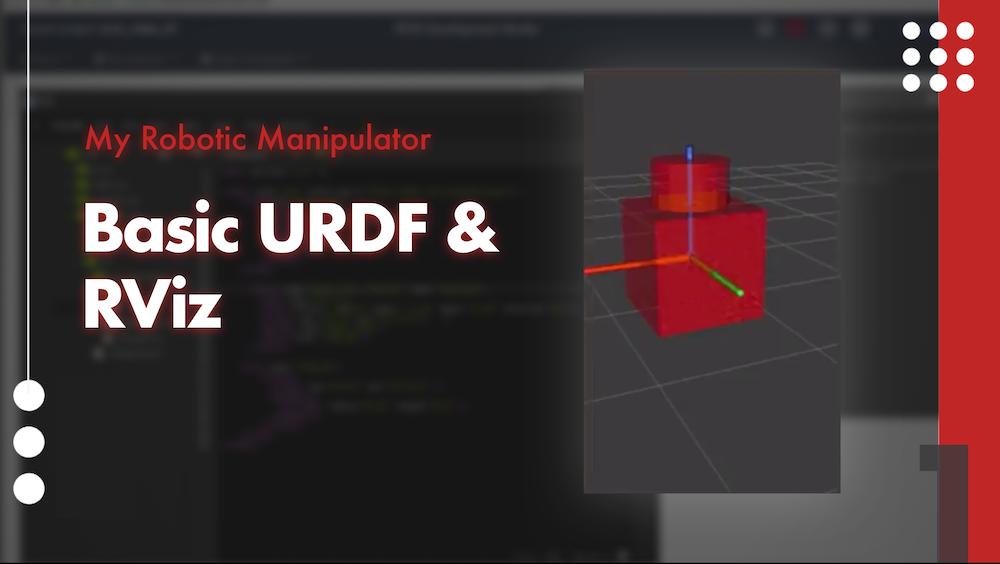
In this post number #1, I’m gonna show how to create the basic Unified Robot Description Format – URDF (the first two links) and visualize it in RViz!
Step 1 – Creating a package
I have here a fresh new ROSJect (which will be shared at the end of the post). Let’s start creating a package that will contain our robot description.
In a shell, execute the following command:
catkin_create_pkg mrm_description urdf
Now, we create a new folder, ~/simulation_ws/src/mrm_description/urdf, where we are gonna place the file mrm.xacro
XACRO files are “XML macros”, used to simplify URDF description.
Step 2 – Describing the robot
In order to create our robot, we must divide it into links and joints. This is what we are gonna do in our file.
Structure
The mandatory structure begins like:
<?xml version="1.0" ?>

<robot name="mrm" xlmns:xacro="http://www.ros.org/wiki/xacro">

  ...
  ... here goes the robot description
  ...

</robot>
First link
Let’s describe the first link, the base of the robot, it goes like this:
<link name="base_link">
    <visual>
      <origin rpy="0 0 0" xyz="0 0 0" />
      <geometry>
        <box size="1 1 1" />
      </geometry>
    </visual>
</link>
What are we doing:
- Creating a link tag, this represents the first part of the robot (its base)
- We set the origin of the link (in this case it’s relative to the place we spawn the robot – further steps)
- And the geometry of the joint – it’s a simple box with dimensions 1x1x1 (in meters)
Joint
Just before going to the next link, we need to create a joint, which will bind both:
<joint name="base_link__link_01" type="revolute">
    <axis xyz="0 0 1"/>
    <limit effort="1000.0" lower="-3.14" upper="3.14" velocity="0.5"/>
    <origin rpy="0 0 0" xyz="0 0 0.5"/>
    <parent link="base_link"/>
    <child link="link_01"/>
</joint>
Second link
And we go to the second link (which is called “link_01”, because the first one is called “base_link”)
<link name="link_01">
    <visual>
        <origin rpy="0 0 0" xyz="0 0 0.2" />
        <geometry>
        <cylinder radius="0.35" length="0.4" />
        </geometry>
    </visual>
</link>
Great! We have a visual description of our robot!
Let’s check it in RViz
Step 3 – Checking the robot model in RViz
In order to see our model in RViz, we need to create a launch file:
<launch>

  <param name="robot_description" command="$(find xacro)/xacro --inorder '$(find mrm_description)/urdf/mrm.xacro'"/>

  <!-- Combine joint values -->
  <node name="robot_state_publisher" pkg="robot_state_publisher" type="state_publisher"/>

  <!-- Show in Rviz   -->
  <node name="rviz" pkg="rviz" type="rviz" args="-d $(find mrm_description)/launch/config.rviz" />

  <!-- send joint values -->
  <node name="joint_state_publisher" pkg="joint_state_publisher" type="joint_state_publisher">
    <param name="use_gui" value="True"/>
  </node>

</launch>
The file goes here: ~/simulation_ws/src/mrm_description/launch/rviz.launch
This is what we are launching in this launch file:
-
- Define the robot_description parameter
- Publishing the state of the joints
- Open RViz with a pre-defined configuration file (we’ll create it in the next step!)
- Opening a program to change the joint values (and see the robot moving!)
Let’s try it!
roslaunch mrm_description rviz.launch
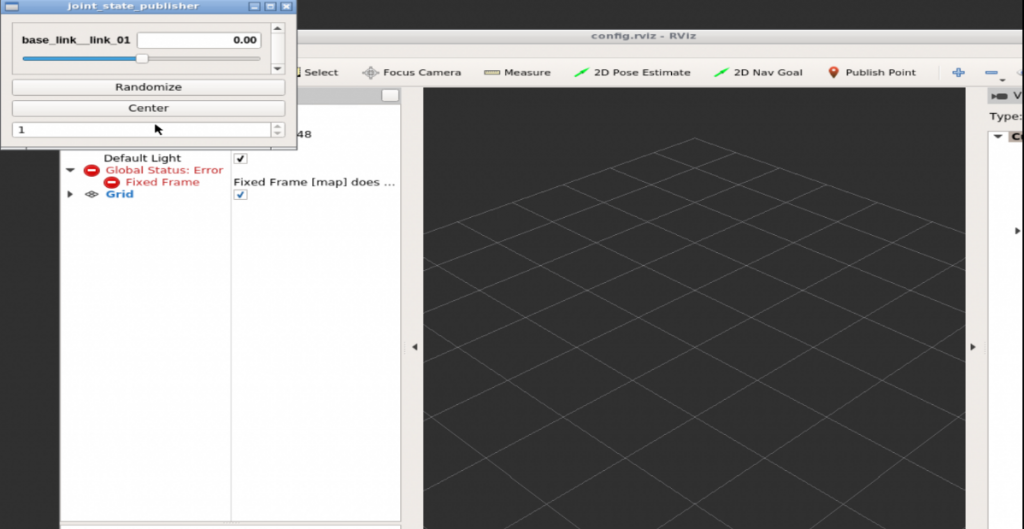
Open the app Graphical tools and you must have something like below:
Let’s configure it!
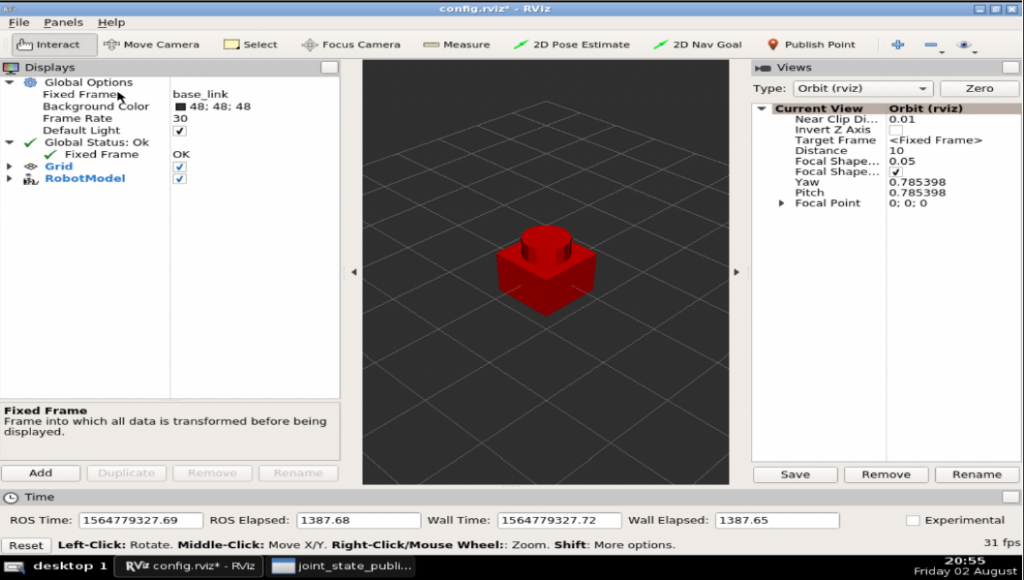
On the left bar of RViz, select the Fixed Frame to base_link
Then, click on the button Add and select RobotModel and press Ok
You must have the model of the robot there!
Save a configuration file, on the top bar of RViz: File > Save Config As
Select ~/simulation_ws/src/mrm_description/launch/config.rviz
You can try launching it again to make sure the configurations we’ve just set will be loaded!
You can also play with the second window, the joint_state_publisher, in order to see the only movable joint changing position. Just drag the bar to left or right.
Related courses
Conclusion
We have created the visual part of the robot!
In the next post, we’ll finish the other parts (link and joints) using XACROs, to make it simpler!
If you lost any part of the tutorial, you can get a copy of the ROSject I’ve done clicking here!
See you!





0 Comments