In this post, we will see how to program drones using ROS2. Perhaps you have programmed drones using ROS1, found that programming drones using ROS2 is not as straightforward, and have been wondering, “how the heck do you program drones using ROS2?” You have come to the right place!
Step 1: Grab the required source code
You can program drones using ROS2 on your local PC by following the instructions in this repository step by step. However if you use the rosject you copied below, we have already done most of the heavy lifting for you and you just need to run a few commands to get your drone flying!
Click here to get your own copy of the project (PS: If you don’t have an account on the ROS Development Studio, you would need to create one. Once you create an account or log in, we will copy the project to your workspace).
That done, open the project using the Run button. This might take a few moments, please be patient.
Step 2: Understand the basic components
The ros2 drone system used in this post consists of three main parts:
- A ros2 simulation containing the simulation and the plugin that connects to the rest of the system.
- The PX4-Autopilot system.
- A Ground Control system for controlling the drone.
You’ll have to start these systems in order, as we’ll see in the next step.
PS: If you are doing the setup from the LS2N-Drone repository directly and running on your local PC, please adapt the next step for your local setup.
Step 3: Get the ROS2 drone flying!
Open a web shell and run the following commands:
sudo rm -rf /etc/apt/sources.list.d/husarnet.list && sudo apt update
sudo apt-get remove modemmanager -y
sudo apt install gstreamer1.0-plugins-bad gstreamer1.0-libav gstreamer1.0-gl -y
pip3 install pyros-genmsg transforms3d guizero scipy qtm pymavlink mttkinter jinja2 inputs toml pyqtgraph
Next, start the ros2 simulation:
cd ~/ros2_ws
source install/setup.bash
ros2 launch ls2n_drone_simulation single_drone_trajectory_sitl.launch.py
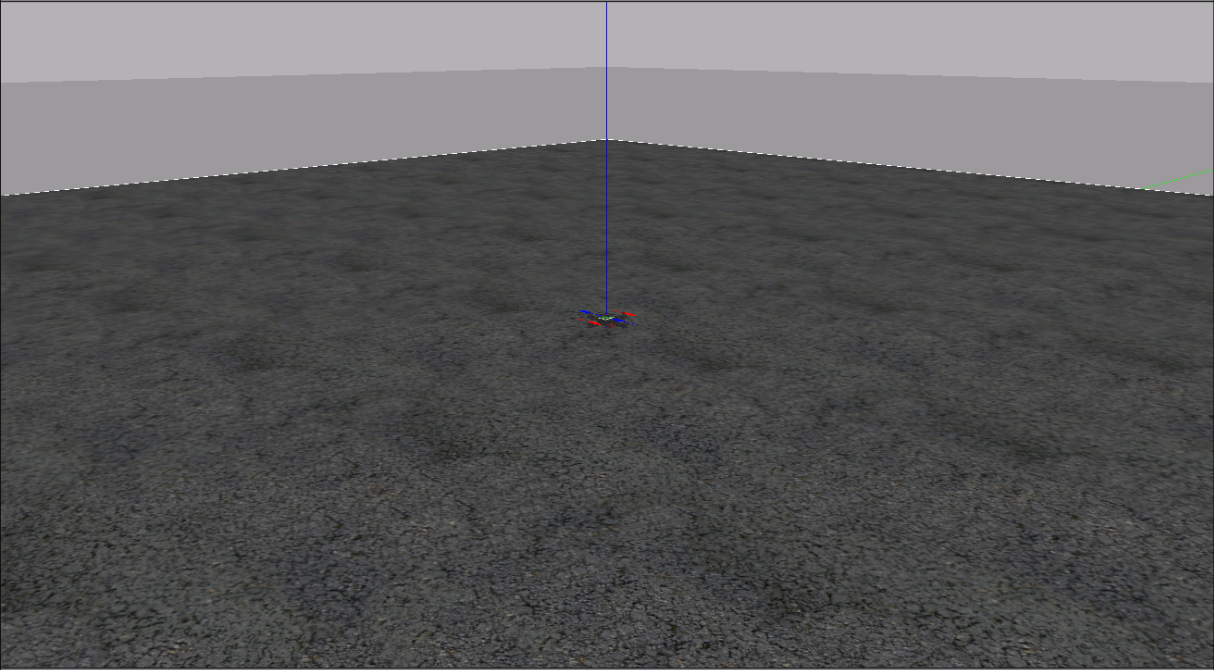
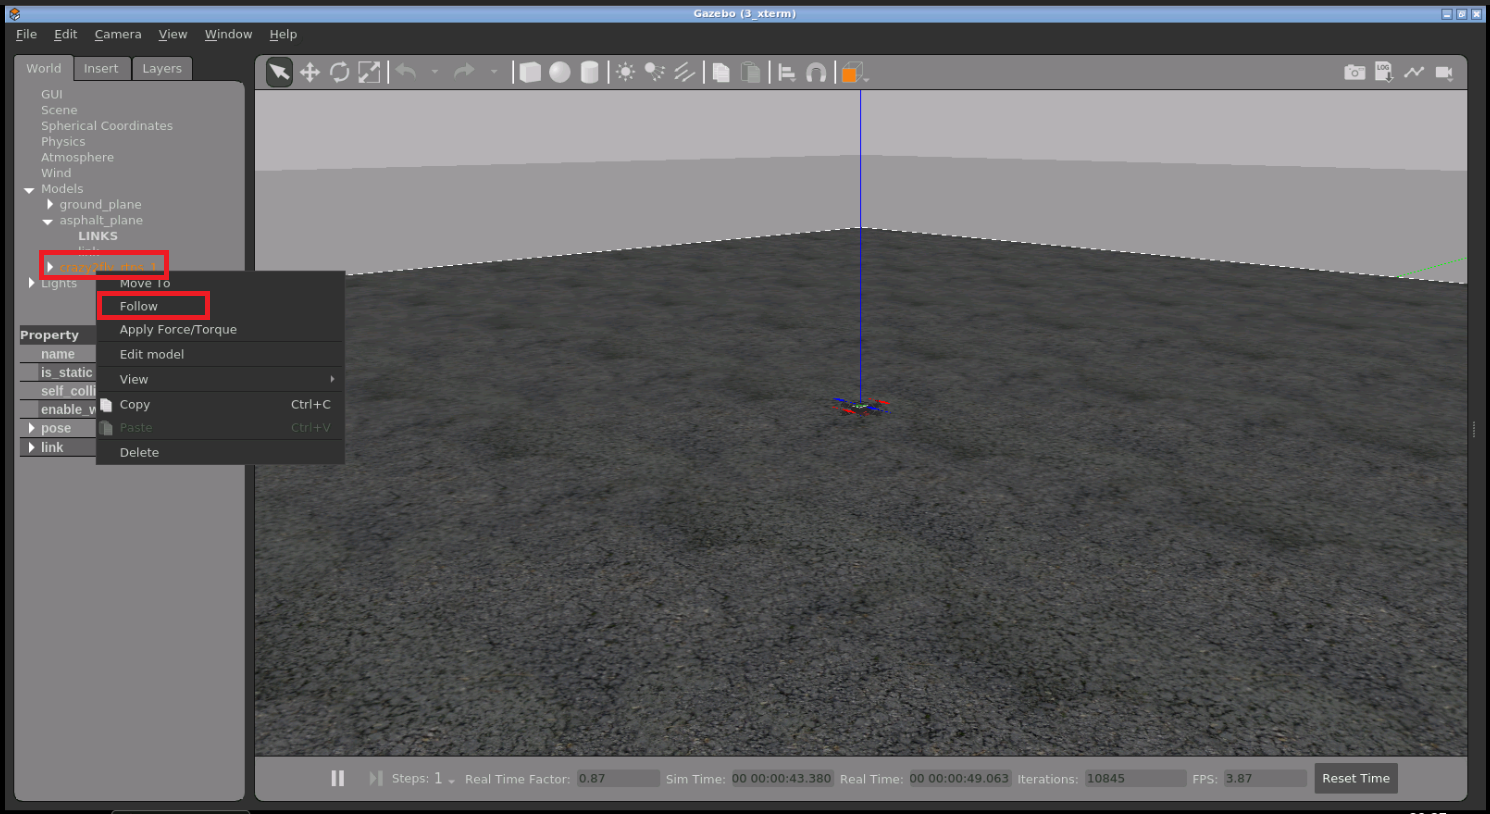
By this time, you should have the simulation running. Open the Gazebo app (if not opened automatically) to see it. Right click on the drone model on the left pane and select “Follow” to keep seeing the drone when it takes off.
Now, open another web shell and start the PX-4 system:
cd ~
cd px4-autopilot/Tools/
./gazebo_sitl_multiple_run_only_px4.sh
Finally, start the ground control system in another web shell:
user:~$ cd squashfs-root/
user:~/squashfs-root$ ./AppRun
The ground control GUI should load shortly. Open the Graphical Tools app to see it, if not opened automatically:
Time to take off the drone!
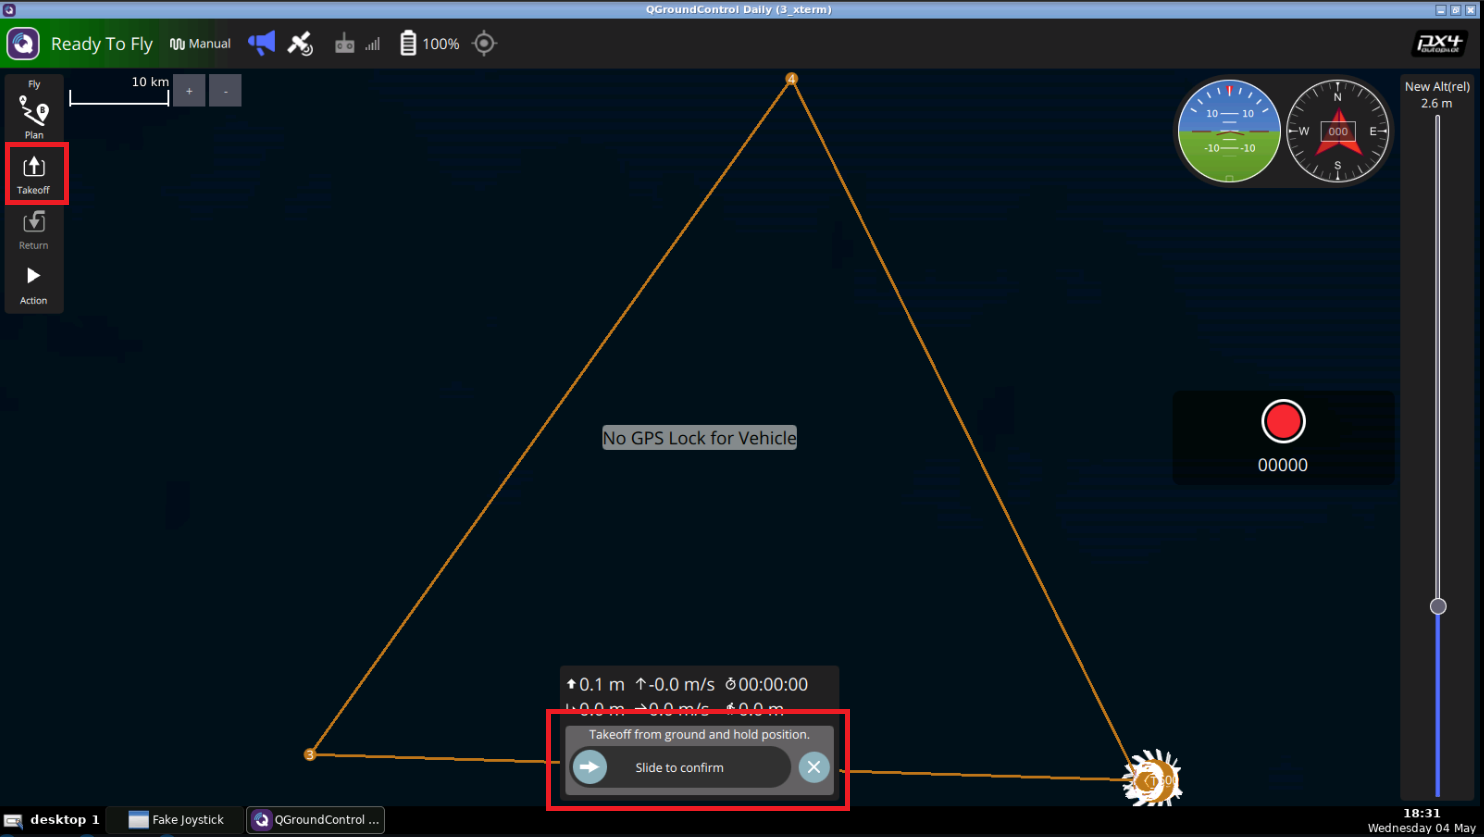
- Ensure the top-left corner of the controller says “Ready to Fly” in a green background.
- Click the Takeoff button on the top left.
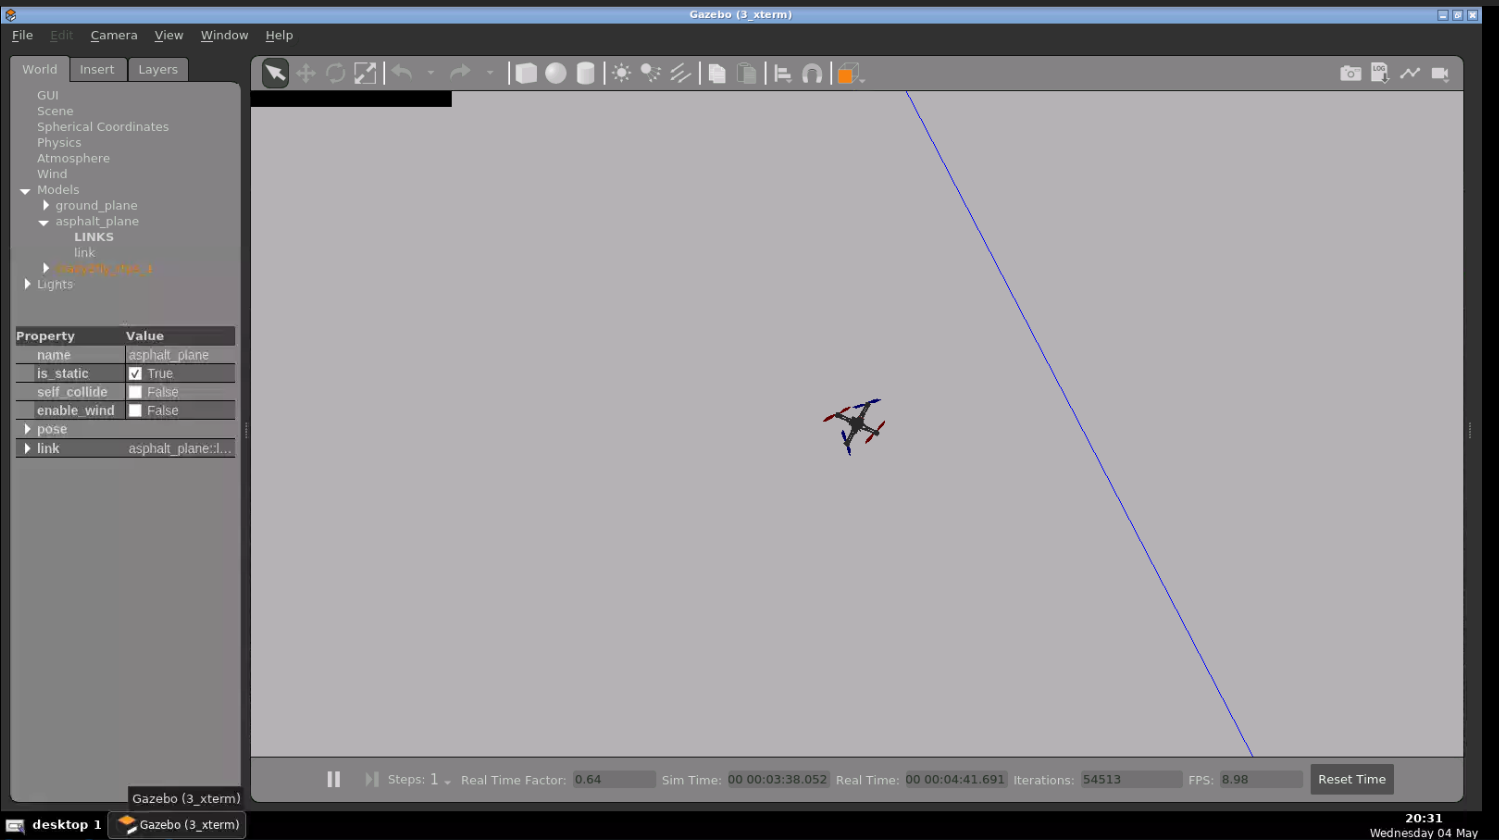
- In the bottom middle, drag the slider to the right to confirm takeoff. You should see something similar to the image below.
- If the takeoff does not work, repeat 2 & 3.
- After takeoff, the button changes to “Land”. Use it to land the drone.
Step 4: Consolidate your learning
Do you understand how to program drones using ROS2 after watching the video? If not, please review the material again and perhaps go over the video again. Let us know any problems you are seeing in the comments.
Extra Step: Watch the video for the sights and sounds version of how to program drones using ROS2
Here you go:
Related Resources
Feedback
Did you like this post? Do you have any questions about the explanations? Whatever the case, please leave a comment on the comments section below, so we can interact and learn from each other. If you want to learn about other ROS2 topics, please let us know in the comments area and we will do a video or post about it.







The “LS2N-drones / ls2n_drone_ros2 · GitLab (univ-nantes.fr)” project is currently not available for me :/
Same I can’t access the repository