Getting started with ROS Raspberry Pi
This is a quick guide on how to get your Raspberry Pi up and running to start your first steps into robotics with ROS (Kinetic).
This guide is a compilation of methods described by other people so please do check out the links if you need more detailed explanations.
In this guide you are going to learn how to:
- Prepare a MicroSD card with Ubuntu Mate Operation System for Raspberry Pi 2 or 3.
- Get the LCD screen up and running
- Install Full ROS Kinetic
- Setup your Raspberry Pi camera
- Publish Image Stream into ROS Topics
- What to do after this
- Apendix-1: Bill of Materials
- Apendix-2: Reference Links
You can find all the Bill of materials at the bottom of the post just in case you want the exact same setup.
So let’s get to it, shall we?
Install Ubuntu Mate Operation System in Raspberry Pi
From now on, this post supposes that you have all the material used in this example. If not please refer to the Bill of Materials. So normally you will have already an OS installed in your starter kit MicroSD card with NOOBS. But we want to have the full Ubuntu experience, which will make installing ROS Kinetic much easier.
For this part, we will use an Ubuntu machine, but the process will be slightly different for Windows or Mac-OS.
Step1-Download Ubuntu Mate:
Just download it from the official Ubuntu Page
Step2-Burn Ubuntu Mate image into your MicroSD Card:
We will use a graphical interface because of it just easier. Just type in your shell:
sudo apt-get install gnome-disk-utility
https://www.youtube.com/watch?v=V_6GNyL6Dac
Now just plug your Raspberry Pi to your outlet and to a monitor through HDMI and … There you have it!
Get the LCD screen up and running
Now that you have your Raspberry Pi with Ubuntu-Mate just type in a terminal in your Raspberry Pi ( just connect the HDMI cable to your closest monitor):
git clone https://github.com/goodtft/LCD-show.git
chmod -R 755 LCD-show
cd LCD-show/
sudo ./LCD5-show
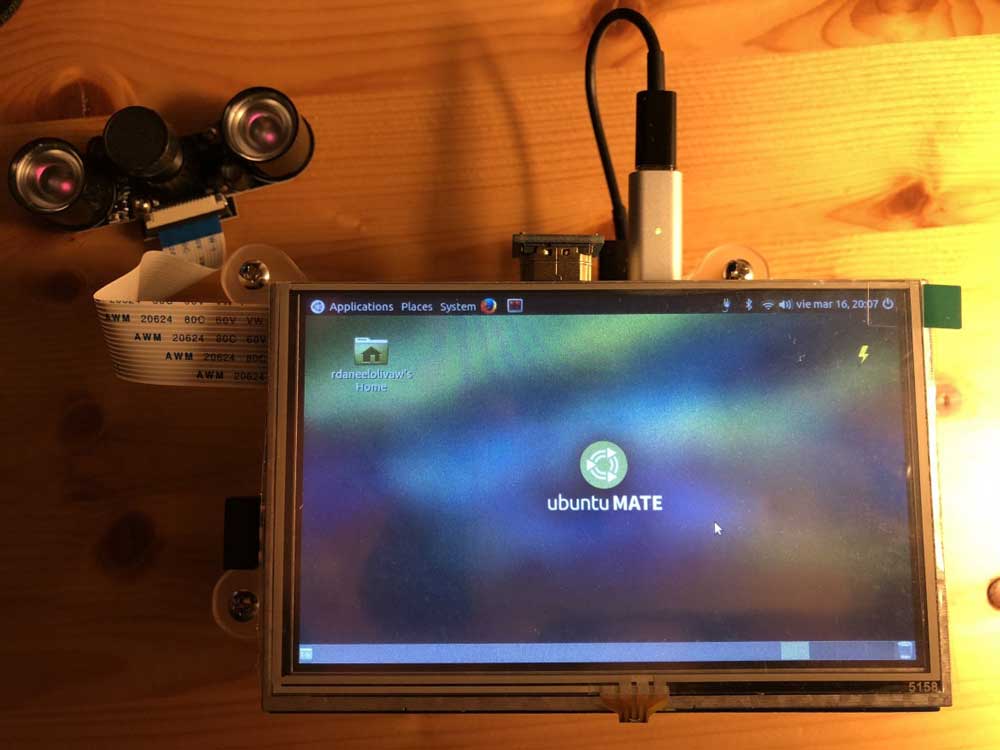
general_raspberrypi_cam_lcd_ubuntu
Install Full ROS Kinetic
Ok, you have now Ubuntu with a cute LCD screen. Now to install Full ROS Kinetic, with gazebo simulator, RVIZ and everything you need for robotics projects. Go to a terminal in your Raspberry Pi and type:
sudo sh -c 'echo "deb http://packages.ros.org/ros/ubuntu $(lsb_release -sc) main" > /etc/apt/sources.list.d/ros-latest.list'
sudo apt-key adv --keyserver hkp://ha.pool.sks-keyservers.net:80 --recv-key 421C365BD9FF1F717815A3895523BAEEB01FA116
sudo apt-get update
sudo apt-get install ros-kinetic-desktop-full
sudo rosdep init
rosdep update
echo "source /opt/ros/kinetic/setup.bash" >> ~/.bashrc
source ~/.bashrc
sudo apt-get install python-rosinstall python-rosinstall-generator python-wstool build-essential
mkdir -p ~/catkin_ws/src
cd ~/catkin_ws/
catkin_make
And there you go, you have now a ROS Raspberry Pi Ready.
Setup your Raspberry Pi camera
Now we are going to set our NightVision camera to be able to do all kinds of cool stuff like Object Recognition, Person Detection, AI Learning…
Type in your Raspberry Pi terminal:
sudo apt-get install libraspberrypi-dev
sudo pip install picamera
Now open the file /boot/config.txt and add the following two lines at the bottom of the file:
start_x=1
gpu_mem=128
sudo reboot
import picamera
camera = picamera.PiCamera()
camera.capture('mytest_image.jpg')
camera.close()
Publish Image Stream into ROS Topics
But we need to publish our camera images into ROS, so that we can then use the thousands of ROS packages to do all the nice robotics stuff that we love!
For that we are going to use a ROS package created for this purpose: Publish Raspberry Pi Camera images into an image rostopic. Go to a terminal in your Raspberry Pi and type:
cd ~/catkin_ws/src
git clone https://github.com/dganbold/raspicam_node.git
cd ~/catkin_ws/
catkin_make --pkg raspicam_node
If the compilation went Ok, you now can use it. For this, you have to first start the node with all the services for the camera.
cd ~/catkin_ws/
source devel/setup.bash
roslaunch raspicam_node camera_module_v2_640x480_30fps.launch
Then on another terminal, start the Camera service, which will activate the camera and start publishing. You can see that it worked because when started a red LED will light up on the camera.
rosservice call /raspicam_node/start_capture
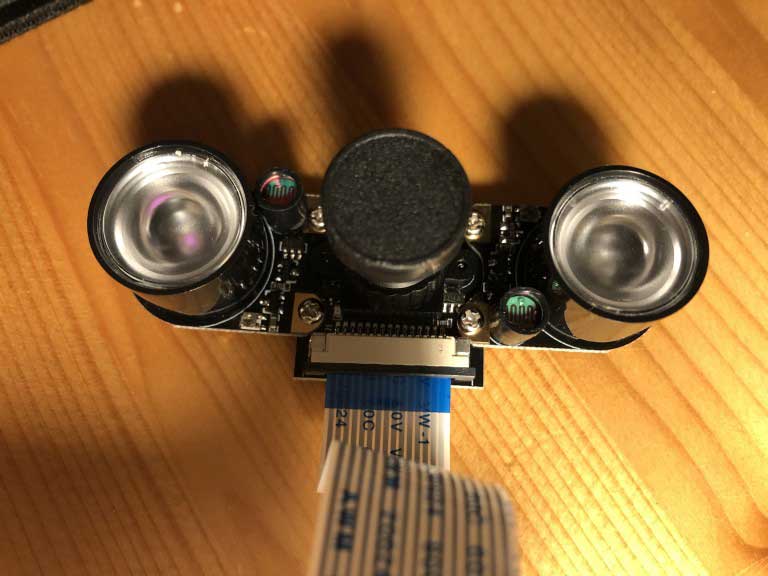
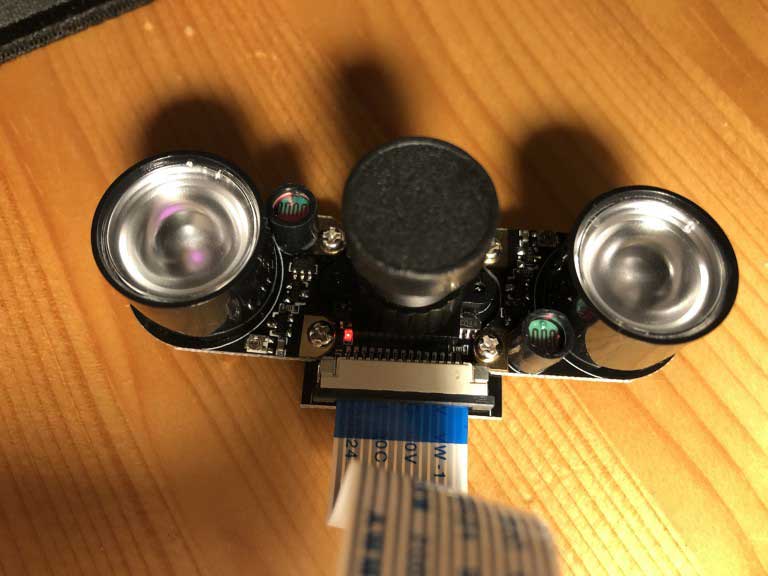
camera_on
And now you are ready to view the images and use them in ROS. You can use rqt_image_view, for example, to connect to the image published in a topic and see it. here are two options to see the video stream:
rosrun image_view image_view image:=/raspicam_node/image_raw
rosrun rqt_image_view rqt_image_view
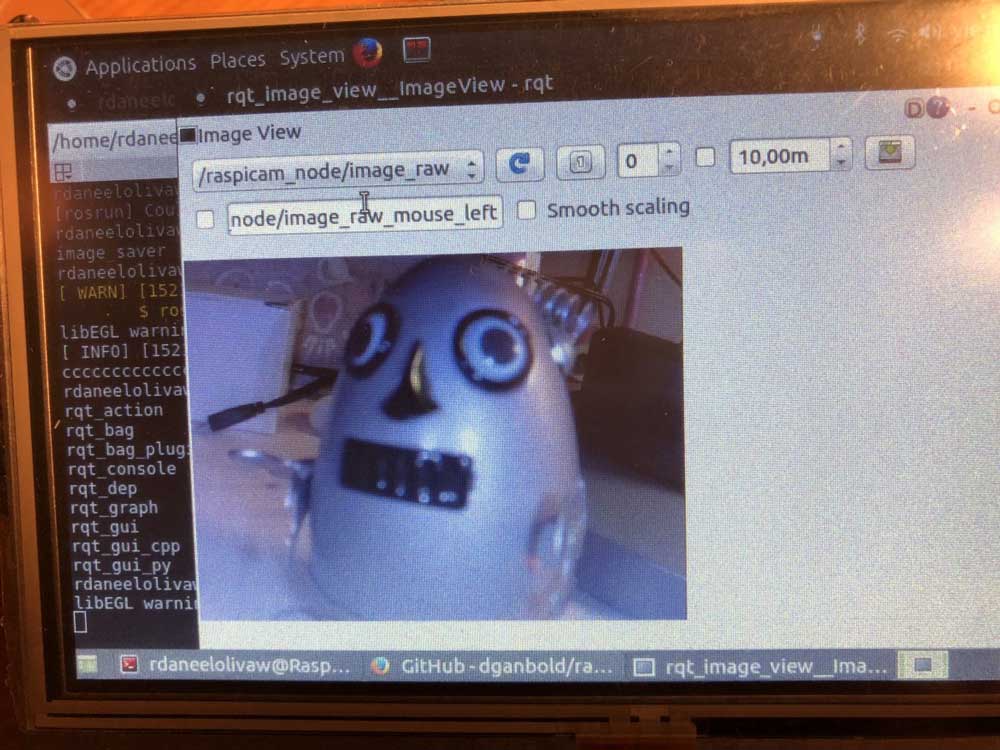
rqt_image_view
What to do after this
Robot Ignite Academy
Well now that you are all set up…What next?
Well, you should learn how to use ROS Kinetic and harness all its power! Try this ROS in 5 days Course.
Object Recognition, Perception, Person Detection/Recognition, create a simulation of your future robot that will be controlled by your ROS Raspberry Pi…
The best place to do it FAST and EASY is in RobotIgniteAcademy. There you will learn this and much more.
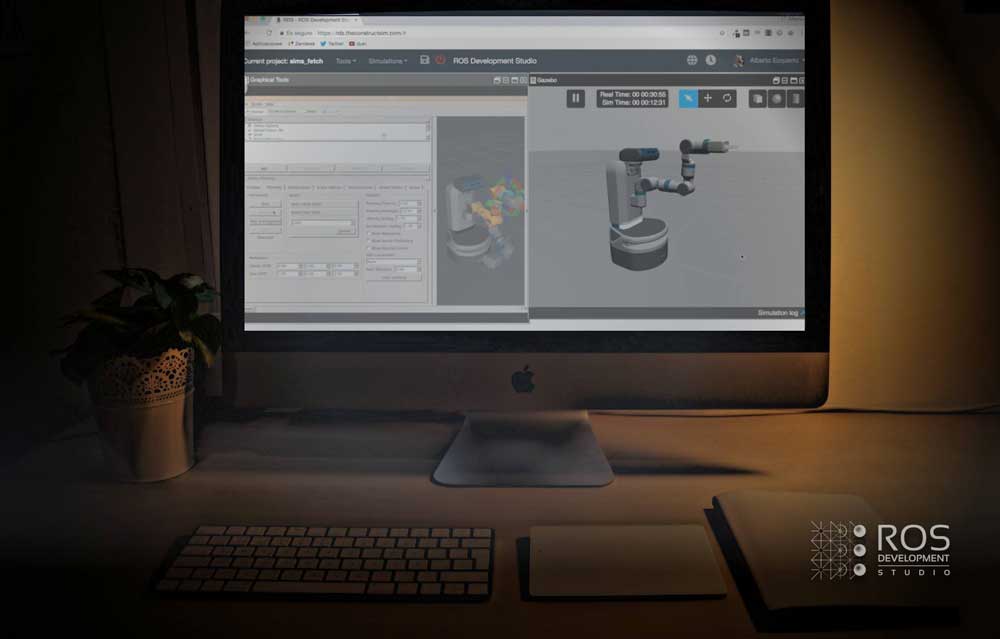
ROS Development Studio (ROSDS)
Want to practice freely, try ROSDevelopment Studio, here you will be able to test all your programs first in simulation and when they are ready, deploy them into your ROS Raspberry Pi without any conversion.
[irp posts=”12183″ name=” How to build the Structure of a ROS Raspberry Pi Robot #Ep.1″]
Apendix-1: BOM
Here you have a list of all the materials used for this tutorial of ROS Raspberry Pi:
Apendix-2: Reference Links
HowToBurnUbuntuMate-in-MicroSD-Ubuntu




Are you sure?
”
Now open the file /boot/config.txt and add the following two lines at the bottom of the file:
start_x=1
gpu_mem=128
“
Maybe an image can help:
https://imgur.com/p96thdF
What version of python should I use?