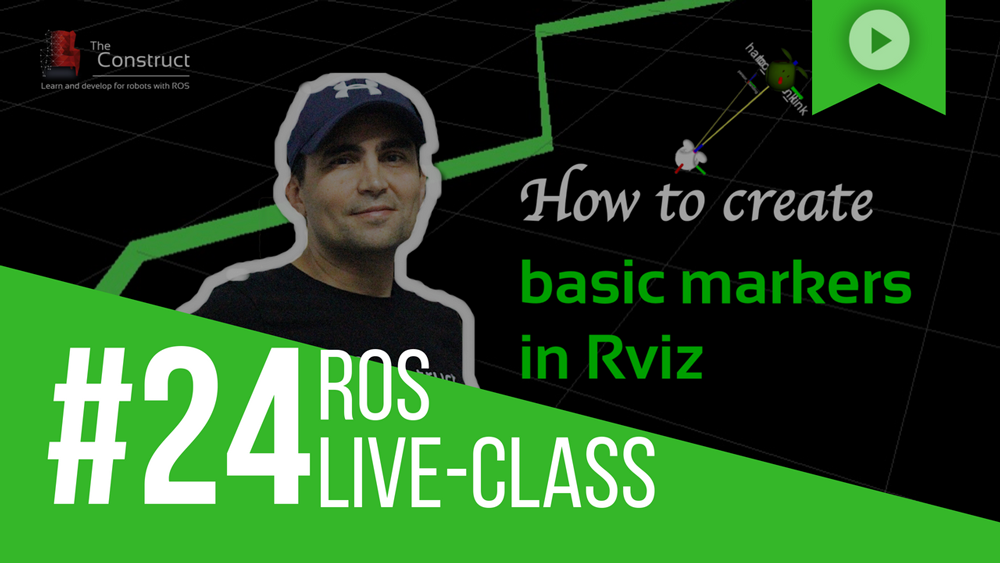
In this ROS LIVE-Class we’re going to learn how to create a marker to be displayed in ROS Rviz. Markers are special graphics that we can use in Rviz to display data generated by the robot. For example, we can create a marker that shows a person figure at the proper distance of the robot when the robot detects a person. By using markers, we can debug and understand better what the robot program is doing. Markers are basic tools for robot program debug!
We will see:
- How to get the information we want to display from a ROS program
- How to create a custom marker that contains that information
- How to display the marker on the Rviz
- How to build a mesh marker and show it on Rviz
Every Tuesday at 18:00 CET/CEST.
This is a LIVE Class on how to develop with ROS. In Live Classes you practice with me at the same time that I explain, with the provided free ROS material.
IMPORTANT: Remember to be on time for the class because at the beginning of the class we will share the code with the attendants.
IMPORTANT 2: in order to start practicing quickly, we are using the ROS Development Studio for doing the practice. You will need a free account to attend the class. Go to http://rds.theconstructsim.com and create an account prior to the class.


0 Comments