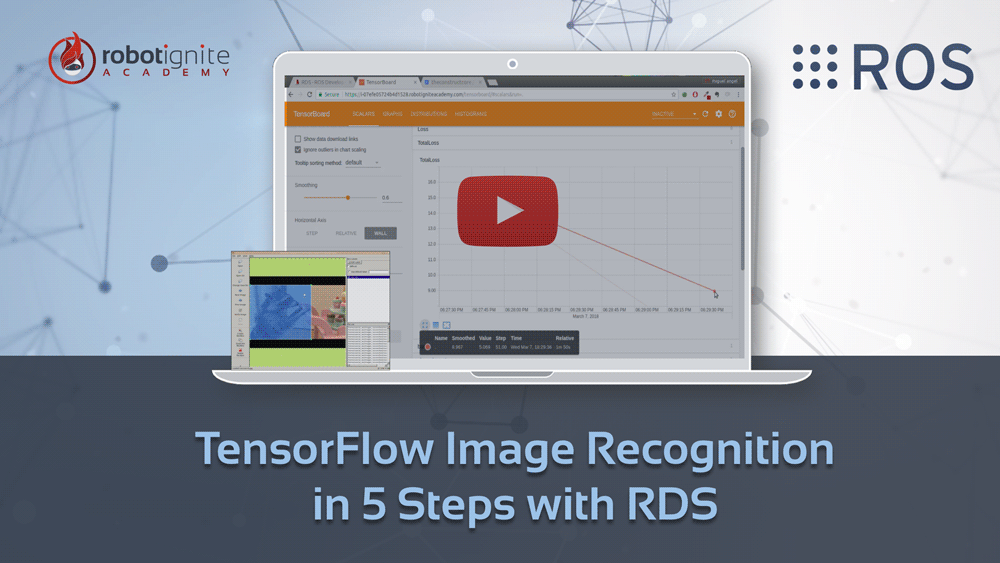
In this tutorial, you’ll learn how to train a Tensorflow model for image recognition in 5 simple steps using ROS Development Studio(RDS).
Access the ROS Deep Learning with TensorFlow 101 Course here
Access ROS Development Studio
You only need the raw basic files and the rest is automatically generated for you. Classify the Images with ImageLabel
See the training progress with inbuild Tensorboard
Git with sample image and models:
https://bitbucket.org/theconstructcore/course_tflow_image_student_data
Step 1. Create a project on RDS
After logging in RDS, click on Create New Project. If you haven’t had an account yet, you can create a free account with this link.
Step 2. Prepare model and training config file
This project is all about AI, we’ll put all the file we need into the au_ws. In this tutorial, we’ll show you this process with an already prepared for convenience. If you want, you can always generate the file you need by yourself. Let’s get started by moving into the directory and clone the project files.
$ cd ~/ai_ws
$ git clone https://bitbucket.org/theconstructcore/course_tflow_image_student_data.git
You can configure training settings with a .config file. Take ssd_mobilenet_v1_coco.config as an example, you can change the batch size here to make the training much faster. With a free account, you’ll have limited computational power and time in RDS which makes it very hard to run a long training session. If you need more computational power and time to train with a larger model with a larger batch size, please check our paid program.
We’ll only keep the files we need and delete the others.
$ mv course_tflow_image_student_data/images_1_labels/ ./
$ mv course_tflow_image_student_data/images_racoon/ ./
$ mv course_tflow_image_student_data/tf_models/ ./
$ rm -rf course_tflow_image_student_data/
Step 3. Labeling
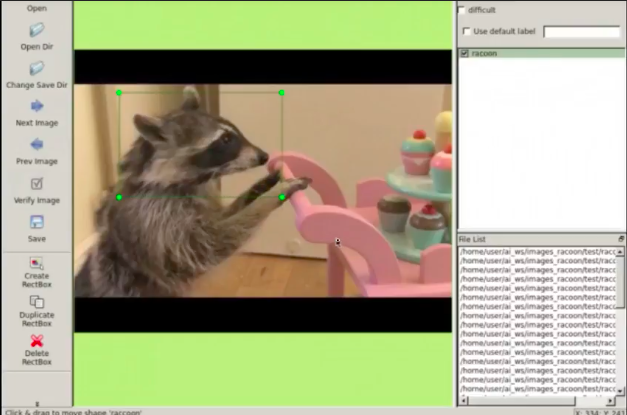
To train a deep learning model, you need to label the data first. In the project you just cloned, you can find the labeled image. You can also label your own image with the labeling tool in RDS. To use it, type in the shell
$ labelImg
then open the graphical tool, you can find it under the tools tab. If the command is not working, you can also download the tool from here.
You can draw bounding boxes and generate labeling for images with this tool.
Step 4. Training
Now you have all the files you need to train your model(labeled images, model, config file)! We created a tool in RDS to make the process even easier. Please go to tools -> start tensorflow image learning and select the files you’ve prepared. Then the training starts automatically and you can visualize it with the tensorboard tool! You can see the loss is reducing over time.
Step 5. Run the trained model
After the training is done, you can click tools -> stop image learning… to export frozen_graph file to the ai_ws. With this file, you can run the model and perform image recognition on the images.
If you are interested in this topic, please check our courses on robotic ignite academy for more information.
Edit by Tony Huang


0 Comments
Trackbacks/Pingbacks