What we are going to learn
- How to spawn N number of robots in ROS2 Foxy Gazebo simulation with each one its own namespace, TFs, imu data, and cmd_vel.
List of resources used in this post
- Use the rosject: https://app.theconstructsim.com/#/l/3da0aea5/
- ROS Development Studio (ROSDS) —▸ http://rosds.online
- ROS2 Tutorials –▸
- ROS2 Basics in 5 Days (C++): https://app.theconstructsim.com/#/Course/61
- ROS2 Basics in 5 Days (Python): ROS2 Basics for Python
- Box Bot repository: https://bitbucket.org/theconstructcore/box_bot/src/foxy/
- The question that this post answers: https://answers.ros.org/question/372730/spawning-multiple-robots-in-gazebo-with-ros2-with-namespaces/
Opening the rosject
In order to learn how to spawn many robots in ROS2, we need to have ROS installed. We already prepared a rosject ready for that: https://app.theconstructsim.com/#/l/47f74f81/. You can download the rosject on your own computer if you want to work locally, but just by copying the rosject (clicking the link above), you will have a setup already prepared for you.
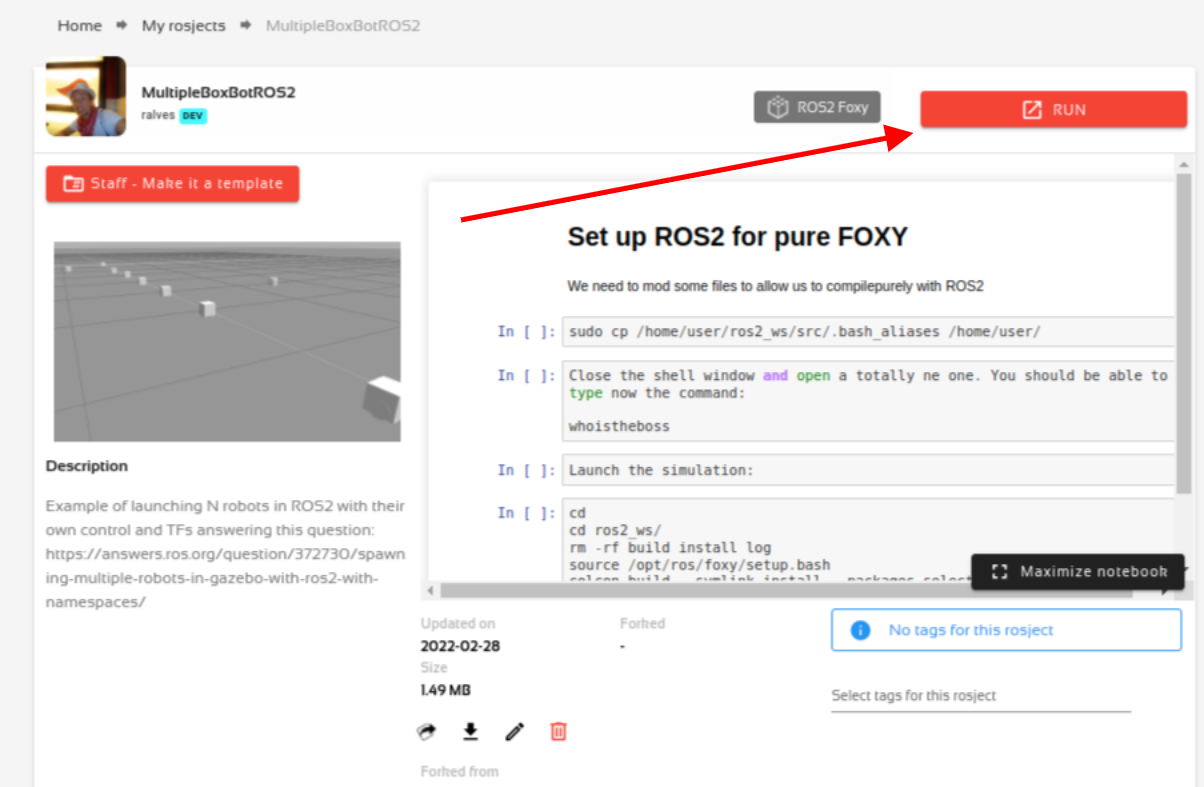
After the rosject has been successfully copied to your own area, you should see a Run button. Just click that button to launch the rosject.
Setting up our environment to use purely ROS2 Foxy
On The Construct, when you open the rosject, the system will have ROS1 Noetic and ROS2 Foxy installed.
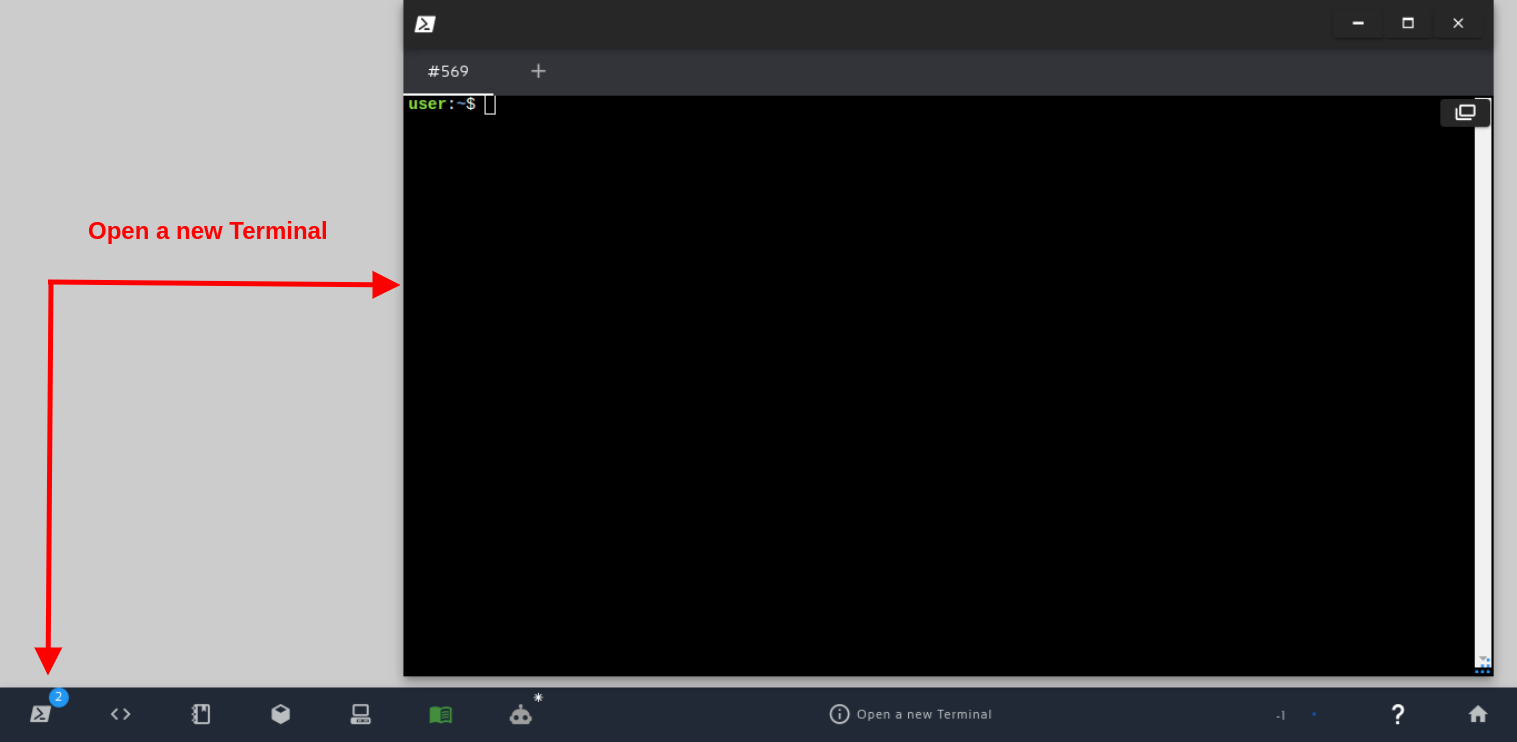
Let’s start by making our system able to compile purely with ROS2. For that, let’s first open a terminal:
After opening the terminal, let’s now override the default ~/.bash_aliases to remove some ROS1-related settings :
sudo cp /home/user/ros2_ws/src/.bash_aliases /home/user/
After having replaced the ~/.bash_aliases file, please close the terminal window and open a totally new one, in order to make sure you will have ROS2 setup.
After that, you should be able to type now the command:
whoistheboss
Compiling our ~/ros2_ws and launching the simulation
Before launching the simulation, let’s first compile our box_bot_description package with ROS2. Let’s open a terminal and run the following commands:
cd
cd ros2_ws/
rm -rf build install log
source /opt/ros/foxy/setup.bash
colcon build --symlink-install --packages-select box_bot_gazebo box_bot_description
Now that our box_bot_description package is compiled, let’s run it with the following commands:
source install/setup.bash
ros2 launch box_bot_gazebo multi_box_bot_launch.py
Opening Gazebo to see the robots spawned
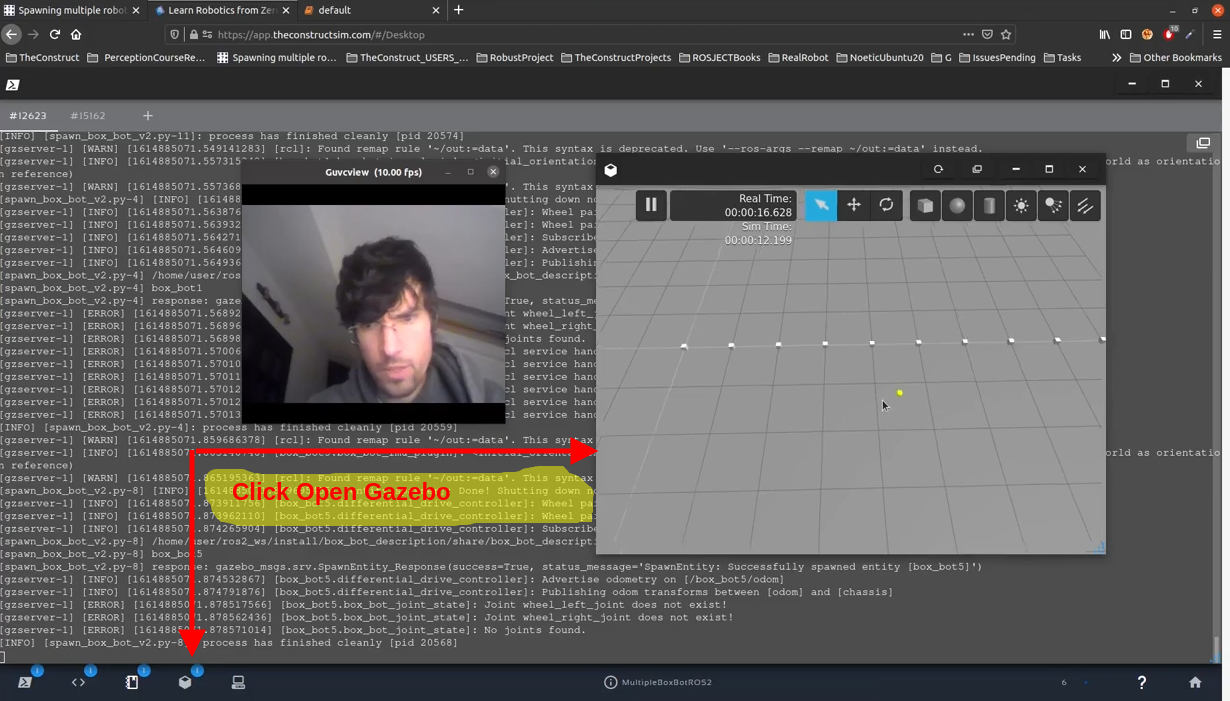
Now that the robots have been spawned, you can click the Open Gazebo to see the 10 robots that were spawned:
Making sure the robots are each under their own namespace
To make sure our robots are each one under a specific namespace, one namespace for each robot, let’s list the topics in another terminal by running ros2 topic list:
The output should be similar to the following:
 ros2 topic list/box_bot0/cmd_vel
/box_bot0/data
/box_bot0/odom
/box_bot0/tf
/box_bot1/cmd_vel
/box_bot1/data
/box_bot1/odom
/box_bot1/tf
/box_bot2/cmd_vel
/box_bot2/data
/box_bot2/odom
/box_bot2/tf
/box_bot3/cmd_vel
/box_bot3/data
/box_bot3/odom
/box_bot3/tf
/box_bot4/cmd_vel
/box_bot4/data
/box_bot4/odom
/box_bot4/tf
/box_bot5/cmd_vel
/box_bot5/data
/box_bot5/odom
/box_bot5/tf
/box_bot6/cmd_vel
/box_bot6/data
/box_bot6/odom
/box_bot6/tf
/box_bot7/cmd_vel
/box_bot7/data
/box_bot7/odom
/box_bot7/tf
/box_bot8/cmd_vel
/box_bot8/data
/box_bot8/odom
/box_bot8/tf
/box_bot9/cmd_vel
/box_bot9/data
/box_bot9/odom
/box_bot9/tf
/clock
/parameter_events
/performance_metrics
/rosout
Here you can see that we really have each robot under a different namespace.
Moving robots independently
We see that we have namespaces going from 0 to 9
In order to run a specific robot, let’s say the robot under the namespace box_bot9 , we can do it by running the following command:
ros2 run teleop_twist_keyboard teleop_twist_keyboard --ros-args --remap cmd_vel:=/box_bot9/cmd_vel
In this command, we are basically running the teleop_twist_keyboard, and remapping the cmd_vel topic to /box_bot9/cmd_vel. This way, we are moving the 10th robot. You can control different robots just by replacing box_bot9 with box_bot3 or box_bot7, for example.
If everything went well, you should see the following:
This node takes keypresses from the keyboard and publishes them
as Twist messages. It works best with a US keyboard layout.
---------------------------
Moving around:
   u    i    o
   j    k    l
   m    ,    .

For Holonomic mode (strafing), hold down the shift key:
---------------------------
   U    I    O
   J    K    L
   M    <    >

t : up (+z)
b : down (-z)

anything else : stop

q/z : increase/decrease max speeds by 10%
w/x : increase/decrease only linear speed by 10%
e/c : increase/decrease only angular speed by 10%

CTRL-C to quit
By pressing the keys “i“, “o“, “k“, you can see in Gazebo that a specific robot will be moving around.
Understanding how the multiples robots are spawned
You may be wondering how the spawn configuration actually worked.
For that, you can have a look at the following file:
ls ~/ros2_ws/src/box_bot/box_bot_description/launch/multi_spawn_robot_launch.py
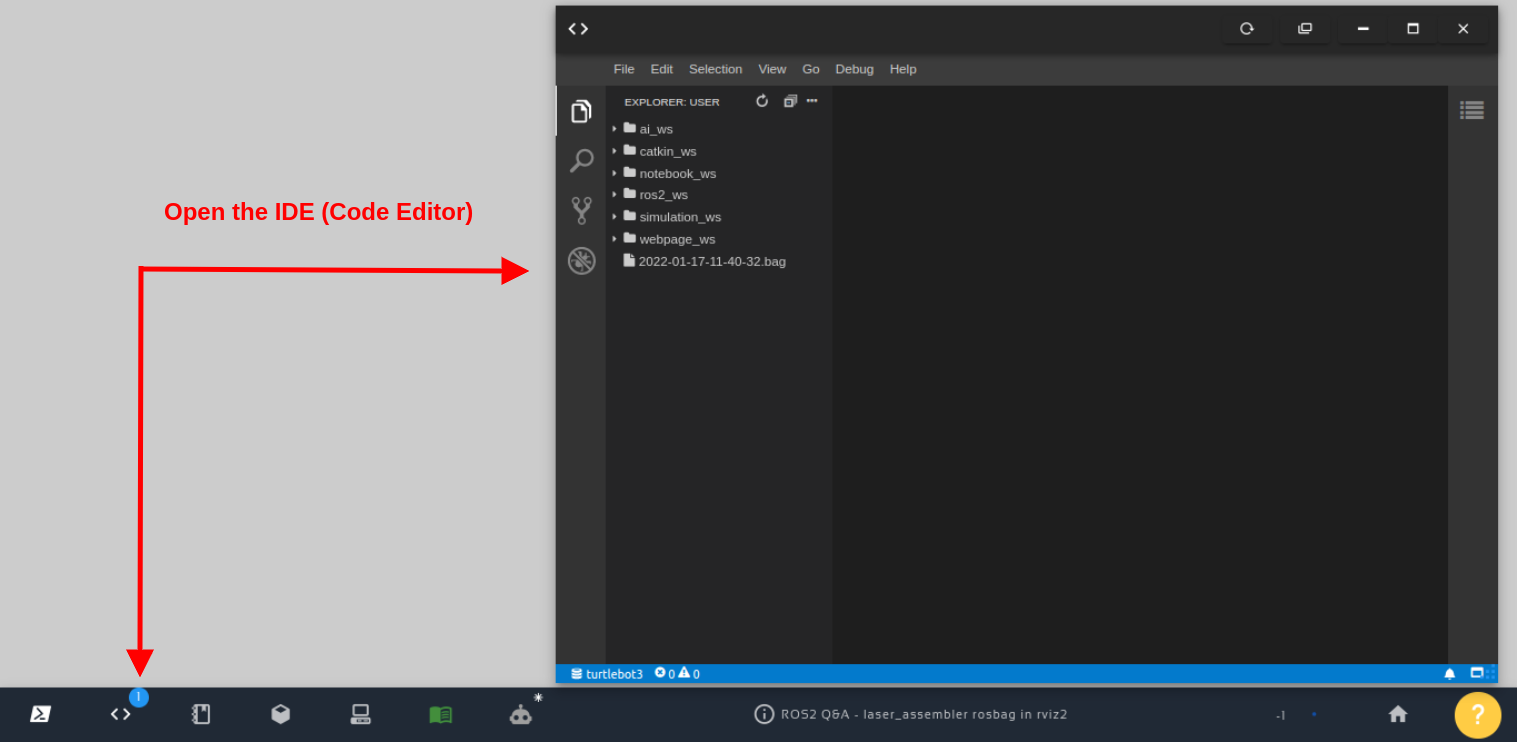
You can for sure see the file in the Code Editor. For that, just open the File Editor and open that multi_spawn_robot_launch.py file.
The many robots are created basically in the gen_robots_list function.
It is worth mentioning that in order to make this work, we also had to remap the /tf topic in the URDF file.
Congratulations. You now know how to spawn many robots under different namespaces using ROS2.
Youtube video
So this is the post for today. Remember that we have the live version of this post on YouTube. If you liked the content, please consider subscribing to our youtube channel. We are publishing new content ~every day.
Keep pushing your ROS Learning.
Related Courses & Training
If you want to learn more about ROS and ROS2, we recommend the following courses:
- ROS2 Basics in 5 Days (Python): ROS2 Basics for Python
- ROS2 Basics in 5 Days (C++): https://app.theconstructsim.com/#/Course/61





0 Comments