Exploring ROS with a 2 wheeled robot #13 – GMapping
Step 0 – Introduction
Hey ROS Developers!
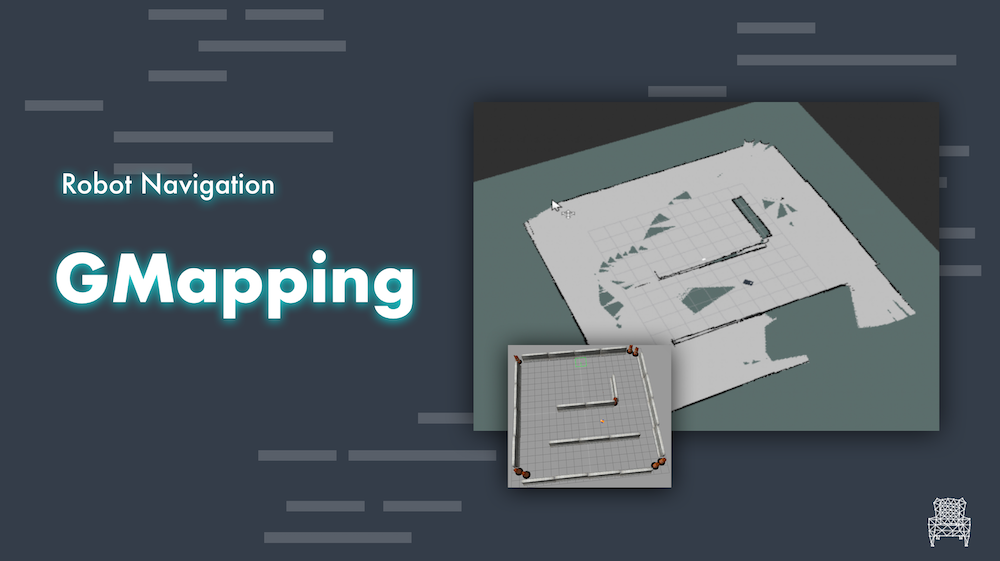
This is our last post of the series, actually a Bonus post, to show something ready-to-use ROS provides to us. The GMapping package, to create maps while our robot navigates in a given environment. We are going to show how to configure a launch file in order to use the same robot we have been using throughout this series.
Let’s start!
Step 1 – Configuring the environment
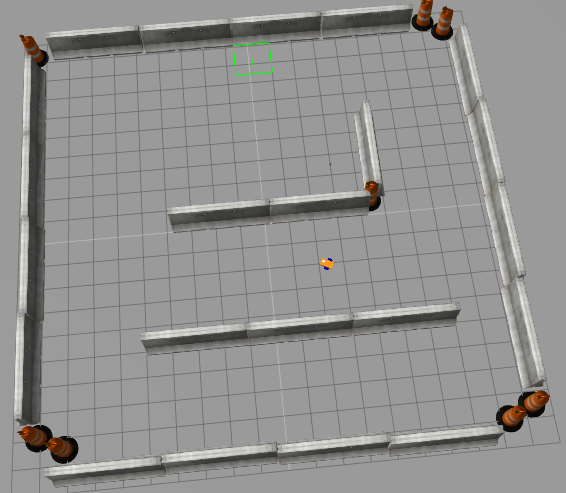
First thing, we will use the same robot in the last world we have worked. If you don’t have the ROSJect, just do a copy by clicking here
Next, launch a simulation, as we have done before:
And spawn the robot using the command below in a shell:
roslaunch m2wr_description spawn y:=8
You must have the robot there, waiting to be used:
Step 2 – Configuring GMapping launch file
We need to create a new launch file, and I chose to do it in the motion_plan package (~/catkin_ws/src/motion_plan/launch/gmapping.launch)
The content must be the same as below, and I’ll explain the major points:
<launch>
  <arg name="scan_topic"  default="/m2wr/laser/scan" />
  <arg name="base_frame"  default="link_chassis"/>
  <arg name="odom_frame"  default="odom"/>

  <node pkg="robot_state_publisher" type="robot_state_publisher" name="robot_state_publisher"></node>

  <node pkg="rviz" type="rviz" name="rviz"></node>

  <node pkg="gmapping" type="slam_gmapping" name="slam_gmapping" output="screen">
    <param name="base_frame" value="$(arg base_frame)"/>
    <param name="odom_frame" value="$(arg odom_frame)"/>
    <param name="map_update_interval" value="5.0"/>
    <param name="maxUrange" value="6.0"/>
    <param name="maxRange" value="8.0"/>
    <param name="sigma" value="0.05"/>
    <param name="kernelSize" value="1"/>
    <param name="lstep" value="0.05"/>
    <param name="astep" value="0.05"/>
    <param name="iterations" value="5"/>
    <param name="lsigma" value="0.075"/>
    <param name="ogain" value="3.0"/>
    <param name="lskip" value="0"/>
    <param name="minimumScore" value="200"/>
    <param name="srr" value="0.01"/>
    <param name="srt" value="0.02"/>
    <param name="str" value="0.01"/>
    <param name="stt" value="0.02"/>
    <param name="linearUpdate" value="0.5"/>
    <param name="angularUpdate" value="0.436"/>
    <param name="temporalUpdate" value="-1.0"/>
    <param name="resampleThreshold" value="0.5"/>
    <param name="particles" value="80"/>
  <!--
    <param name="xmin" value="-50.0"/>
    <param name="ymin" value="-50.0"/>
    <param name="xmax" value="50.0"/>
    <param name="ymax" value="50.0"/>
  make the starting size small for the benefit of the Android client's memory...
  -->
    <param name="xmin" value="-1.0"/>
    <param name="ymin" value="-1.0"/>
    <param name="xmax" value="1.0"/>
    <param name="ymax" value="1.0"/>

    <param name="delta" value="0.05"/>
    <param name="llsamplerange" value="0.01"/>
    <param name="llsamplestep" value="0.01"/>
    <param name="lasamplerange" value="0.005"/>
    <param name="lasamplestep" value="0.005"/>
    <remap from="scan" to="$(arg scan_topic)"/>
  </node>
</launch>
The first 3 tags, the arguments, are the ones related to our robot:
scan_topicis the topic we have been reading to get the laser database_frameis the frame of the frame, but to be more precise, it must be the frame of the laserodom_frameis the frame used by the odometry, so yes, it depends on odometry
There are other parameters you can play with (many actually), for example:
maxRangeto set the maximum distance to use to mapmax_update_intervalthat is used to improve the map updating rate (but you have to be careful with your hardware performance also)
These are the main parameters to a basic usage of gmapping. You can check the official documentation here: http://wiki.ros.org/gmapping
Step 3 – Launch Gmapping
So, let’s put it to work!
Open another shell and execute:
roslaunch motion_plan gmapping.launch
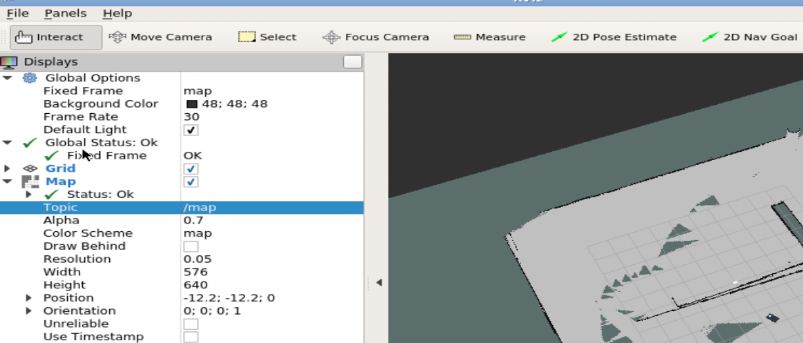
Open the graphical tools and configure RViz to show the robot model and the map being generated:
One more shell.. Let’s use the teleop to drive the robot while it maps the environment:
rosrun teleop_twist_keyboard teleop_twist_keyboard.py
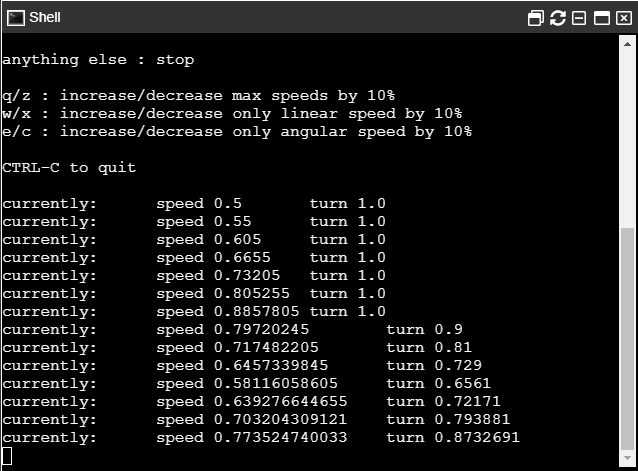
If you don’t know yet this package, this is used to send velocity commands to the robot using the keyboard. You can check the instructions on the shell itself:
Step 4 – Results
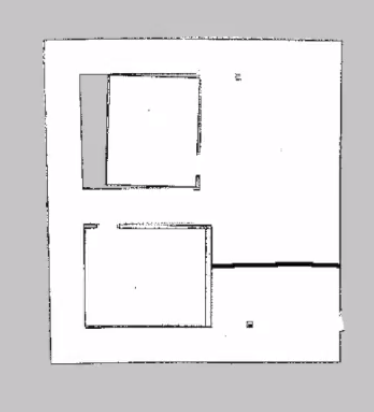
After driving the robot around the environment, you must have something similar to the image below:
The robot is placed more or less at the center of the world and we have almost the entire map generated.
It depends on the hardware, the odometry and the way you have navigated. But we have a map! Don’t we?!
Related Courses
Conclusion
After configuring the launch file, it’s quite easy to use gmapping. You can take advantage of this package to generate maps of different environments!
Don’t forget: If you have suggestions, doubts or just like this post, please, leave a comment and let us know your opinion.
See you!



![[ROS Q&A] 159 – How to create a Restricted Area on a Map](https://www.theconstruct.ai/wp-content/uploads/2018/10/ROS-QA-159-How-to-create-a-Restricted-Area-on-a-Map.jpg)
