How To Use The Construct to Simulate Your Robots
This guide will help you create your simulations in The Construct. This guide covers simulators Gazebo and DRCSim in all their versions.
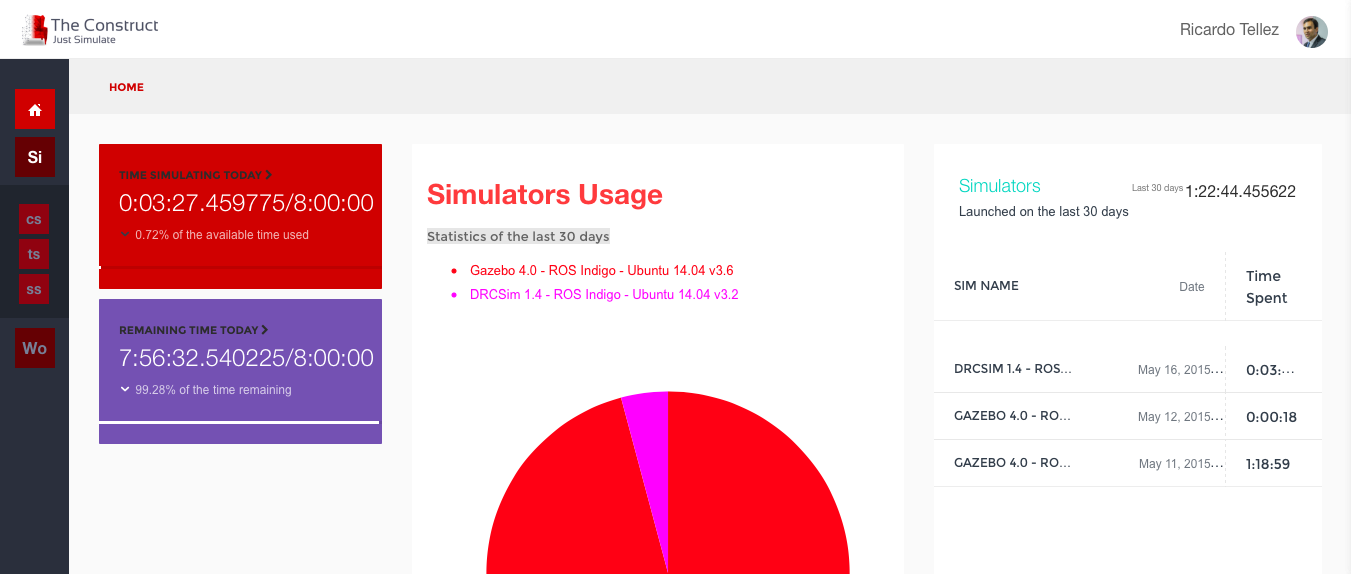
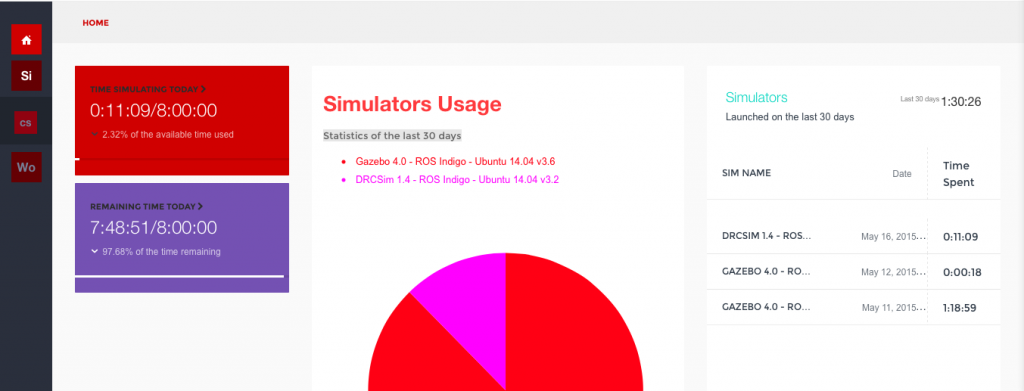
Once you log into The Construct you will reach your home page which contains several statistics about your usage, and a panel to the left.
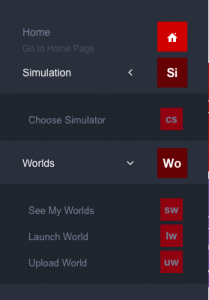
The left panel is the panel of options. Just move the mouse over it to activate it. Then press the Worlds option to reveal more options.
At this point you can do only two things in that menu:
- Upload a world file: used to upload an already simulation of yours.
- Select a simulator to run: used to select which simulator you want to use.
Upload a world file
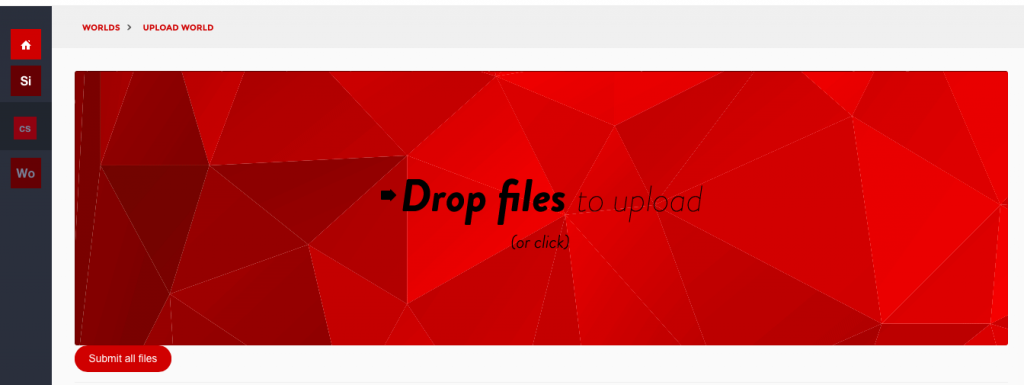
Pressing the option Upload a world option will lead you to the Upload screen.
There you can upload a simulation that you already have created using the Gazebo installed in your computer or else.
You can upload a robot world or environment using two options:
- Either you upload a *.world file which describes your entire world and robots. This is the recommended option for people that does not require ROS and want to use Gazebo without ROS.
- Or upload a *.zip file that includes your robot, models, worlds, plugins and controllers inside several ROS packages. This is the option for people that need to use ROS with Gazebo.
Upload a *.world simulation
Just create a *.world file in your computer, containing a complete description of the world you want to simulate, including robots, scenario and else.
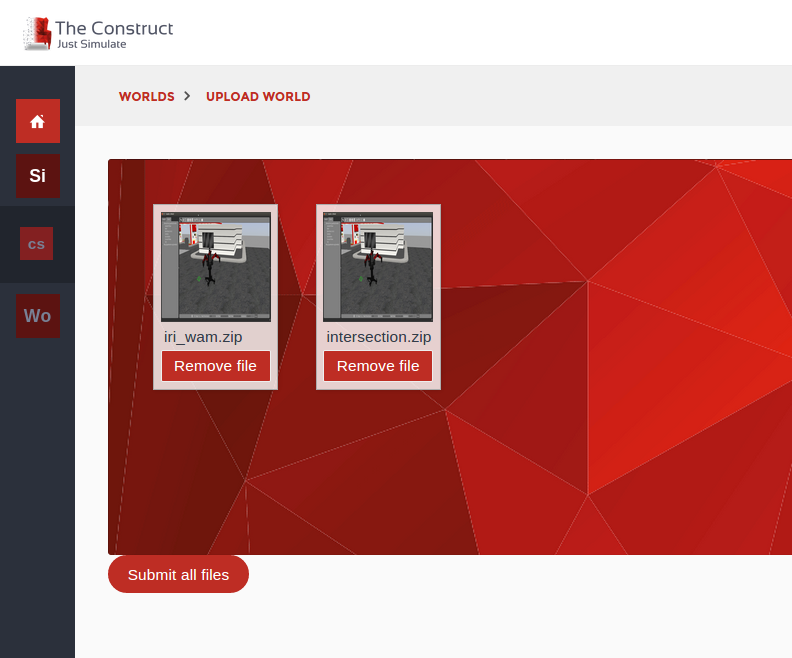
Then drag and drop the file into the loading zone. Your file will appear in there with an associated icon and the name of the file. You still have to press Upload, in order to send the world to your personal zone in The Construct.
Once pressing Upload, your file will be sent to your The Construct zone. If the upload was successful, then an OK icon will appear. Now you can see that you have your world in your listed worlds.
If there was an error, your file will be set with an error icon (red-cross) and a message will appear explaining the error. Just correct the error in your file and try to upload it again.
Upload a simulation based on ROS packages
Create a zip file containing your simulation. We recommend that your zip file contains the following structure (as standard defined by OSRF):
   /YOUROBOT_description
        package.xml
        CMakeLists.txt
        /urdf
            YOUROBOT.urdf
        /meshes
            mesh1.dae
            mesh2.dae
            ...
        /materials
        /cad
    /YOUROBOT_gazebo
        /launch
            main.launch
            other.launch
            ...
        /worlds
            YOUROBOT.world
        /models
            world_object1.dae
            world_object2.stl
            world_object3.urdf
        /materials
        /plugins
- A directory named YOUROBOT_description. This directory must contain the description of your robot, including meshes, materials, etc.
- A directory named YOUROBOT_gazebo. This is the recommended directory that should contain the launch files (not mandatory). If your simulation contains plugins or other stuff that requires compilation, you must include them accordingly in the structure of file.
Once you create the zip package with structure above, you can drag an drop it into the Drop Zone. Then press Submit all files, and your zip world will be submitted to your zone in The Construct. Once it is uploaded, your package will be checked for proper structure and compiled. If any of those steps fails, the file will be rejected and you will be notified.
Delete a world file
To delete a world, just go to the Upload world option, look for the world you want to delete, and press the Remove file option.
Select a simulator
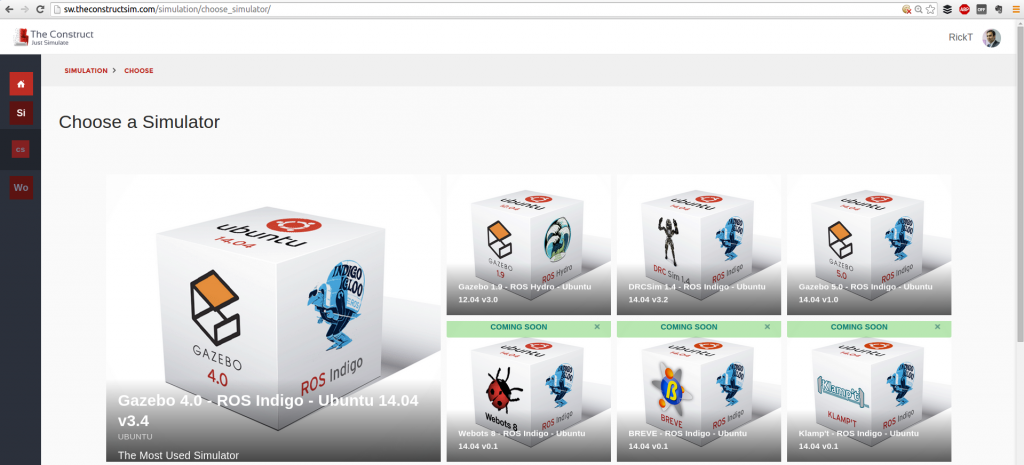
You cannot run a world simulation unless you first launch a simulator. For this purpose, select the option on the left panel that says Choose simulator. The following screen will appear.
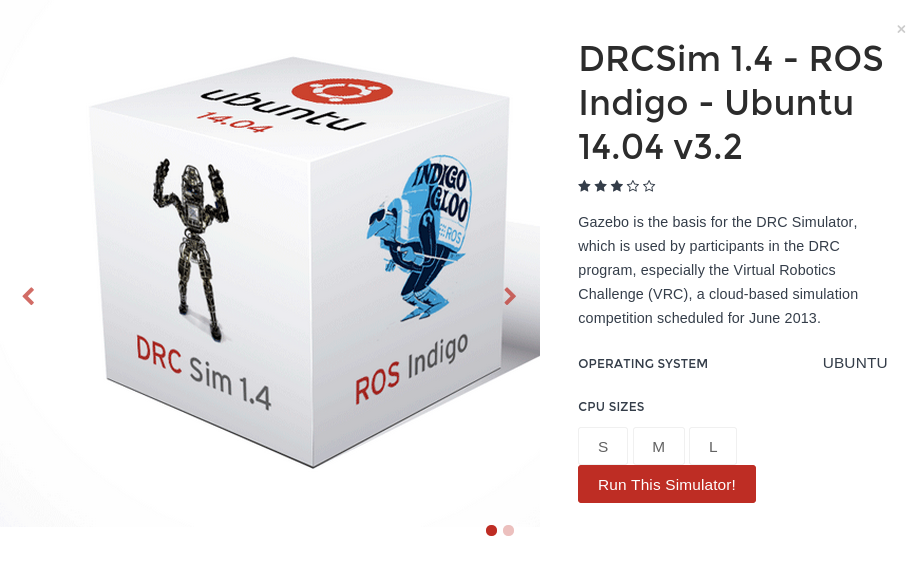
Have a look at the screen which contains all the simulators available. Just press on top of any of them to read its features. Once you have decided which simulator to run, press on it and press the Run this simulator! button.
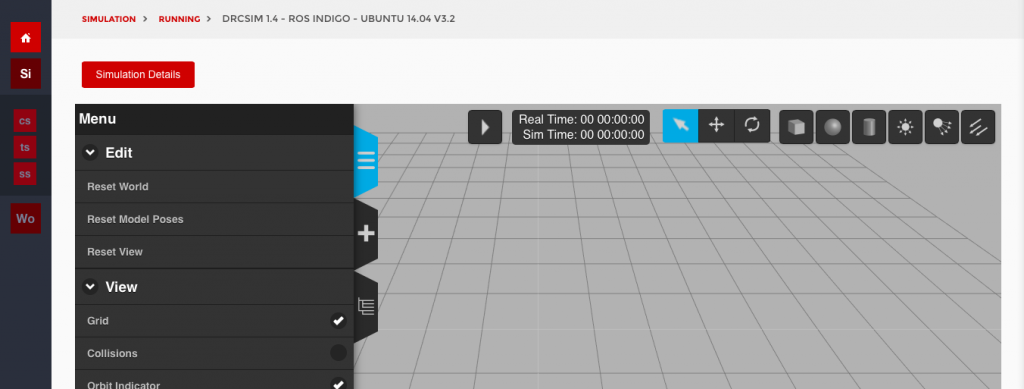
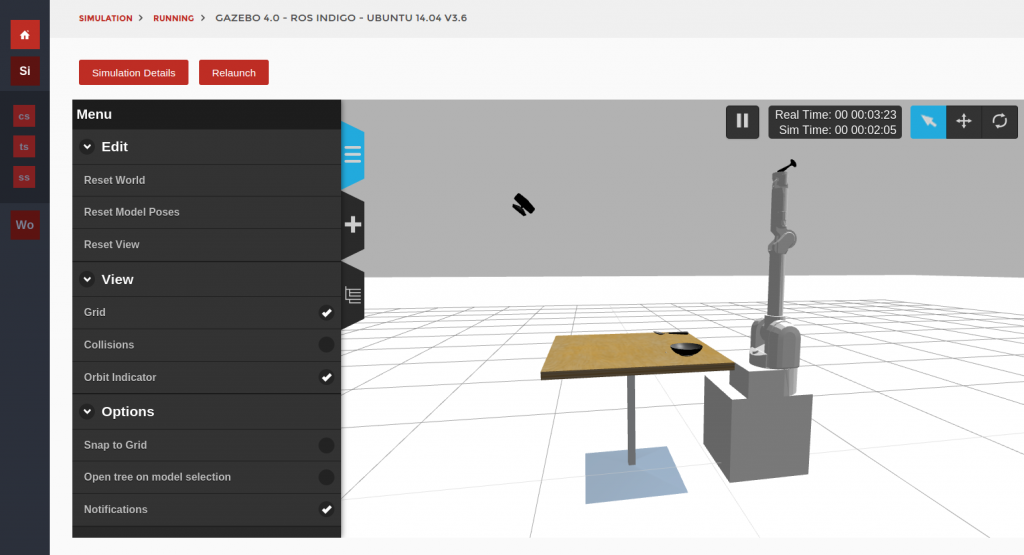
Wait some seconds to load all the data from the simulator. Once it has finished you will see the following screen.
At this point in time you can either create your own simulation or launch an uploaded simulation.
Create simulation
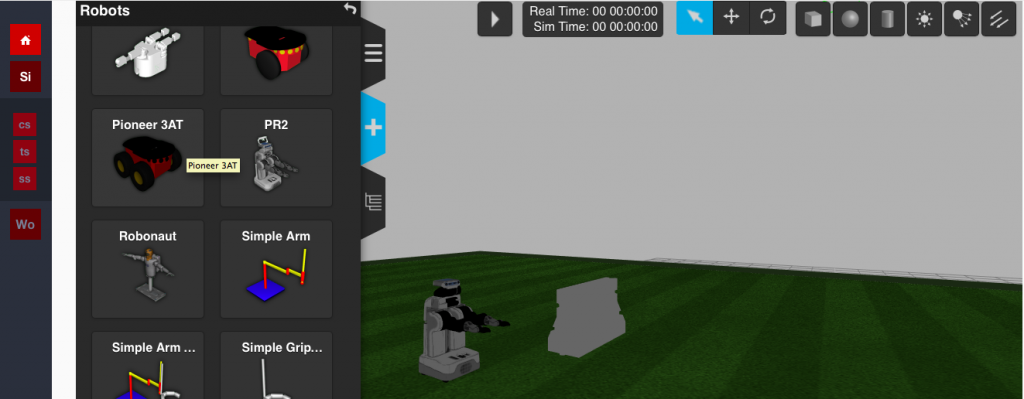
Use the lateral panel to select the element you want to include in the simulation. Elements are divided by categories and include Buildings, Furniture and Robots among others. Just press the + button and explore the categories.
Once selected the object you want to include, press over it and then go to the empty space and press on the location you want to include the object. Depending on the complexity of the object and your internet speed it may take a while until the object is shown on the screen. Be patient!
Launch uploaded simulation
To launch an already uploaded simulation, just select the world you want to launch in the scroll-down menu at the right-top corner of the screen. You will get a list of all your available worlds to be launched, including the ones that are included by default. Select the world you want to launch and then press the red play button. After a few seconds the simulated world will appear.
Share a simulation
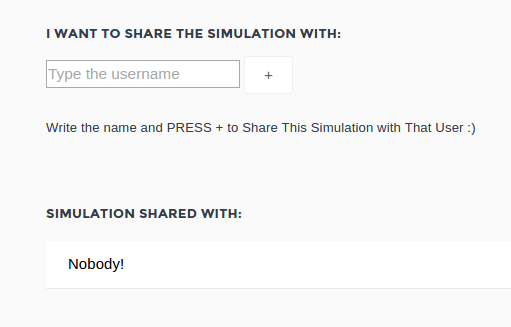
You can share a running simulation with your colleagues and work all together over the same simulation at the same time. To do that, just ensure that you have a simulation running (follow previous steps). Now, once the simulation is running, visit the panel of the left and select Share Simulation.
The previous message page will appear where you should write the username of the person you want to share the simulation with. Write his username on the box and press the + button. You will receive a message if the sharing was successful or not.
If somebody shared a simulation with you, you can access the simulation by visiting the page of Choose Simulator. When you have a shared simulation, a new simulator cube will appear, indicating that you have such shared simulation. Select that cube to access the shared simulation.
When a user that shares a simulation, terminates the simulation, all the users that are in the shared simulation will be expelled from it.
Terminate a simulation
VERY IMPORTANT: You must always terminate a simulation once you have finished your simulation work.
If you do not terminate your simulation, your simulation time used will keep counting. This means that, if your plan has a limited amount of hours, you will consume them without taking any profit.
Even if you have an unlimited hours plan, we recommend you to finish your simulations when not required, because hence you will take advantage of improvements and updates we perform.
Using the web shell
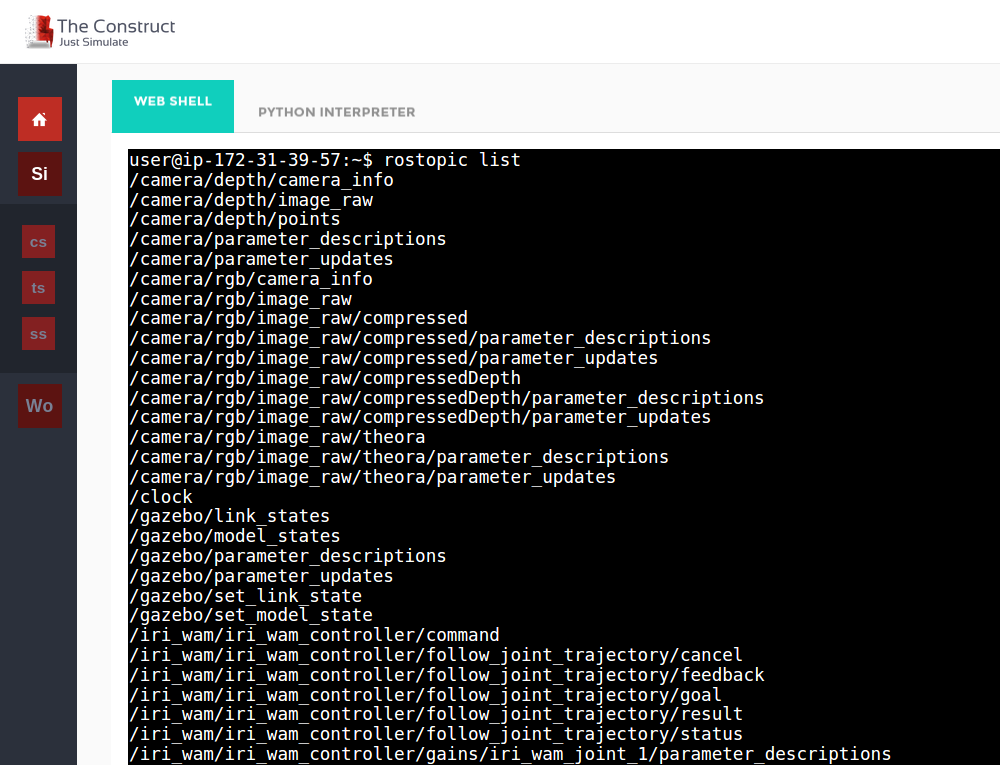
You can interact with the simulation like in your computer, reading topic, spawning new objects of launching controllers. For this purpose, there is a console down the simulation that has direct connection to the computer that simulates. Just log in with username user and password user. Then work as usual.
Using the iPython shell
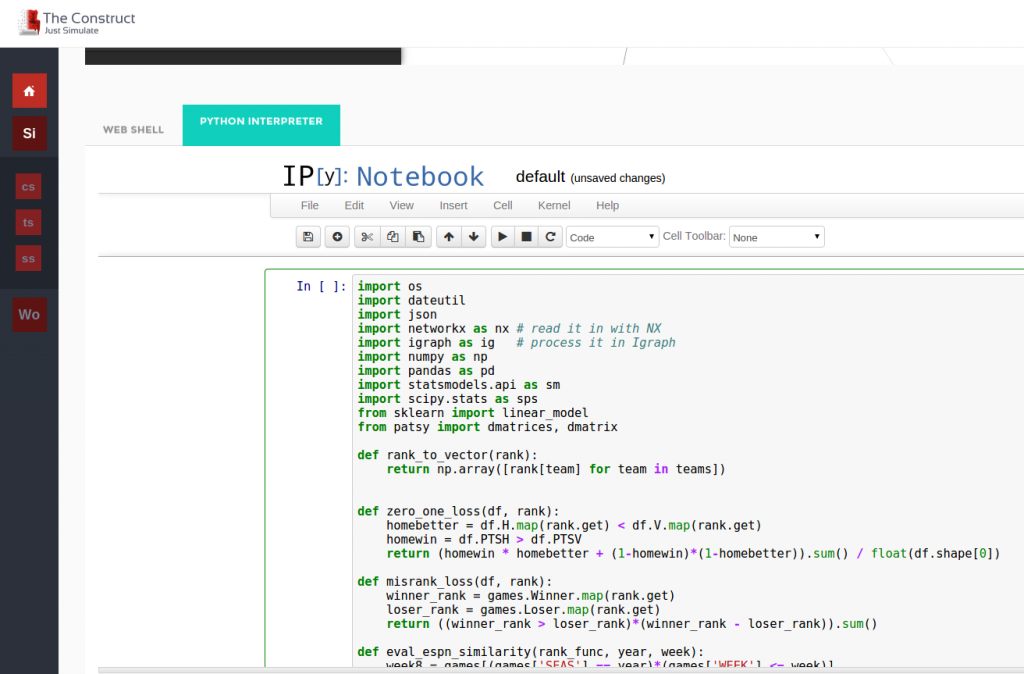
Down the simulation there is also an iPython shell. It is provided to create your online programs that interact with the simulation. Just jump to the Python label and start writing your program. A full documentation of how iPython works can be found here.
Request the installation of a package
It may happen that you require a very specific package in the system for your simulation. It could be an Ubuntu package, a ROS package or else. You can request us to install any package you need for your work in our simulation computers.
Just fill a request in this link. Requesting time and implementation range from some minutes to just a few hours.
Questions
If you have questions, requests or suggestions, feel free to contact us.

